Installing RabbitMQ via User Interface
Always use an administrator account with a local home directory to install RabbitMQ.
Once you run RabbitMQ Helper, a welcome window with the documentation hyperlink appears for any related help. Select Next to see all the options available for the RabbitMQ installation.
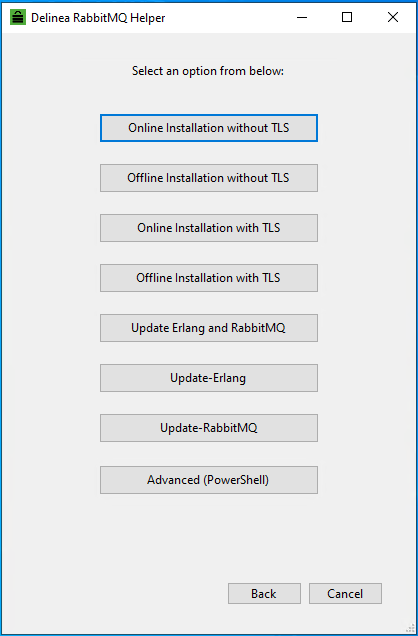
The following table describes the options in the RabbitMQ Helper window and provides a link to more information about each option in this documentation.
| Option | Description |
|---|---|
| Install |
Provides all the available options to install Erlang and RabbitMQ. For detailed information about each option, select the corresponding link.
|
| Update |
Provides the following options for updating Erlang and RabbitMQ:
For more information about these update options, see Updating RabbitMQ with RabbitMQ Helper. |
| Cluster |
Provides the RabbitMQ clustering options. For detailed information about each option, select the corresponding link. |
| Advanced (PowerShell) | Execute any command other than the installation, upgrading, and clustering options. This option opens the PowerShell window to execute all the Helper commands using this PowerShell window, just as the Helper used to work in earlier versions. |