Managing User Accounts
This page explains how to perform various administrative tasks to manage local user accounts in the Delinea Platform.
The procedures in this page apply only to local Platform user accounts. Users from external directories, such as Active Directory, can only be modified in the external directories. For information, refer to the vendor's documentation for the external directory.
Although the Platform uses the terms, IT User and Business User, these are not user classifications but rather license types.
For more information see User Classifications.
Viewing User Accounts
To view a list of user accounts, open the Users page. (Use the Search bar to find it, or from the left navigation, select Access > Users.)
The Users page shows all users on the platform, including Active Directory, Federated, and local (Delinea Platform Directory) users.
To see detailed information and make changes, select a user name to open that user’s account page. In this page, you can view all the current account settings. You can modify some of the settings, such as group memberships, roles, and advanced attributes.
The top right of every tab on the user page has a Delete button and an Actions drop-down button.
To delete the user, click Delete.
To take common actions, click the Actions drop-down button.

The following table describes the available actions.
| Action | Description |
|---|---|
| Set password | Prompts you to reset the user's account password. In the window that appears, enter a new password for the user. |
| Send email invitation | Sends an email to the selected user. As part of this workflow, the user is required to change their password the next time they log in. |
| MFA unlock | Suspends multi-factor authentication for 10 minutes. Multi-factor authentication requires users to perform additional steps, such as verifying their identity by email or phone call, to log in to the Delinea Platform. If the user is having trouble logging in, select the user and select this action to let the user log in with just a login name and password. |
| Disable account | Disable a user account. The disabled user is unable to log in to the platform. If the user is currently logged in, the user will not be able to access Platform services that require authentication. |
| Unlock account | When a user account is locked temporarily or permanently, which is usually triggered by specific policies or conditions, this action enables an administrator to unlock the account immediately. This action is only available when a local user account is locked. |
| Reload Rights | Enables the immediate reloading of a user's cached identity from their directory service, eliminating the need to wait for synchronization. This action is especially useful when user details have been updated in the remote directory service but have not yet been reflected in the platform. |
Overview Tab
The individual user page opens by default to the Overview tab.
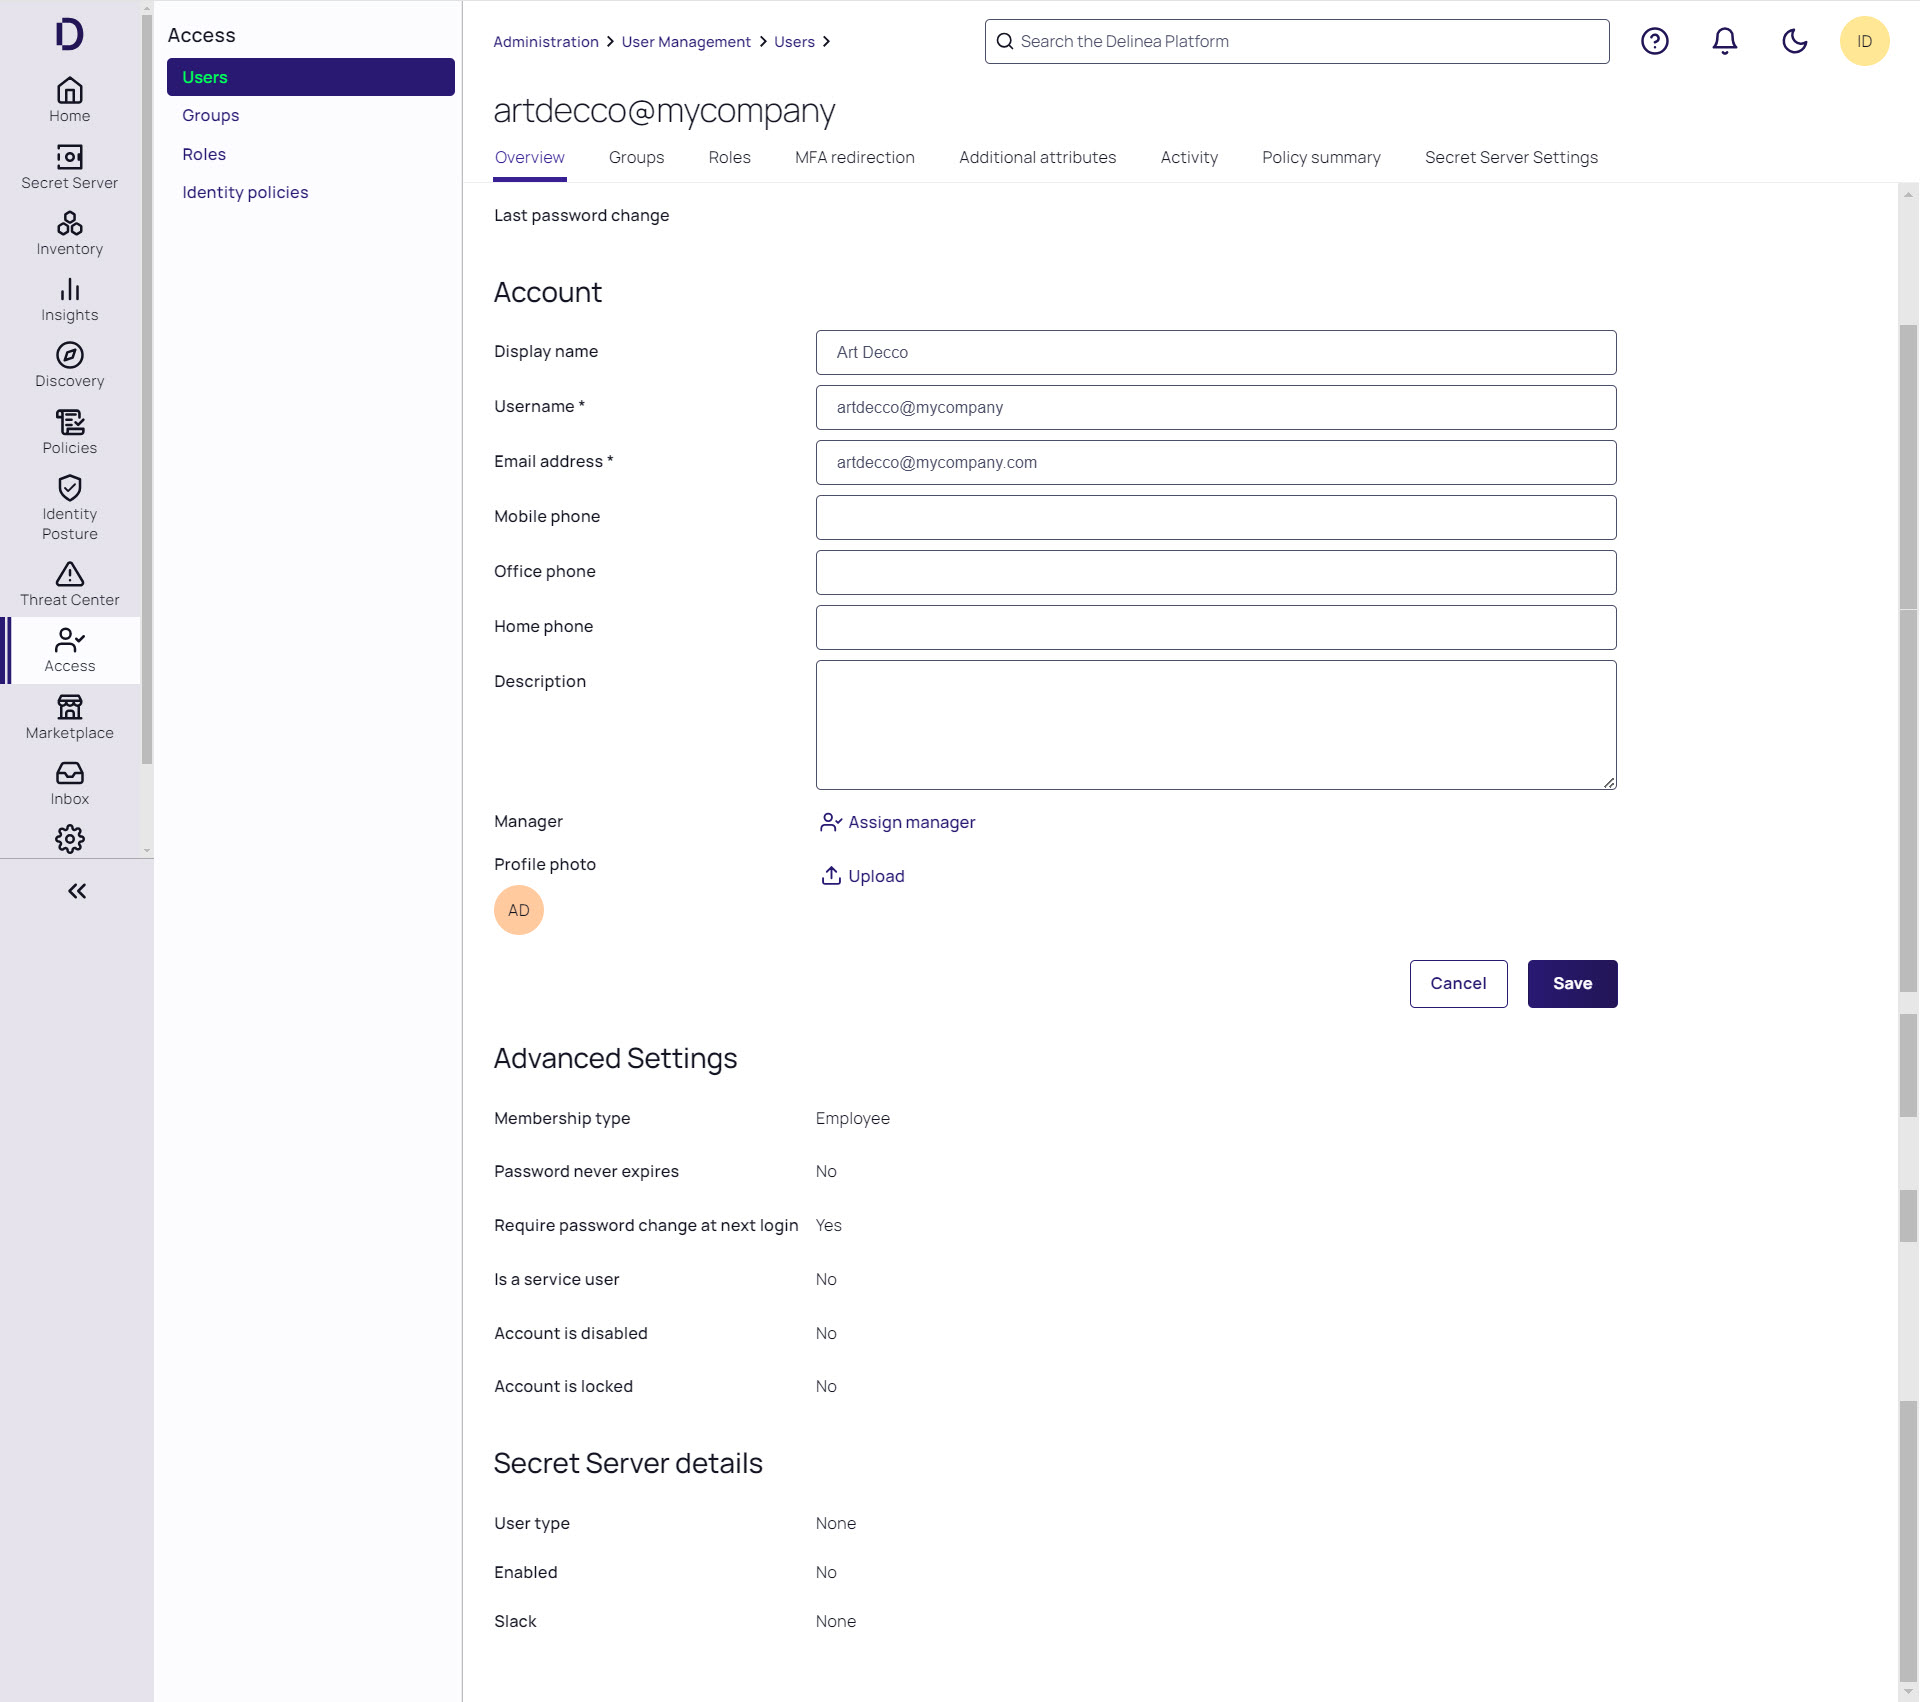
The top of the Overview tab displays the user account’s basic information, including status, directory source, creation date, last login, and last password change.

Status
The following table provides descriptions of each status that can apply to a user.
| Status | Description |
|---|---|
| Active | The user has logged in to the Delinea Platform. |
| Invited | An administrator has sent an invitation to a user, but the user has not accepted and logged in yet. You can send an invitation when you create a local account or after the user is created. When the user accepts the invite, the user will be prompted to reset their password before they are able to log in to the platform. |
| Created | The account was created on the Platform, but no email invitations have been sent. Successfully provisioned users appear on the Users page with a status of Created. |
| Suspended |
The user account is locked. There are several reasons why an account is locked; for example, it could be locked by the system administrator or because the user has reached the maximum number of login attempts. Users can be automatically suspended due to multiple concurrent password failures. In that case:
Automatic suspension ends when the user logs in successfully. The Users tab continues to show the Suspended status until the user logs in successfully. |
| None | The user is not currently in the Platform but is retained in cache until the account is permanently deleted. |
Account
In the Account section, click Edit to modify attributes. The following table describes the available attributes.
| Attribute | Description |
|---|---|
| Display name | The name visible to users when they are logged in to Delinea Platform. |
| Username | The name used to log in to the platform. Users log in with <Login Name>@<domain>. For example, jsmith@acme or jsmith@acme.com. |
| Email address | The email address for the user. |
| Mobile phone, Office phone, Home phone |
(Optional) One or more telephone numbers for the user. For domestic US numbers, you must enter the area code. Enter the number in one of the following formats: To enter an international number, use E.164 number formatting. If you are using the phone or text message options for multifactor authentication, the mobile numbers must be accurate, or the user will not be able to log in. |
| Description | (Optional) Descriptive message about the account. |
| Manager | (Optional) Name of the manager to whom the user reports. |
| Profile photo | (Optional) Image with the user's profile photo. |

Advanced Settings
Under Advanced Settings, administrators can apply optional settings to further define a user account, either during creation of a new local user or when editing an existing account. Click Edit to choose from the account settings listed in the table below. These settings include defining the user’s membership type (Employee or Vendor) and updating the expiration date for a local user account.
| Option | Description |
|---|---|
| Membership type | Employee or Vendor |
| Password never expires |
Overrides the default "Maximum password age" identity policy setting. Regardless of the "Maximum password age" setting, the password for this account never expires. This setting and the "Require password change at next login" setting depend on each other. If you select one, the other is reset. |
| Require password change at next login |
Forces users to create a new password the next time they log in. The user is subject to any password reset policy controls and settings you have enabled. This setting is reset as soon as the user logs in and creates a new password. This setting and the "Password never expires" setting depend on each other. If you select one, the other is reset. |
| Account is disabled | The account has been disabled. |
| Account is locked |
Locks the user's account. When locked, users are prevented from further access to Delinea Platform services, but they are not locked out entirely in their directory service. This setting can be enabled either manually or automatically through an identity policy. To configure the policy, navigate to the applicable policy. Under Password Setting, set Maximum consecutive bad password attempts allowed. The Default Admin account (cloudadmin@< tenant >) cannot be manually locked. For this account, the option is unavailable. |
| Account expires |
Sets an expiration date for the user account. The Platform automatically sets the account's status to Suspended on the specified date. An expiration date can be set when adding a local user to the Platform or after the user has been created. This is useful for granting access for a limited time, such as for a third-party vendor or a temporary worker. Setting a user account expiration date improves security, simplifies compliance, and reduces the administrative burden of manually deactivating accounts. Expired users can not log in or access other features of the platform, such as Secret Server. If it becomes necessary to enable the user's account again after it has expired, you can remove the expiration date or change it to a later date. The Platform sends automated notification emails to the user 5 days and 1 day before their account expires and access is revoked. |
Secret Server Details
Secret Server Details displays the user account's relationship with Secret Server, which will be one of the following:
-
Hybrid: The user account existed in Secret Server first, and the Platform user account is applied "on top" of that. These users have direct access to both the Platform and Secret Server. They can log into Secret Server directly if they need to. Passwords are not synchronized between the Platform and Secret Server. Users must reset their passwords independently in Platform and Secret Server.
-
Native: The user account existed on the Platform first, and the associated Secret Server account was created afterward. These users can only log in through the platform, but not through Secret Server. They cannot authenticate directly with Secret Server.
-
None: The user account exists in Secret Server only. It is not associated with any Platform account.
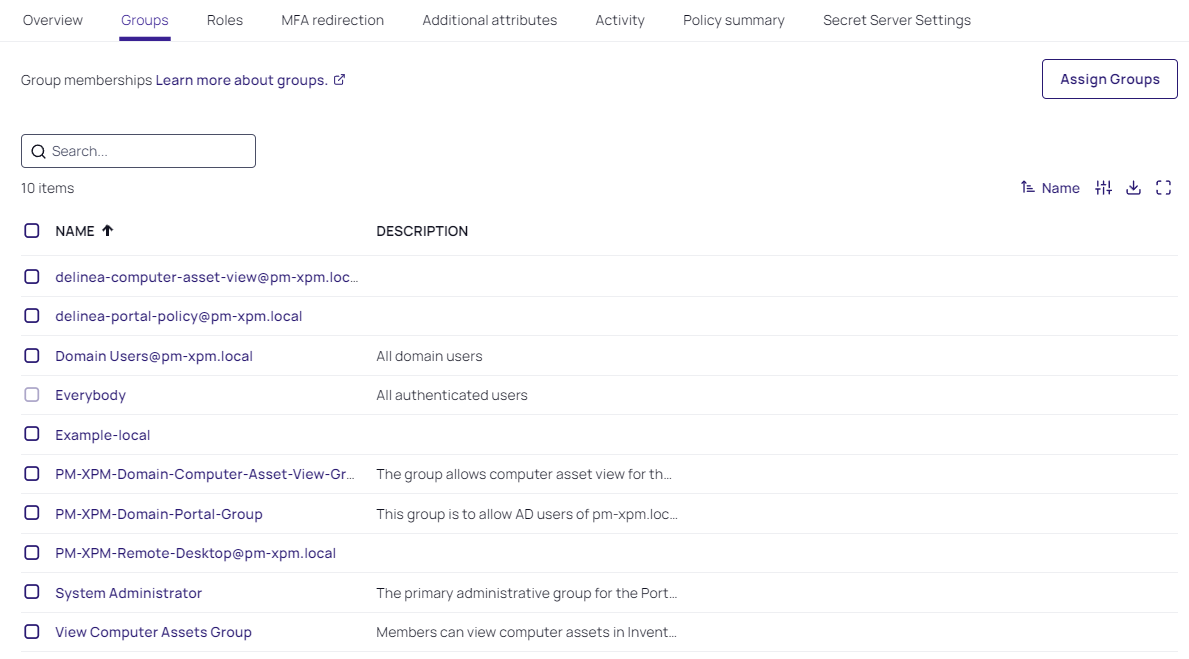
Groups Tab
An administrator can manage group membership from the individual User view as described here, or from the Groups view. See Managing Groups and Group Mapping Troubleshooting for more information. To map federated user groups to Platform groups, see Mapping Federated Groups. Also see Mapping Federated Users.
-
Click the Groups tab to see a list of groups a user belongs to.
-
To add a user to a group, click Assign Groups.
-
Select one or more groups.
-
Click Add to add the user to the selected groups.

-
To remove a user from a group, hover your cursor in the group row, near the right end of the Name column, and click the trash icon that appears.
The Everybody group cannot be removed if a user is not a service user.

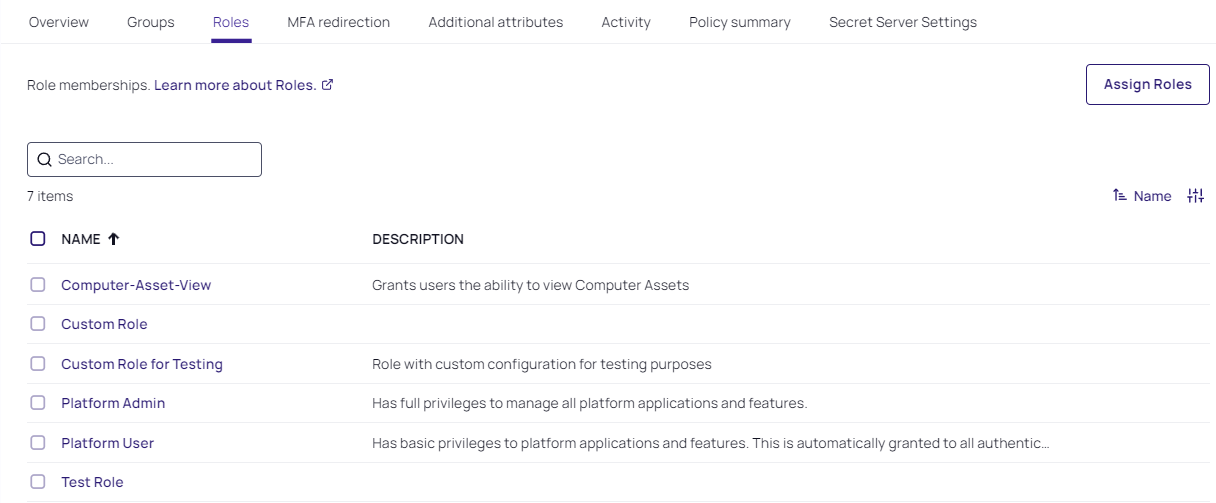
Roles Tab
An administrator can use the Roles tab to view and manage which roles are assigned to a user.
-
Click the Roles tab, which displays the roles the user has been assigned to.
-
Click Edit to add or remove role assignments for the user.
It is not considered a best practice to assign a role directly to a user. We strongly recommend assigning a role (with its associated permissions) to a group, then adding the user to the group, at which point the user inherits the role and its permissions by virtue of their membership in the group.
For more detailed information about managing user roles, see Roles and Permissions.
MFA Redirection Tab
Multi-Factor Authentication (MFA) redirection enables users to perform MFA on behalf of any chosen user. This means the user that is logging in can be configured to perform MFA as the redirect user and receive an identity token for the original login user after they successfully log in. Once configured, the MFA redirection is handled automatically.
To explain how redirection works, consider the following two users:
- Original login user: The user who is actively trying to log in.
- Redirect user: The user who has MFA set up. Login attempts are redirected to this user to answer any MFA challenges.
The redirect user performs MFA on behalf of the original login user. Any MFA mechanism that is used, such as email, text, Mobile Authenticator, and so on, is completed by the redirect user. The procedure is as follows:
- The original user attempts to log in with their username.
- The details for the original login user are retrieved from the Delinea Platform.
- The redirect user receives MFA challenges for the redirect user's account.
- When authentication is successful, an identity token/cookie is provided to the original login user.
Typical MFA Redirection Use Cases
MFA redirection is typically used when the original user has no attributes configured, and therefore cannot satisfy any MFA challenge. When the original user is challenged for additional authentication, the MFA redirection feature can be configured so the redirect user's MFA challenges (who has the required mechanisms configured) are used.
Configure MFA Redirection
-
Click the MFA Redirection tab. This tab indicates whether MFA redirection is enabled and, if so, the name of the redirect account.

-
Click Edit.
-
Select the Enable redirect of Multi-Factor Authentication to a different user account checkbox.
-
Click Select and select the account you want to use for the MFA redirection.
If you select the same user you're currently editing, an error occurs: Cannot redirect MFA to the same user.
-
Click Save.
Additional Attributes Tab
The Delinea Platform provides default user attributes, but you can add user attributes with custom values for Active Directory and Delinea Platform Directory users. These added attributes can be useful as valid targets of MFA; for example, as an alternate email or phone number. The added attributes are stored on the Delinea Platform only. They are not copied to Active Directory.
To make additional attributes available for login authentication rules and SAML user authentication, you must first add them here.
-
Click the Additional attributes tab.
-
Click Add Attributes.

-
Name: Enter a descriptive name for the attribute. The name can contain only letters, numbers, and underscores. It must start with a letter, and must include at least one underscore. For example:
employee_status -
Attribute value: Select the attribute value from the dropdown list.

Attribute Value Description Number Allow whole numbers Number (decimal) Allow numbers with decimals Text Allow any string True/False Display a dropdown list for the attribute value Date Time Display a date and time picker for the attribute value -
Description: Enter a description for the attribute (optional) .
-
Click Save.
Activity Tab
The Activity tab lists each of the user's activities (events) on the platform, including the following:
- Login
- Logout
- Security Question Set
- Password Change
- Password Change Failed
- AD Password Change
- AD Password Change Failed
For each activity, the following information is displayed:
- Date/Time
- Event name
- Status (Success or Failed)
- Browser
- IP Address
- Operating System
Policy Summary Tab
The Policy Summary tab displays all information about existing policies currently associated with a specific user. The page does not provide editing capabilities, because all of these policies are managed elsewhere.

Secret Server Settings Tab
The Secret Server Settings tab displays the user's settings for Secret Server.
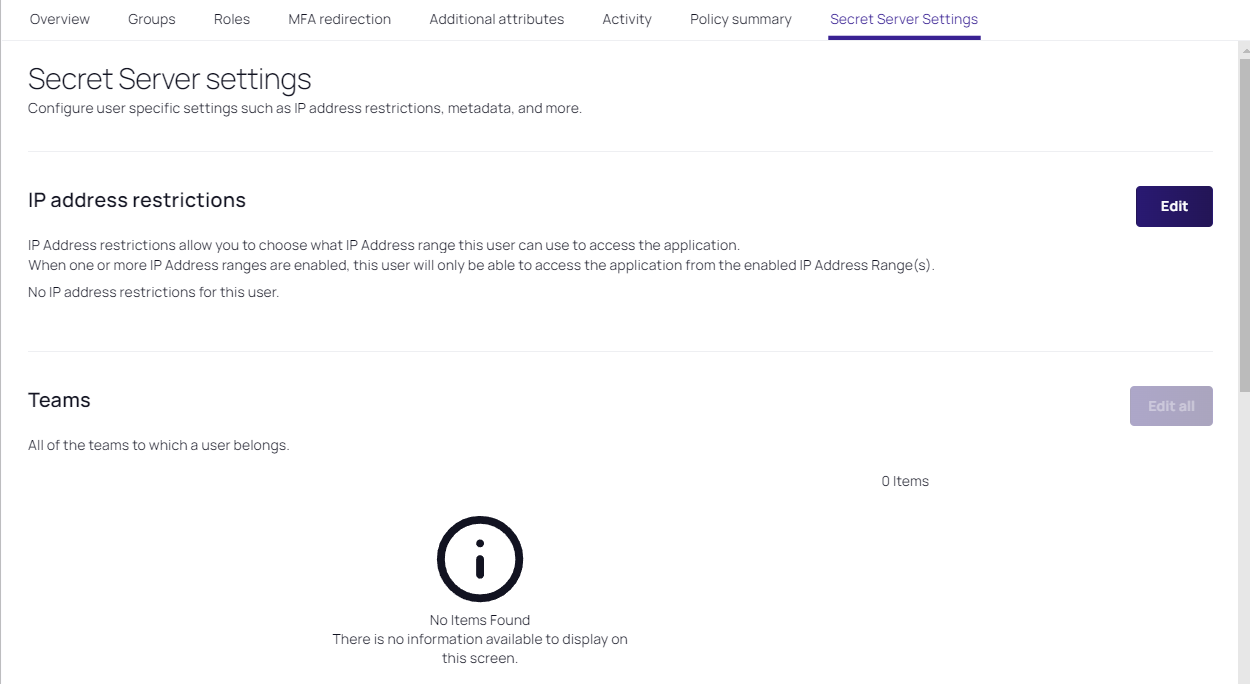
Click Edit next to IP address restrictions to add, remove, or modify the user's IP restrictions.
Click Edit next to Teams to add, remove, or modify the user's teams.
Active Sessions Tab
On the Active Sessions tab, a table displays one row per active session. A user may have multiple concurrent sessions across different browsers or devices. Each row includes the following details:
-
Client Browser – The browser used to establish the session (e.g., Chrome).
-
OS – The operating system of the client device (e.g., Mac).
-
Client IP – The IP address from which the session originated.
-
Session Created On – The date and time the session was created.
-
MFA Factors – The authentication methods used (e.g., Password / SSO).
The current session is labeled "Current session," reflecting the browser name.
Revoking Sessions
To revoke a single session, navigate to the session and click the trash icon.
To revoke all active sessions for the account, click Revoke all sessions in the upper-right corner of the Active Sessions tab. This immediately invalidates all existing sessions, requiring the user to re-authenticate on their next access.
Revoking sessions does not delete the account or change the user's credentials. It only terminates active login sessions.
Use Cases
-
Suspected unauthorized access: Revoke all sessions if a user's account may have been compromised. This immediately logs out any unauthorized party across all active sessions.
-
Offboarding: Ensure a departing user has no active sessions across any device before disabling or deleting the account.
-
Session audit: Verify that all active sessions originate from expected devices, browsers, and IP addresses. Multiple unfamiliar sessions may indicate shared credentials or a compromised account.
For more information, see: