Troubleshooting
How to Extend the Validity of the Tivoli Directory Integrator Certificate?
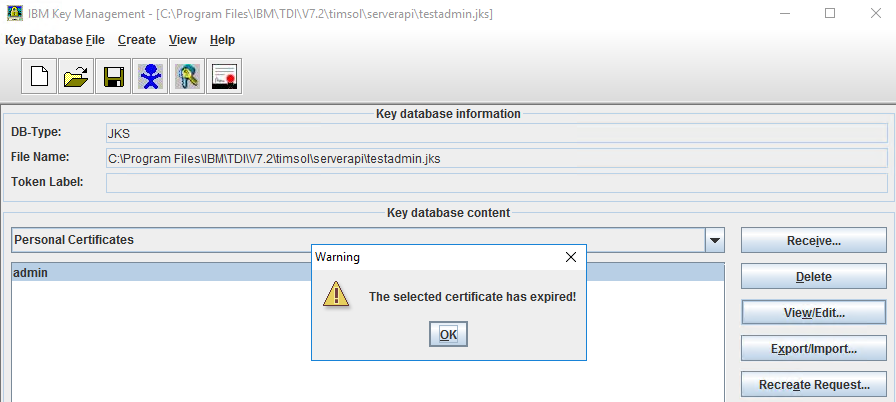
If you see the following warning message ‘The selected certificate has expired!’ from the Check the validity of the Tivoli Directory Integrator certificate section, it indicates that the certificate used for securing communications in Tivoli Directory Integrator (TDI) has expired and needs to be extended. See the following steps.
-
Select OK.
-
In Windows Search, type cmd and select Enter. The results are auto-populated.
-
Right-click the Command Prompt and select Run as Administrator.
-
In the User Account Control dialog box, select Yes. The Administrator: Command Prompt opens.
-
To move to the timsol folder, type
C:\Program Files\IBM\TDI\V7.2\timsoland selectEnter.-
Run the following commands:
-
"c:\Program Files\IBM\TDI\V7.2\jvm\jre\bin\keytool" -selfcert -v -alias server -validity 730 -keystore testserver.jks -storepass server -
"c:\Program Files\IBM\TDI\V7.2\jvm\jre\bin\keytool" -selfcert -v -alias admin -validity 730 -keystore serverapi\testadmin.jks -storepass administrator -
"c:\Program Files\IBM\TDI\V7.2\jvm\jre\bin\keytool" -export -alias server -keystore testserver.jks -storepass server -file myserver.crt -
"c:\Program Files\IBM\TDI\V7.2\jvm\jre\bin\keytool" -export -alias admin -keystore serverapi\testadmin.jks -storepass administrator -file myadmin.crt -
"c:\Program Files\IBM\TDI\V7.2\jvm\jre\bin\keytool" -delete -alias admin -keystore testserver.jks -storepass server -
"c:\Program Files\IBM\TDI\V7.2\jvm\jre\bin\keytool" -import -alias admin -keystore testserver.jks -storepass server -file myadmin.crt -
Type "yes" to confirm your trust in this certificate.
-
"c:\Program Files\IBM\TDI\V7.2\jvm\jre\bin\keytool" -delete -alias server -keystore serverapi\testadmin.jks -storepass administrator -
"c:\Program Files\IBM\TDI\V7.2\jvm\jre\bin\keytool" -import -alias server -keystore serverapi\testadmin.jks -storepass administrator -file myserver.crt


Type "yes" to confirm your trust in this certificate.

Go to
C:\Program Files\IBM\TDI\V7.2\timsoland verify that certificatesmyadminandmyserverare added to thetimsolfolder. -
-
-
Go to
C:\Program Files\IBM\TDI\V7.2\timsoland copy the testserver.jks file. -
Go to
C:\Program Files\IBM\TDI\V7.2and paste the testserver.jks file. -
Go to
C:\Program Files\IBM\TDI\V7.2\timsol\serverapiand copy testadmin.jks file. -
Go to
C:\Program Files\IBM\TDI\V7.2\serverapiand paste testadmin.jks file.
FAQ
How to Import the Delinea Certificate?
To establish a secure connection between Delinea Secret Server and IBM IGI, you must import the Delinea certificate.
To import Delinea certificate:
-
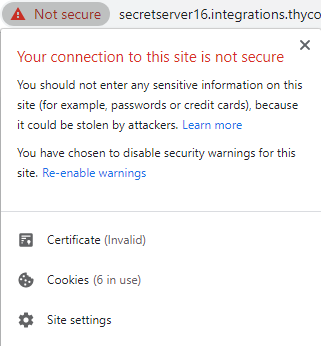
Select the Not secure part of the Delinea Server URL. Your connection to this site is not secure dialog box opens.
-
Select Certificate (Invalid) and the Certificate dialog box displays.
-
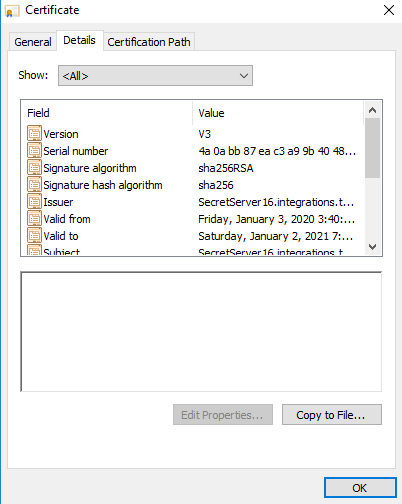
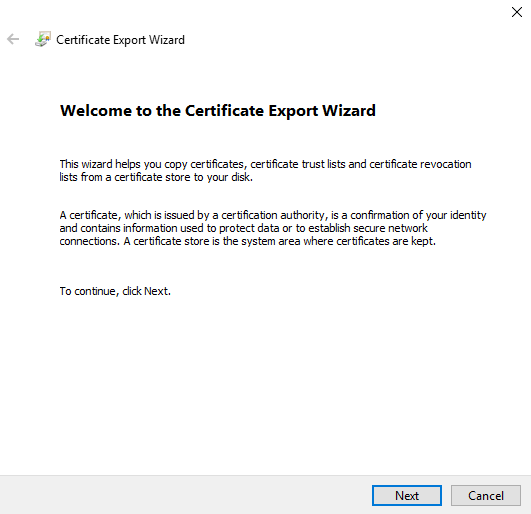
In the Details tab, select Copy to File. The Welcome to the Certificate Export Wizard opens.
-
Select Next. The Export File Format panel opens.
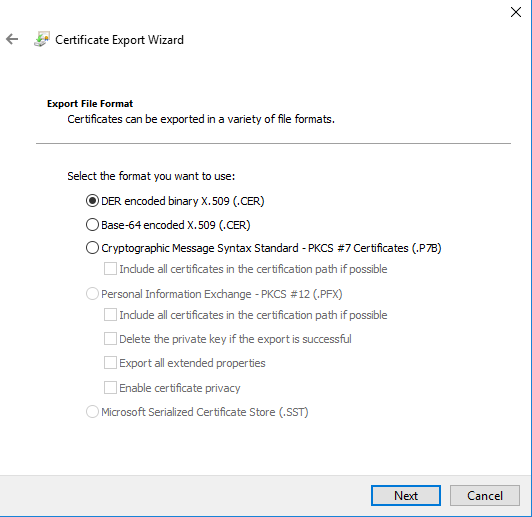
-
Select Next. The File to Export panel opens.
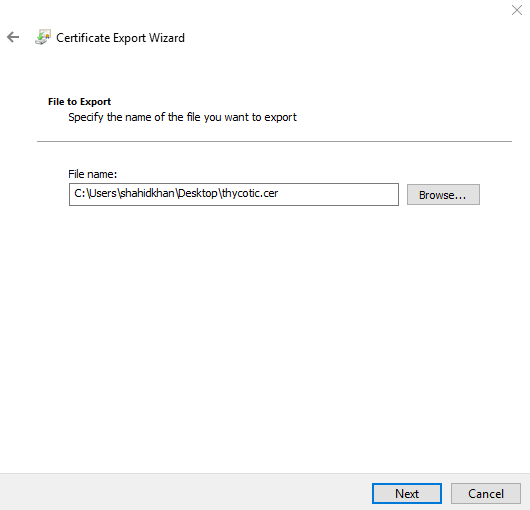
-
In the File name text box, type the name for the certificate to be exported.
-
Select the Browse... button to search and select the location where you want to export the certificate.
-
Select Next. The Completing the Certificate Export Wizard opens.
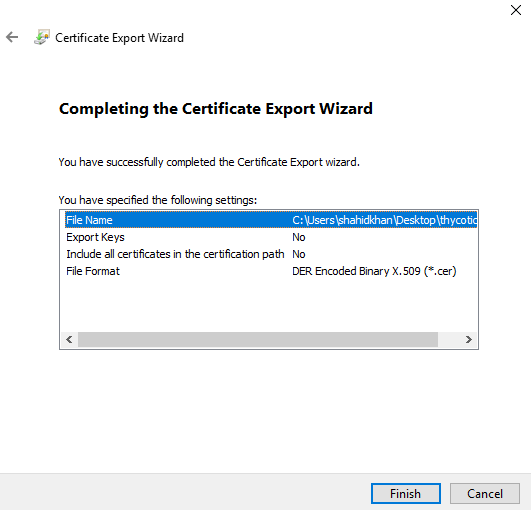
-
Select Finish. The export was successful. message displays. The certificate is exported to the location selected.
-
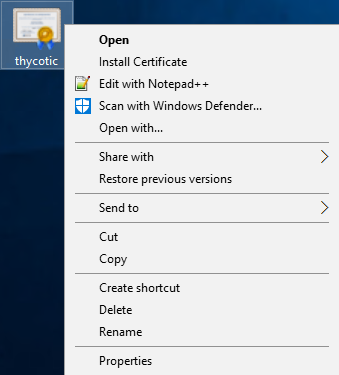
Right-click the certificate where you have exported and select Install Certificate.

-
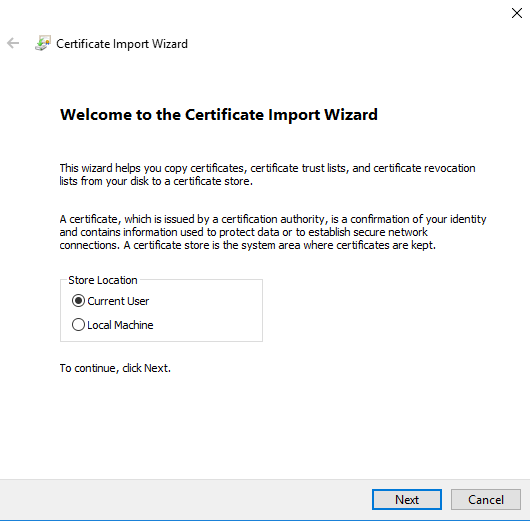
The Welcome to the Certificate Import Wizard opens.

-
In the Store Location area, select the Current User checkbox and then select Next. The Certificate Store panel opens.
-
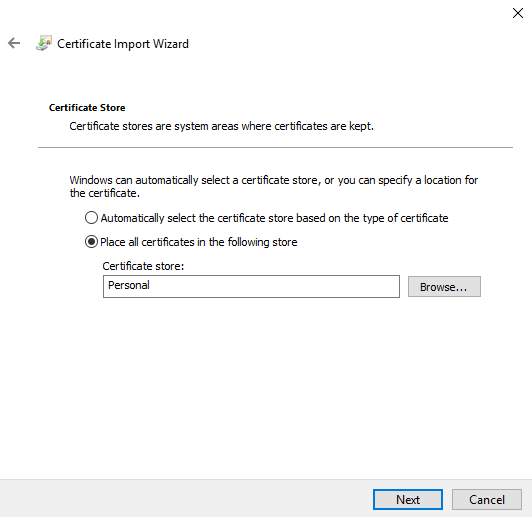
Select the Place all certificates in the following store checkbox and then select Browse.
-
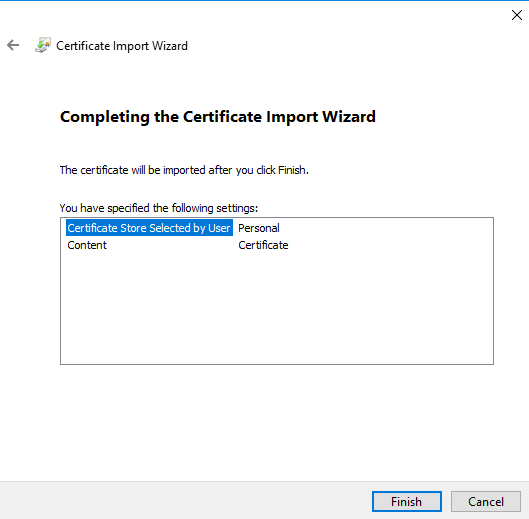
Select the Personal folder and then select Next. The Completing the Certificate Import Wizard panel opens.
-
Select Finish. The import was successful. message displays.
-
Right-click the certificate where you have imported and click Install Certificate.
-
The Welcome to the Certificate Import Wizard displays.
-
In the Store Location area, select Current User and then click Next. The Certificate Store panel displays.
-
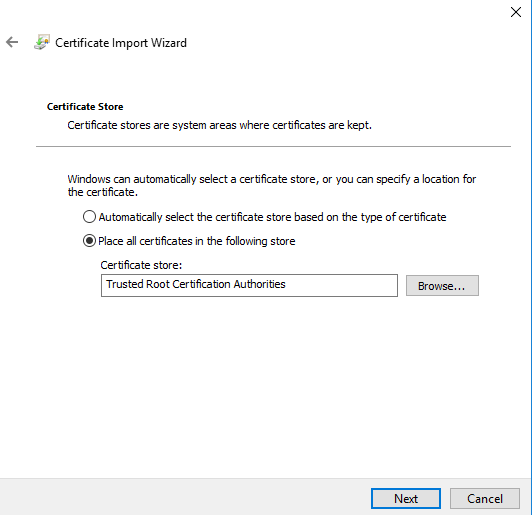
Select the Place all certificates in the following store checkbox and then select Browse.
-
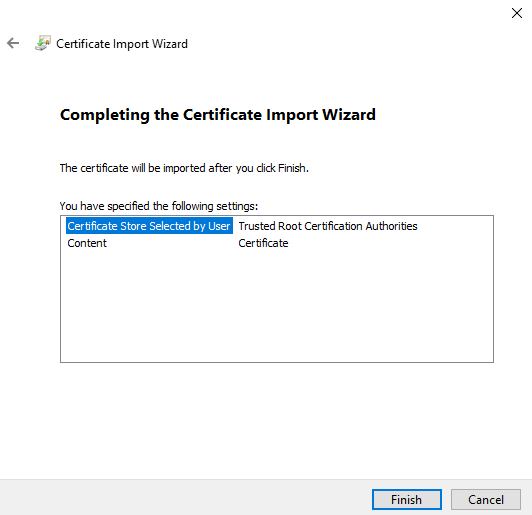
Select the Trusted Root Certification Authorities folder and then select Next. The Completing the Certificate Import Wizard panel opens.
-
Select Finish. The import was successful. message displays.
How to Add the Delinea Certificate?
-
Go to
C:\Program Files\IBM\TDI\V7.2\jvm\jre\bin.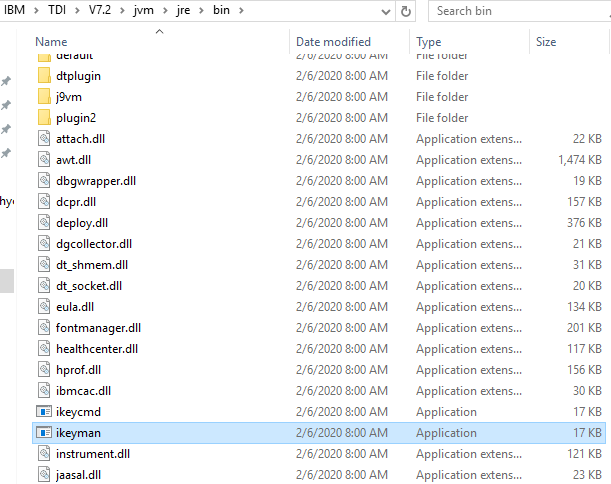
-
Right-click the ikeyman file and select Run as administrator.
-
In the User Account Control dialog box, select Yes. The IBM Key Management dialog box opens.
-
Select the Open
 icon. The Open dialog box opens.
 -
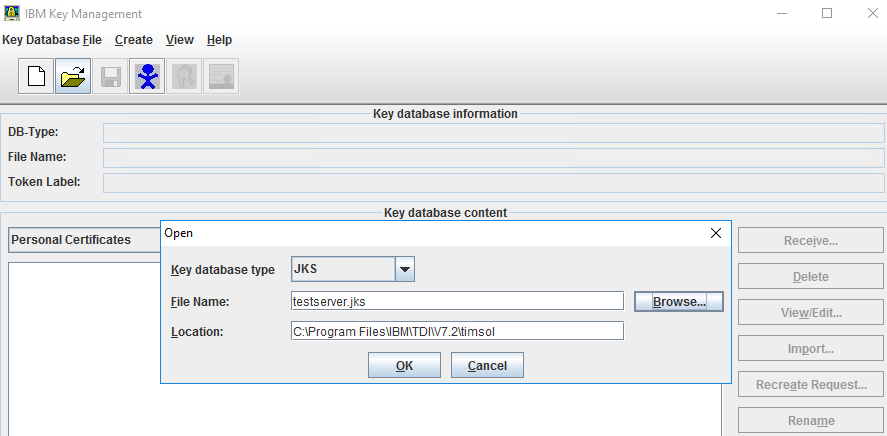
Select Browse and go to
C:\Program Files\IBM\TDI\V7.2\timsoland double-click the timsol folder. -
Select testserver.jks and the select the Open icon. The Open dialog box opens.
-
Select OK. ThePassword Prompt dialog box opens.
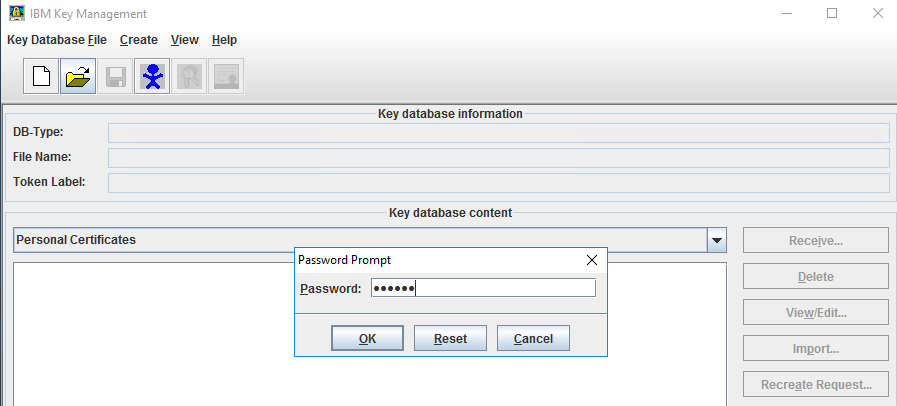
-
In the Password text box, enter the password and select OK.
The default password for
testserver.jksisserver. -
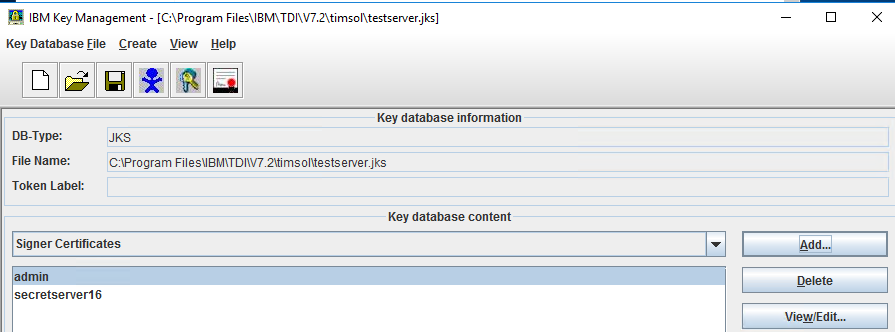
In the IBM Key Management dialog box, select View/Edit to display the certificate details.
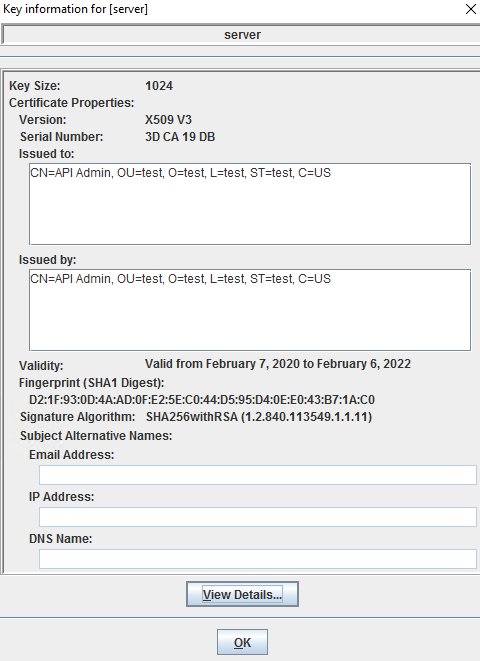
-
Verify the validity of the certificate and close the dialog box.
-
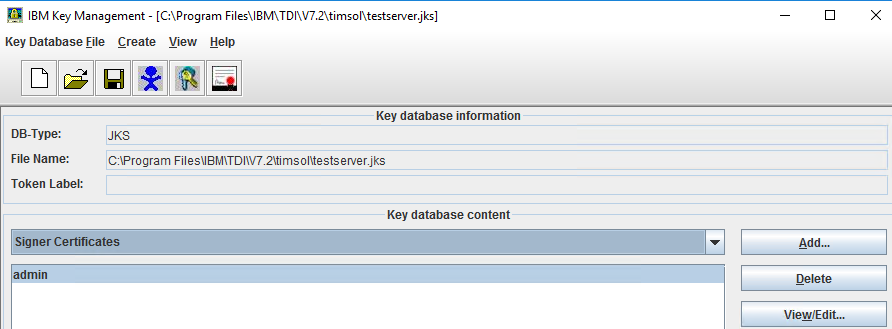
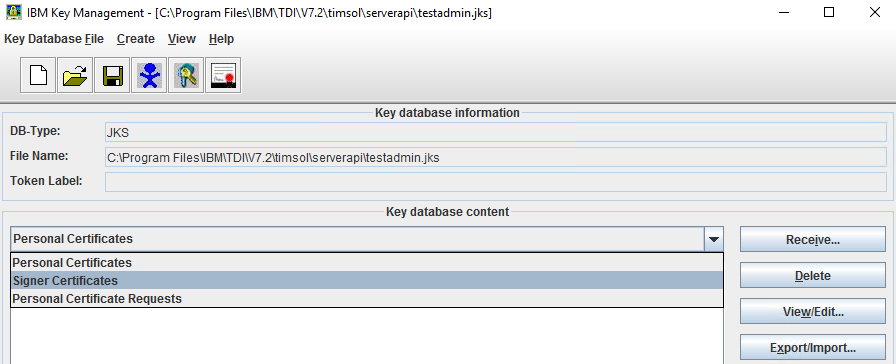
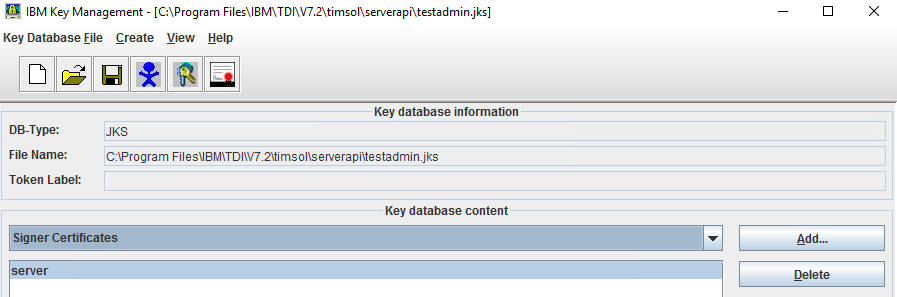
From the type of certificate list, select Signer Certificates.
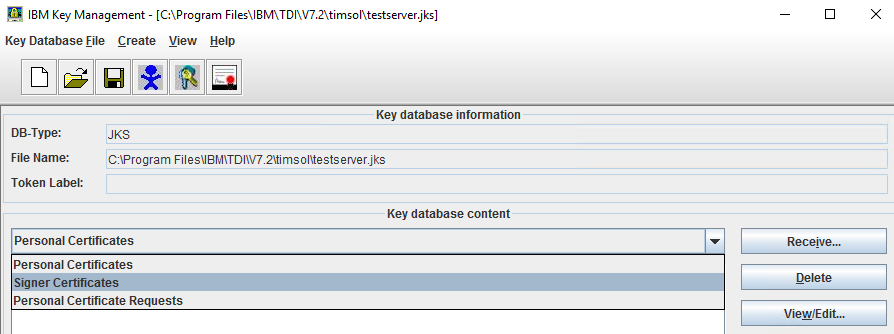
-
The type of Signer Certificate as admin is listed. Select Add. The Open dialog box opens.
-
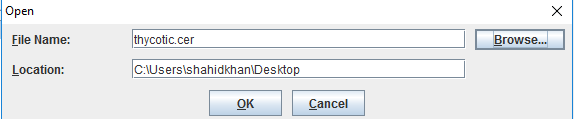
Select Browse and go to the thycotic.cer location.
-
Select thycotic.cer and then select the Open icon. The Open dialog box opens.
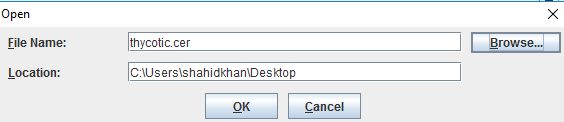
-
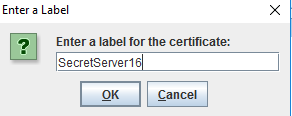
Select OK. The Enter a Label dialog box opens.

-
In the Enter a Label for the certificate text box, enter the label and then select OK. The certificate is listed in the Key database content section.

-
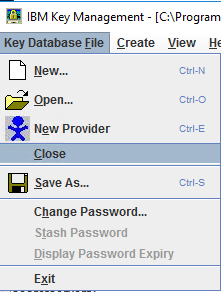
Select the Key Database File tab > Close. The certificate is saved.
-
Select the Open icon. The Open dialog box opens.
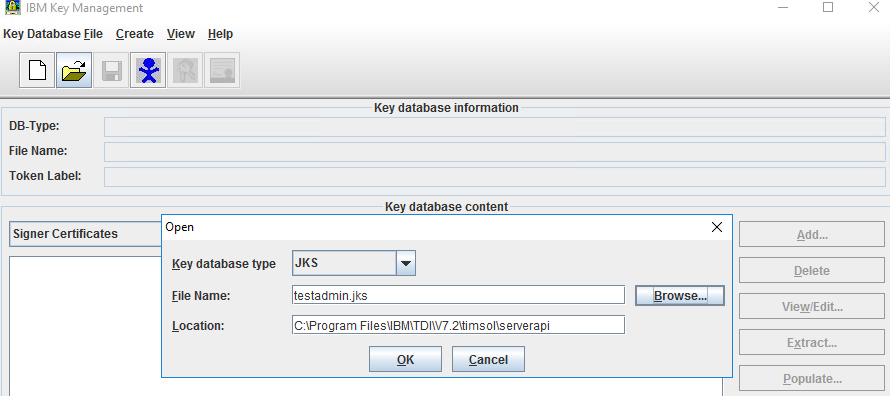
-
Select Browse and navigate to
C:\Program Files\IBM\TDI\V7.2\timsol. -
Double-click the timsol folder and then double-click the serverapi folder.
-
Select testadmin.jks and then select the Open icon.
-
Select OK. The Password Prompt dialog box opens.
-
In the Password text box, enter the password.
The default password for testadmin.jk is administrator.
-
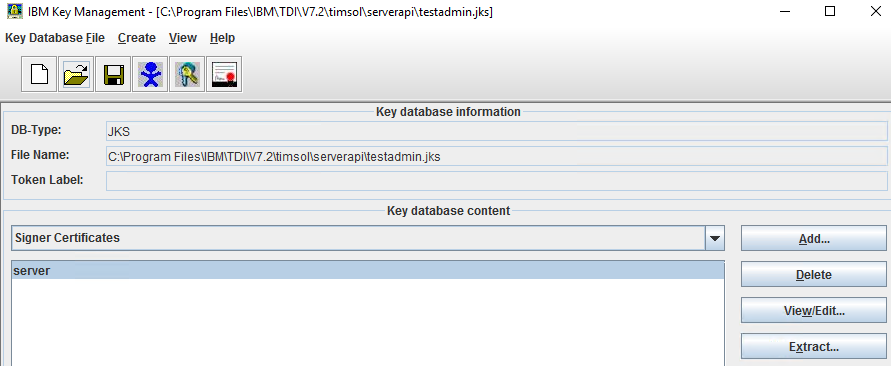
Select OK. The certificate is listed in the Key database content section.
-
From the type of certificate list, select Singer Certificates.
-
Select the certificate name server and then select Add.
-
The Open dialog box opens.
-
Select the Browse button to find and select the location of thycotic.cer.
-
Select Ok. The Enter a label dialog box opens.
-
In the Enter a label for the certificate text box, enter the label and then select OK. The certificate is listed in the Key database content area.
-
Go to Key Database File tab > Close. The certificate is saved.
