Remote Password Changing for Okta
When using Remote Password Changing (RPC), Secrets automatically change remote account passwords when they expire, either immediately or on a defined schedule. You can also configure password strength and other attributes.
Prerequisites
Before configuring the integration, ensure the following requirements are met:
-
Download the Okta Verify app from the App Store or Google Play. See Configure Okta Verify for setup details.
-
If using Okta password changers with a distributed engine, ensure the version is 8.4.32.0 or newer.
Setup and Configuration
To set up RPC in Okta, you must complete the following tasks:
-
Create a custom role for the minimum required permissions for RPC.
-
Create each user account whose credentials you want to automatically update (RPC) or verify (heartbeat).
-
Generate an API key to authenticate with the Okta API during remote password changes.
The following sections describe how to perform these tasks.
Creating a Custom Role with the Minimum Permissions for RPC
Configuring RPC in Okta requires a dedicated account called privileged user. You need to use the privileged user to create an API key, which is required to access the Okta APIs for remote password changes. You can choose any user account in Okta as the privileged user for RPC purposes. For information about creating user accounts in Okta, see Okta - How to add users manually.
The privileged user must have specific minimum role permissions to enable RPC. You must create a role with the required permissions in Okta. You also need to create a resource set (a collection of resources) to define the scope of the role by constraining it to the resources in the resource set. After you create a custom role and a resource set, you must associate them with your privileged user by assigning them to the user.
This section describes how to create a custom role with the minimum required permissions for RPC in Okta, create a resource set, and assign the role and resource set to the privileged account.
To create a custom role with the minimum permissions for RPC:
-
Log in to Okta as a super admin.
-
To create a custom role:
-
Navigate to Security > Administrators.
-
Go the Roles tab and select Create new role.
-
Provide a name and an optional description for the new role.
-
Under Select Permissions, expand User and select Manage users:

-
Select Save role.
-
-
To create a resource set for the role:
-
Navigate to Security > Administration and go to the Resources tab.
-
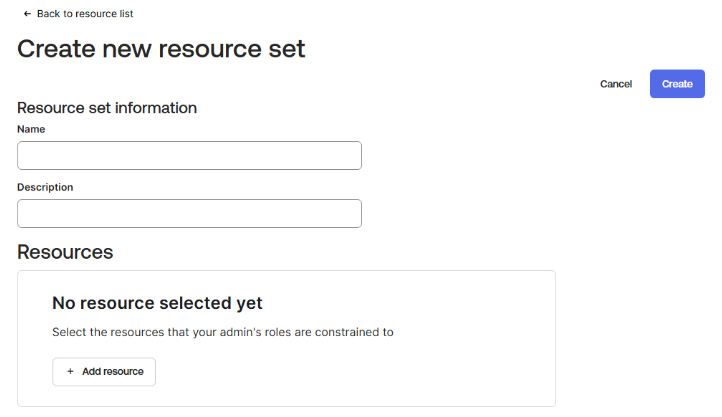
Select Create new resource set:
-
Provide a name and an optional description for the resource set.
-
Select Add resource, the Add Resource dialog appears.
-
Select a resource type and then add appropriate resources to the resource set.
For example, you can select the Users resource type and then choose All users, to add all users to the resource set.
-
Select Save selection and then Create.
-
-
Navigate to Directory > People.
-
On the People page, search for and select your privileged user account.
-
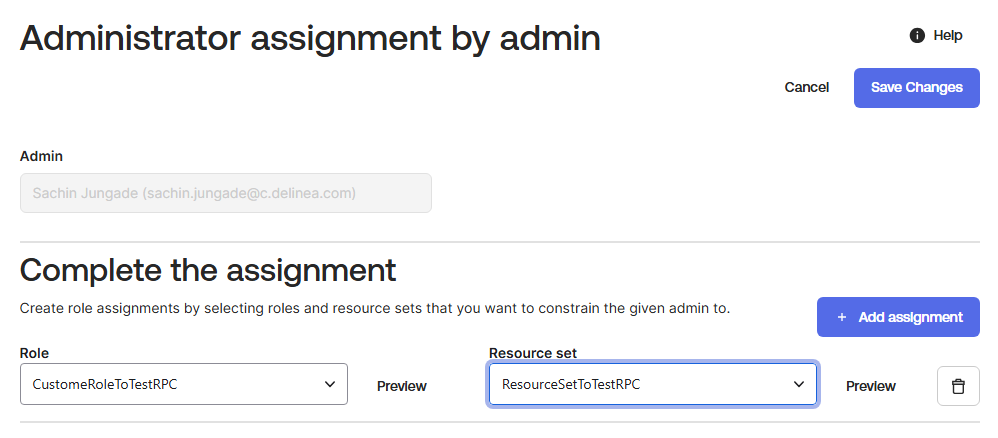
On the user’s page, go to the Admin roles tab and select Edit individual admin privileges.
-
Under Complete the assignment, select the custom role and role set that you created, and assign them to the user:
-
Select Save Changes.
Creating a User Account
You must create an Okta user account whose credentials will be verified (heartbeat) or changed (RPC).
To create a user account in Okta:
-
Log into the Okta Administrator Dashboard using your administrator credentials.
-
Navigate to Directory > People.
-
Select Add Person and complete the following fields in the popup dialog:
-
First name
-
Last name
-
Primary e-mail
-
Username
-
-
Select Save to create the new user account.
Generating an API Key
Heartbeat and RPC operations on accounts in Okta are performed through calls to the Okta APIs. You must generate an API key to provide the necessary API credentials for authentication with the Okta APIs.
To generate an API key:
-
Log into Okta as the privileged user.
-
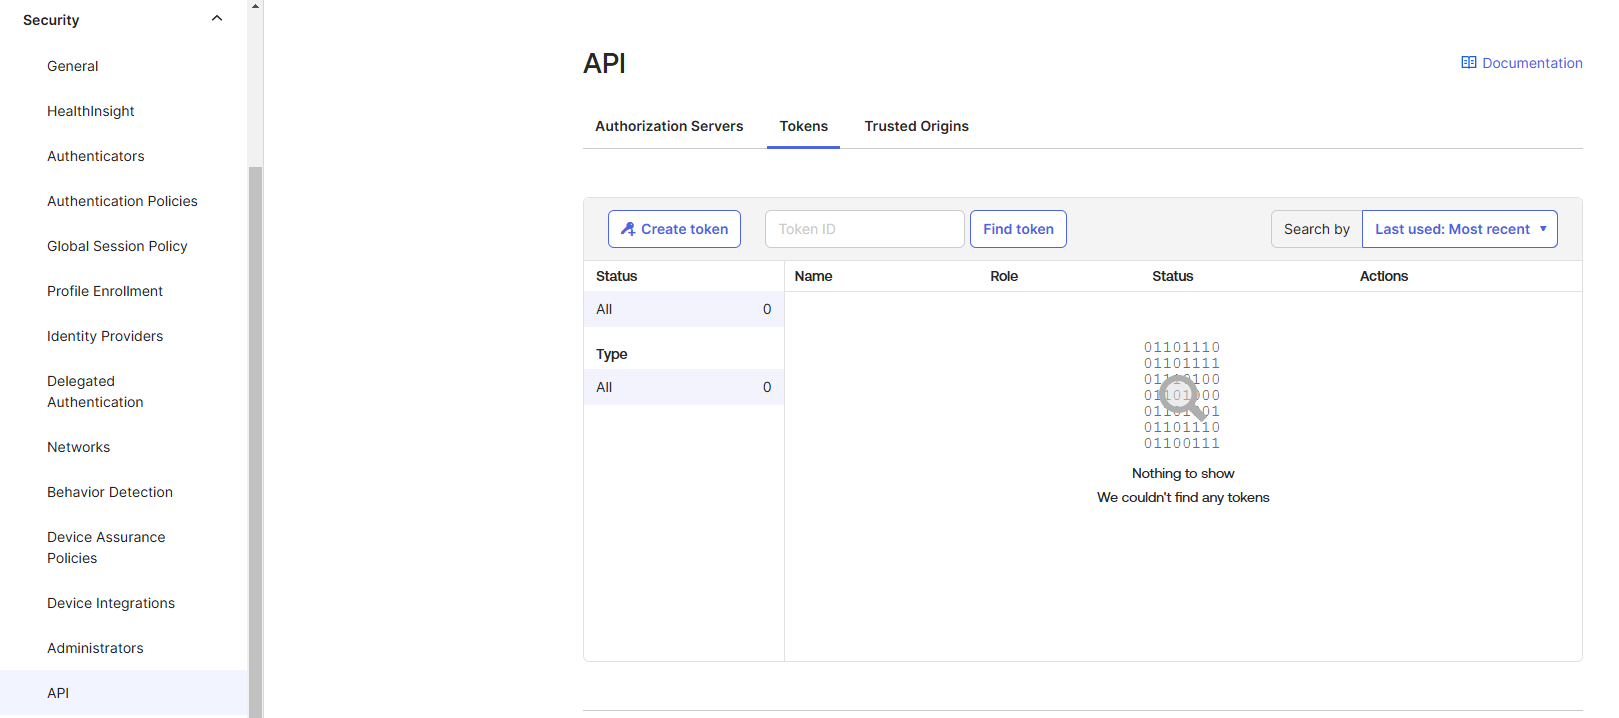
Navigate to Security > API.
-
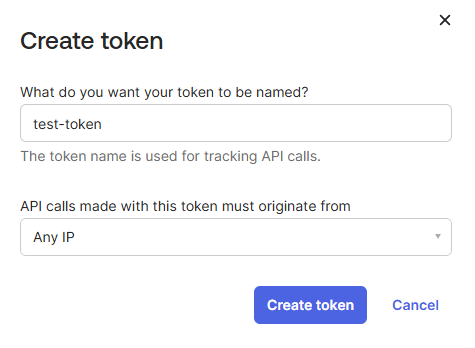
In the Tokens tab, select the Create Token button. The Create token popup appears:
-
Provide a name for the token, select Any IP from the dropdown, and select Create Token:
-
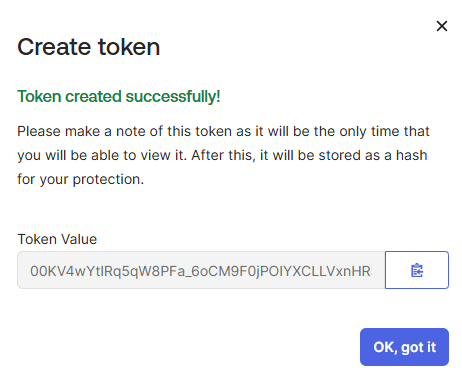
A success message for the created token appears. Copy the generated API key (Token Value) to a secure location:
Configuring Okta RPC in Secret Server
To configure Secret Server for Okta RPC, you must complete the following tasks:
-
Create a secret to hold the Okta API key.
-
Create a secret for the Okta user account whose credentials you want to be changed or verified.
Creating a Secret to Hold the Okta API token
You must create a secret in Secret Server to hold the Okta API key that you created in the Okta UI.
To create a secret to hold the Okta API key:
- Log into Secret Server.
-
Navigate to Secret Server > All secrets.
-
Select the Create secret button. The Create new secret popup appears.
-
Search for and select the Generic API Key template.
-
Create a Secret using the Generic API Key type to hold the Okta token value:
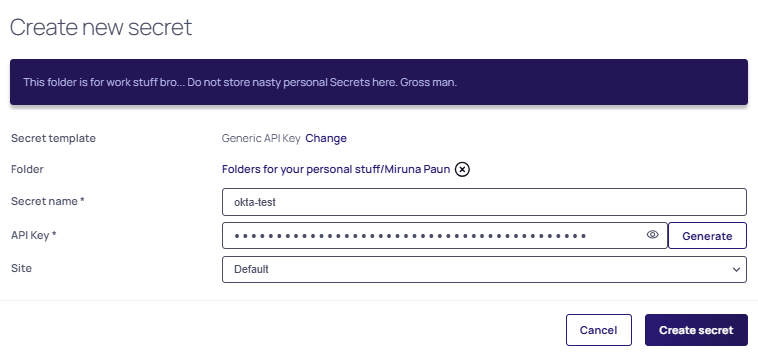
-
In the API key field, paste the Token Value (API Key) copied from the Okta interface.
-
Select the Create secret button to save the secret. The newly created secret opens by default.
Creating a Secret for the Okta User Account
You must create a secret to hold the Okta user account whose credentials you want to be verified or password changed. All Okta accounts require an API key in the privileged account field under the Remote Password Changing tab to change or verify passwords. If no API key is assigned, a warning notification appears:

To create a secret for the Okta user account:
-
Log into Secret Server.
-
Navigate to Secret Server > All secrets.
-
Select the Create secret button. The Create new secret page opens.
-
Search for and select the Okta Account template.
-
Complete the following fields:
-
Secret name: Provide a name for your secret.
-
Host: Use your tenant URL (e.g. https://yourcompany.okta.com).
-
Username: Enter the username of your Okta account.
-
Password: Enter the password of your Okta account.
-
Site: Select a site with a distributed engine connected to the internet:

-
-
Select the Create secret button to save the secret. The newly created secret opens by default.
-
Access the Remote password changing tab.
-
Select Edit in the RPC / Autochange section.
-
Select the option for Change password using titled Privileged account credentials.
-
A second option for Change password using appears, click on No secret selected.
-
Search for the secret you created previously that holds the API key of your Okta account:

-
Click Save to implement your changes, and return to the Overview tab.
-
Select the Heartbeat button in the top right corner, to verify the credentials. If the credentials are valid the status will change from Pending to Success.
To check the heartbeat status immediately, Search for Heartbeat Log.
Verification
To monitor heartbeat status, Search for Heartbeat Log. To change the password immediately, select Change password now.