Configuration
To enable the integration between Splunk Enterprise and Secret Server, you must configure Splunk Enterprise.
Configuring Splunk Enterprise
-
Go to Splunk enterprise > Settings > Add Data > Monitor.
-
On the Select Source page, select TCP/UDP.
-
Select UDP and enter the port configured in Secret Server (for example, TCP 6514).
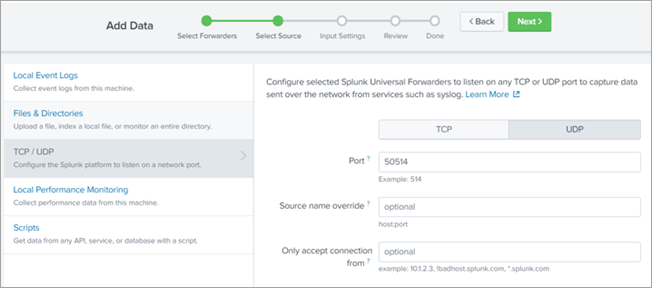
-
On the Input Settings page, select Next and select syslog as the source type.
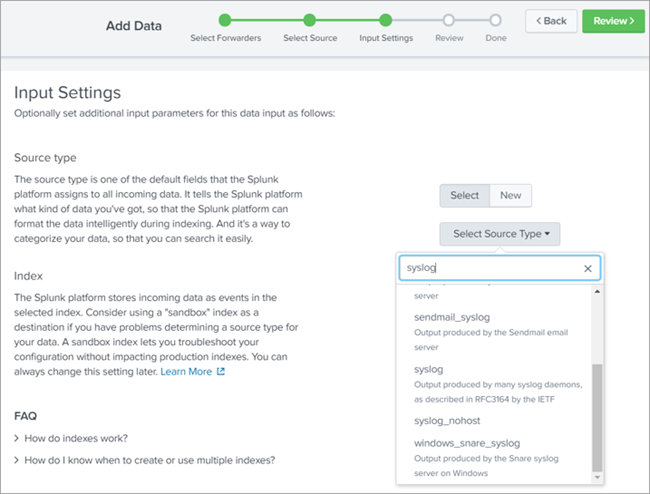
-
In the Index list, select Default.
-
Select Review.
-
On the Review page, review the information and select Submit.
The message “TCP input has been created successfully” appears.
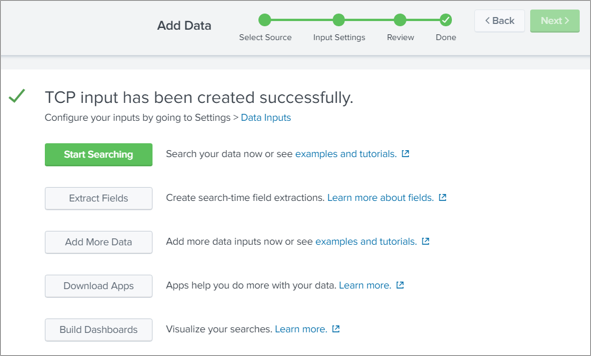
-
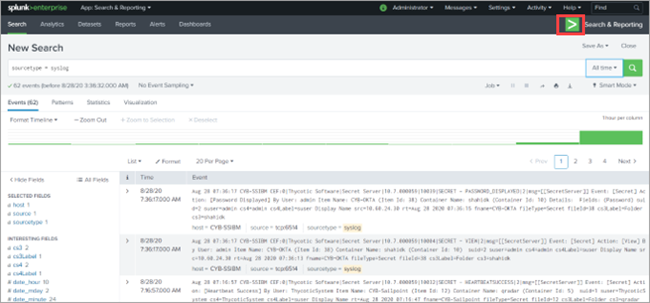
Select Start Searching.
-
On the New Search page, in the New Search box, enter the query and select the Search icon.