Privilege Manager ServiceNow Setup
Setting Up ServiceNow Integration
Foreign System Configuration
The following are the steps to integrate Workflow between your ServiceNow Ticketing System and Integrations.
-
Verify which ServiceNow User account you will use for your integration with Integrations. If you decide to create a new user account to manage your approval requests, make sure that it includes the required roles for your environment:
- Web Service Admin
web_service_adminand - Approval Admin
approval_admin. - For ServiceNow MID Server environments, the
mid_serverrole permission also needs to be added to the account. - The task Create ServiceNow Request Items requires temporary admin credentials for the ServiceNow instance. Once those items are created, the user does not need admin access anymore.
- Web Service Admin
Refer to ServiceNow product documentation, specifically Base System Roles.
-
Verify that the ServiceNow connector is installed for your Integrations Cloud instance:
-
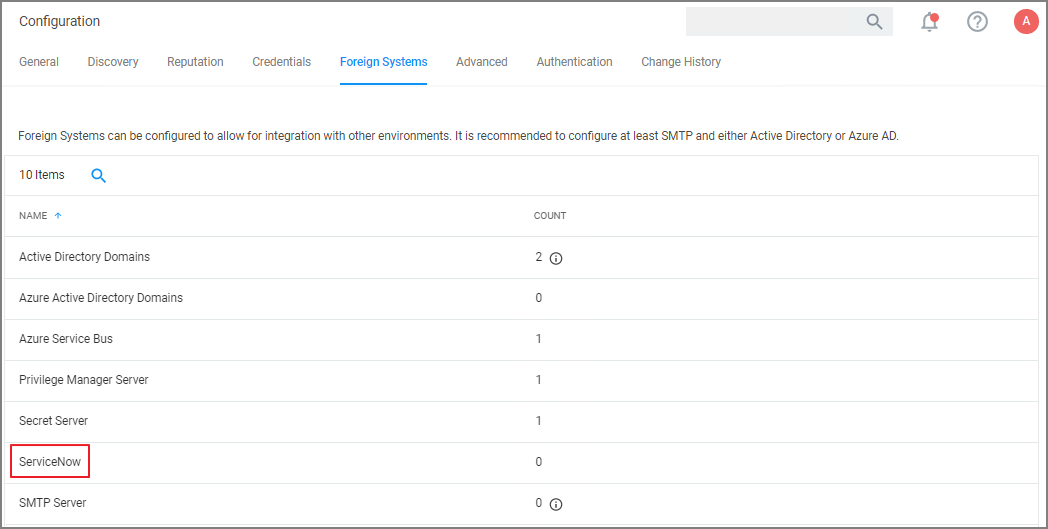
In the Integrations console navigate to Admin > Configuration and select the Foreign Systems tab.
-
If the connector is installed, ServiceNow is listed under Foreign System.
-
-
Select the Credentials tab.
-
Click Create.
-
Under Details, enter a Name and Description for your ServiceNow credentials.
-
Under Settings, enter the information from your ServiceNow User account that was referenced in step 1 above, click Save Changes.
-
Select the Foreign Systems tab.
-
Select the ServiceNow link from the list of foreign systems displayed.
-
Click Create.
-
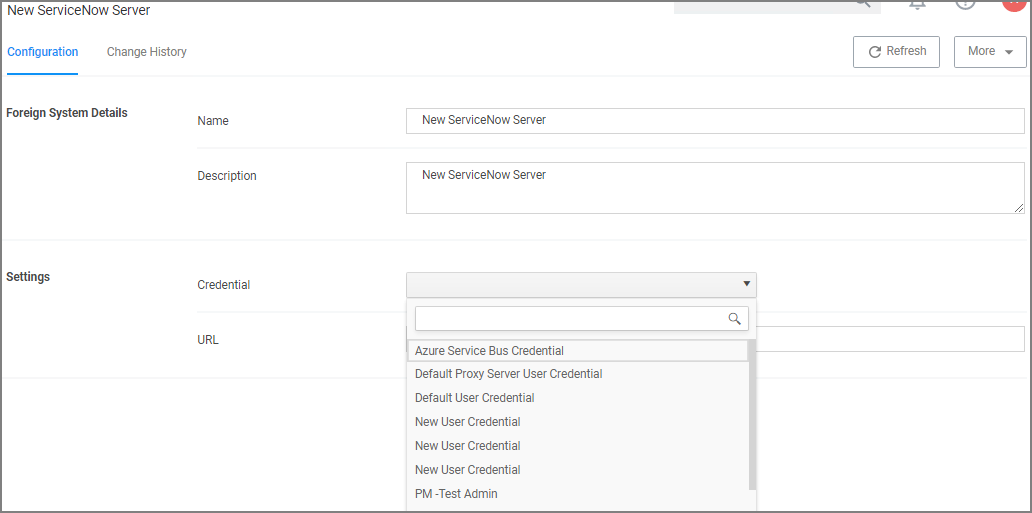
Enter a Name for your ServiceNow Server.
-
Enter the Base URL from your ServiceNow instance
https://[InstanceName].service-now.com/. -
Click Create.
-
Assign the credentials you created previously to link to your instance.