Configuring ServiceNow in Secret Server
The ServiceNow Integration has several configurable settings that you have to perform in Secret Server:
-
Sign into Secret Server.
-
The All Secrets page loads.
-
Navigate to Settings and under the Configuration section, choose Ticket System.
-
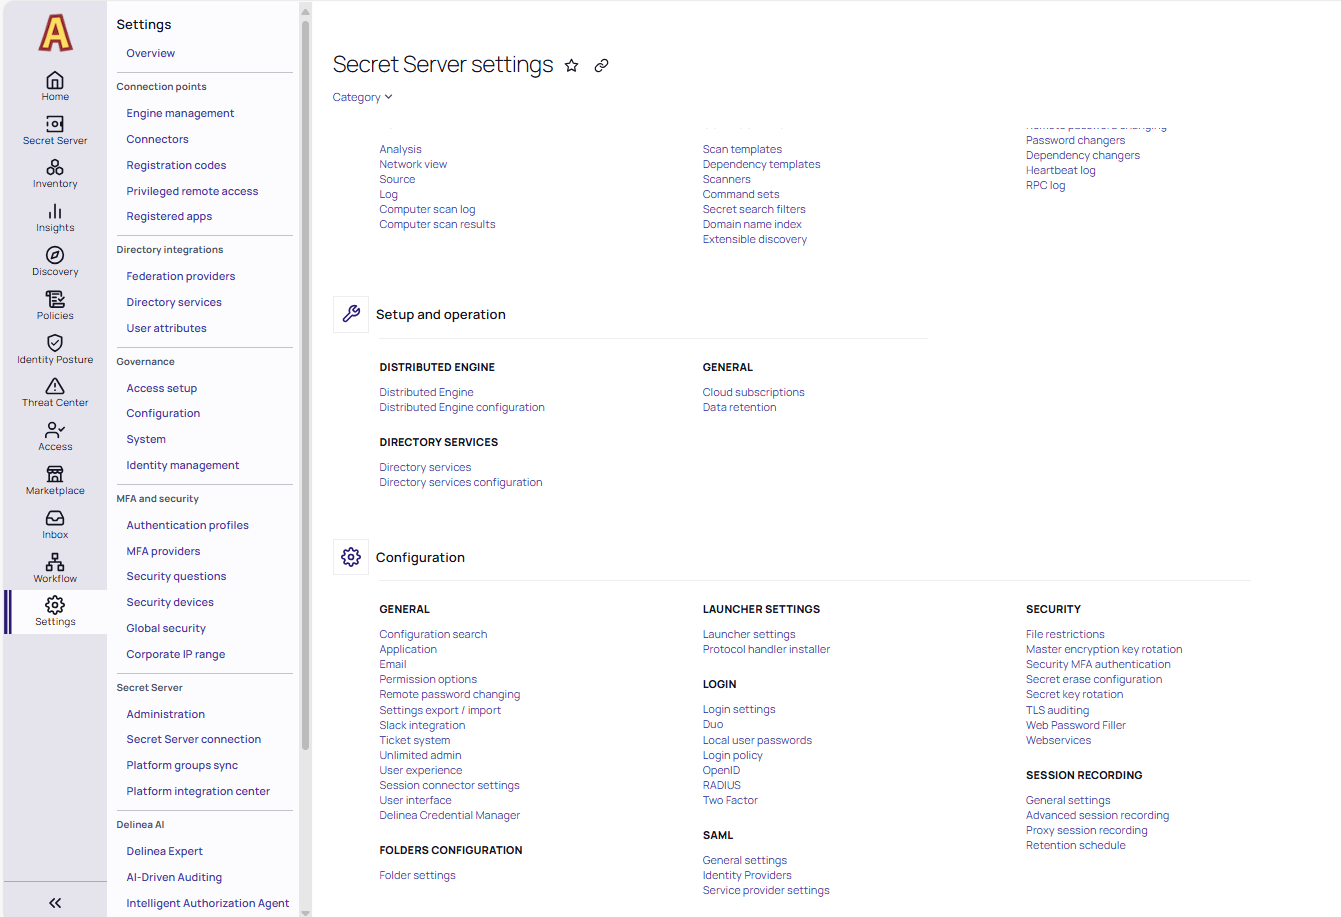
Select Create Ticket System. The New ticket system page appears.

-
Fill in the required information.
- In the Name field, type the name for the ticket system.
- In the Description field, type the details about the ticket system.
- Select the Enabled checkbox if the ticket system is active.
- Select the Default checkbox to allow this system to be selected by default when a user makes a request. Only one ticket system can be the default. When saving as default the previous system that was the default will be deselected.
- In the Ticket number label field, type the label for the ticket number.
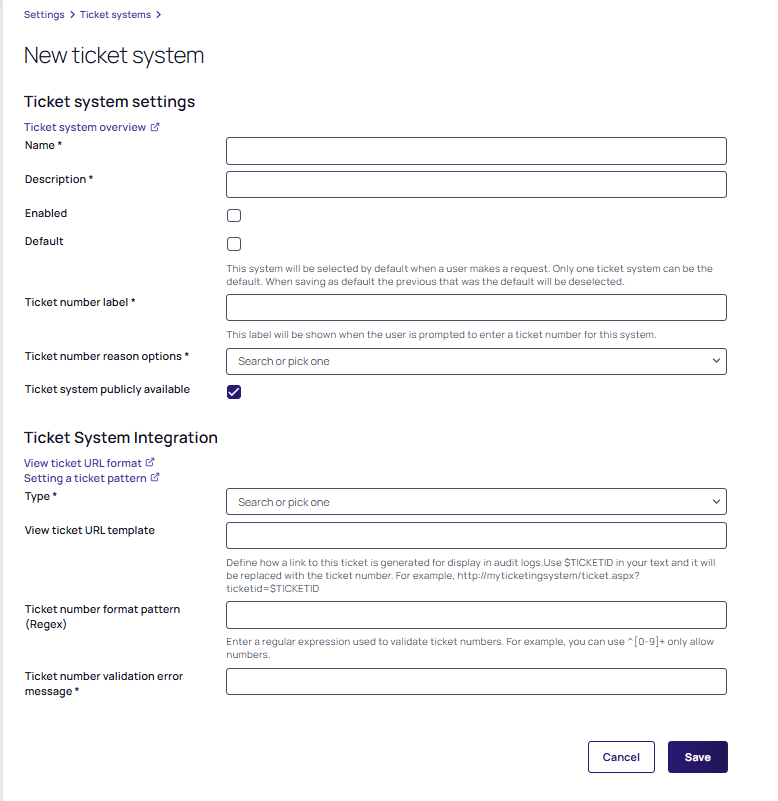
- In the Ticket number Reason Options: Select the appropriate value from the list.
- Select the Ticket System publicly available checkbox if the ticket system is publicly available.
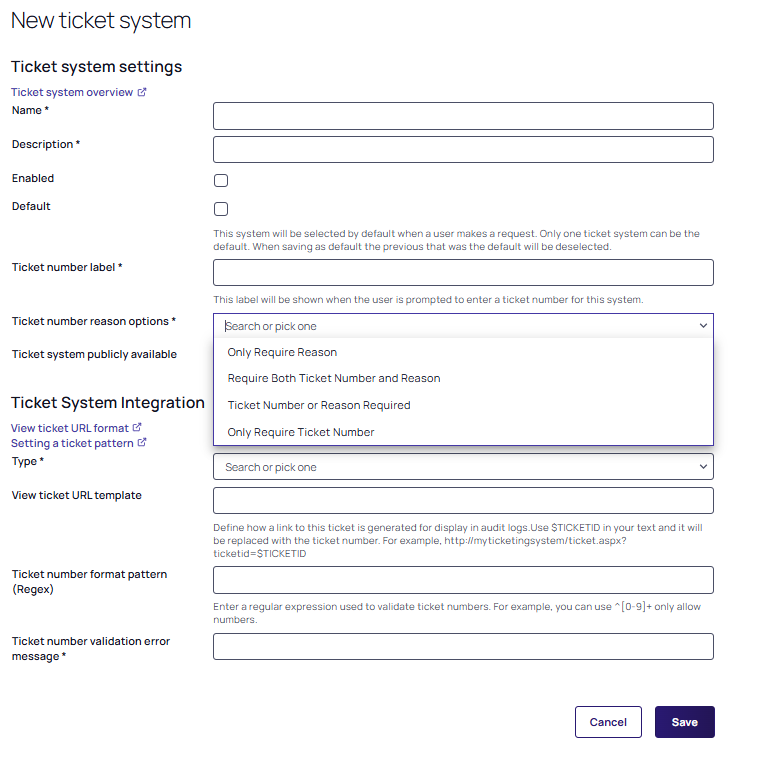
- In the Type field, select the ServiceNow Incident Management or ServiceNow Change Management options from the dropdown list.
-
In the Ticket number format pattern (Regex) field, enter an expression used to validate ticket numbers. There is a specific pattern based on the Regex for each ticket number. Before calling the ServiceNow web service, Secret Server validates the number that matches the pattern.
The sample expressions to validate the ticket numbers are:
-
Incident Management:
^INC[\d]{7}$ -
Change Management:
^CHG[\d]{7}$
-
- In the Ticket Number Validation Error Message, type the error message that is to be displayed for a validation error.
- In the Domain name field, type the name of your instance in the following format:
dev65448.service-now.com. - In the Allowed statuses field, type a comma delimited list of statuses to accept from ServiceNow.
- In the System credentials field, click the No secret selected hiperlinked text to select a secret. This secret will be associated with the ticket number.
- Select the Add Comments to Ticket checkbox to add a comment to the ticket system.
 The Domain name, Allowed statuses, System credentials and Add comments to ticket fields are displayed only when the selected ticket system Type is ServiceNow Incident Management or ServiceNow Change Management.
 -
Select Save. The page for your new ticket system opens: