Configuration
Configuring Okta Endpoint to Work with SCIM Connector
The following steps are required to configure Okta for use as a SCIM Endpoint for the Secret Server SCIM Connector application. They are in addition to making a SCIM Endpoint connection within the SCIM Connector application.
By default, there are two fields in Okta (the First Name and Last Name fields) that are marked as mandatory and used to identify users.
However, the Secret Server SCIM Connector application uses the primary email value to identify users. If the SCIM connector uses the SCIM standard to request user values, it passes blank values for these two fields resulting in data request or importation failure.
To allow Okta and SCIM Connector to communicate successfully, map the Username and Last name fields with the Display Name field when importing data from Secret Server.
Secret Server does not support the First Name and Last Name defined attribute so the user needs to map the First Name and Last Name fields with the Display Name field or a default value for the two fields can be provided.
Mapping the Fields to display in Okta
To map Firstname and Lastname fields with Display name in Okta:
-
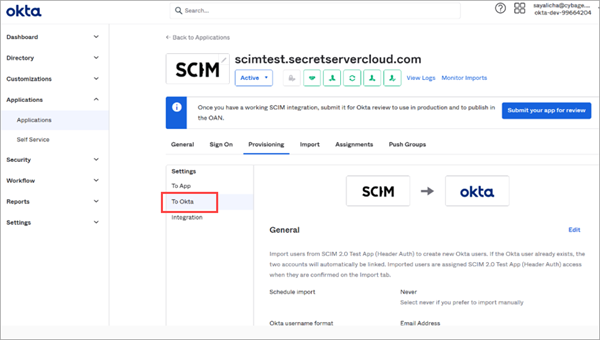
Open the application created in Okta and click the Provisioning tab.
-
Select To Okta under Settings.
-
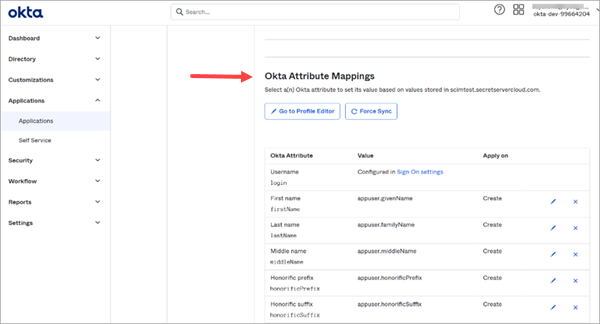
Scroll down to Okta Attribute Mapping.
-
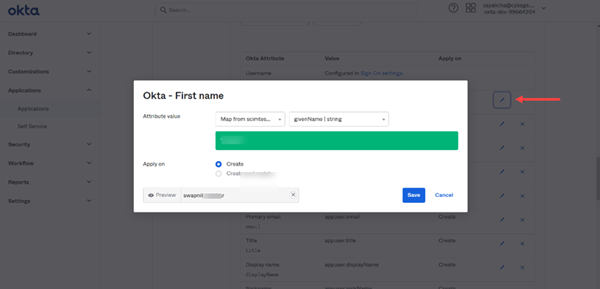
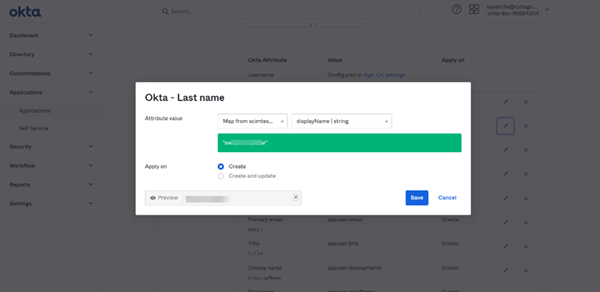
Select the Edit icon for the First name field and the updated attribute value will display.
-
Change the value to displayName instead of givenName and click Save.

-
Follow the same instructions for the LastName field and change the value to displayName and click Save.
-
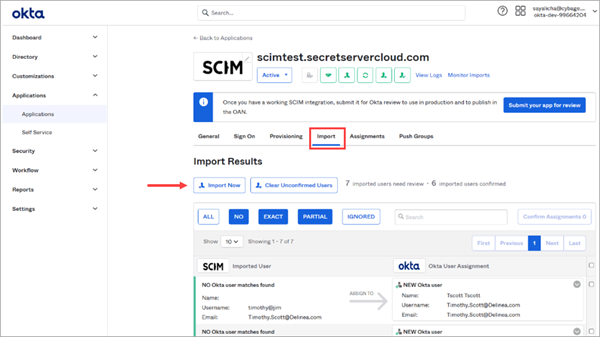
Once completed, go to the Import menu, and click Import Now.
-
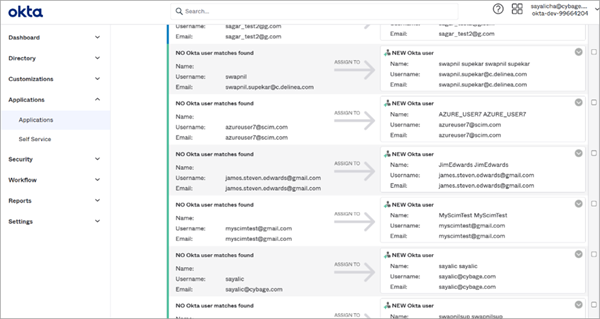
When completed, assign the imported user on the left to the Okta user on the right.
-
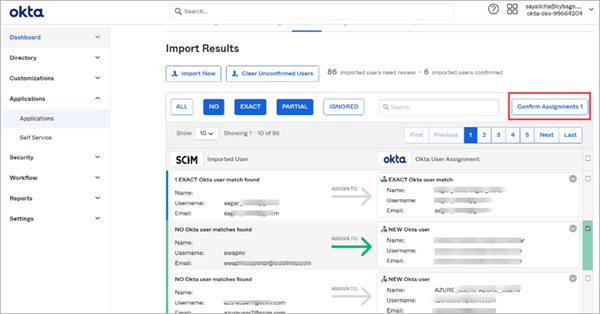
Select the check box to import users to Okta.

-
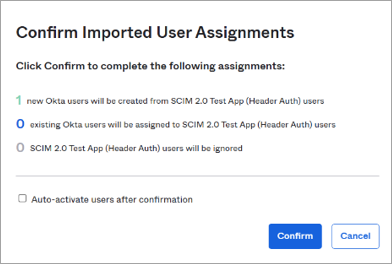
Click Confirm Assignments.
-
Click Confirm.
-
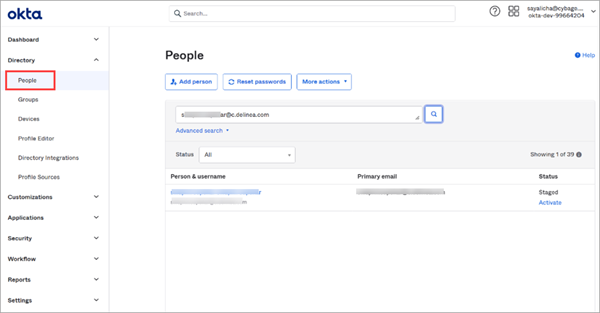
To verify that the user has been added to Okta, click on People in the Directory. The user should have been added to the list.