Add a RADIUS Agent
Before you start adding a RADIUS agent:
- Ensure you have administrative access to your AuthAnvil on Demand tenant.
- Ensure access to a computer that will host the RADIUS Client.
- Ensure access to the desired VPN capable device and are familiar with the configuration.
When you are sure that all the above were done, you can start adding a RADIUS agent:
-
Log into your instance of AuthAnvil on Demand.
-
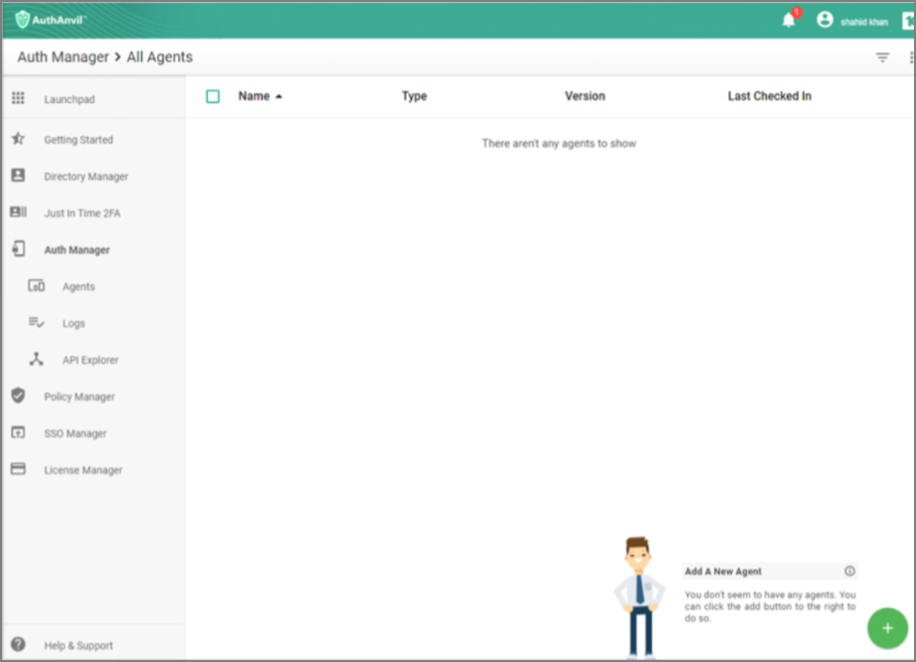
Click Auth Manager | plus sign to add a new Agent.
-
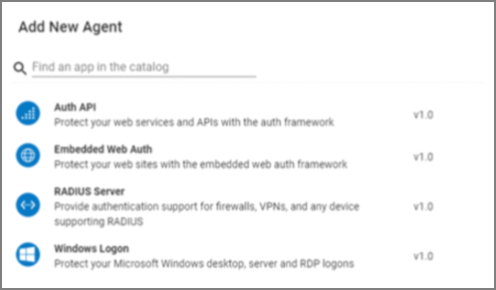
Select RADIUS Server.
-
Enter a name for the Agent to identify its uniqueness from the other agents.
-
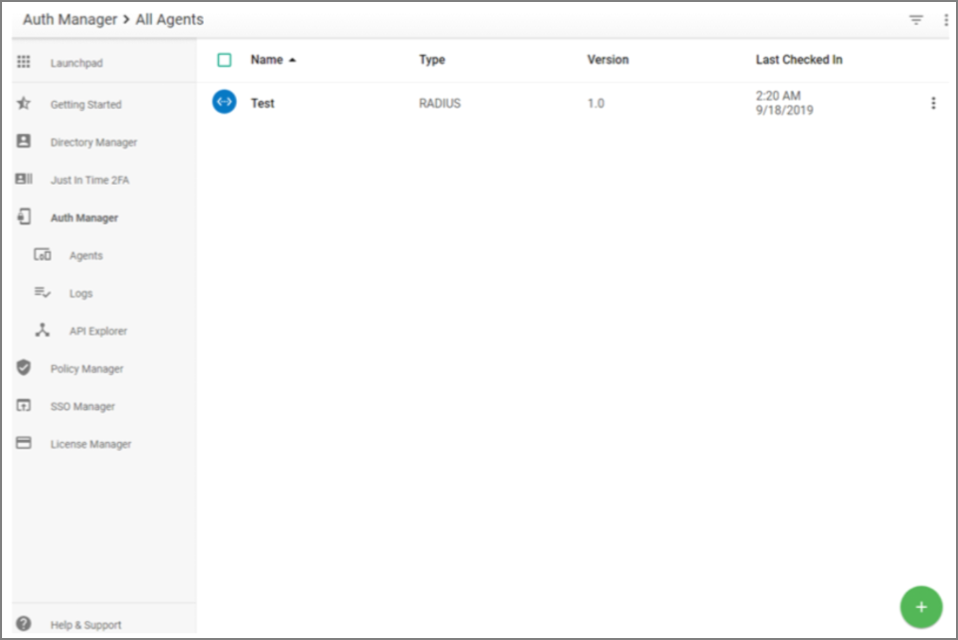
Click Add Agent in the lower right corner.(The content in the fields is only demonstrative and not to be used for your work.)The All Agents screen will appear with the new Agent listed.
-
Click the name to display the Agent Information, and note the following as you will be prompted for this when installing the RADIUS Agent service:
- ID: The unique ID of the agent.
- Key: The auto-generated secret value of the agent.
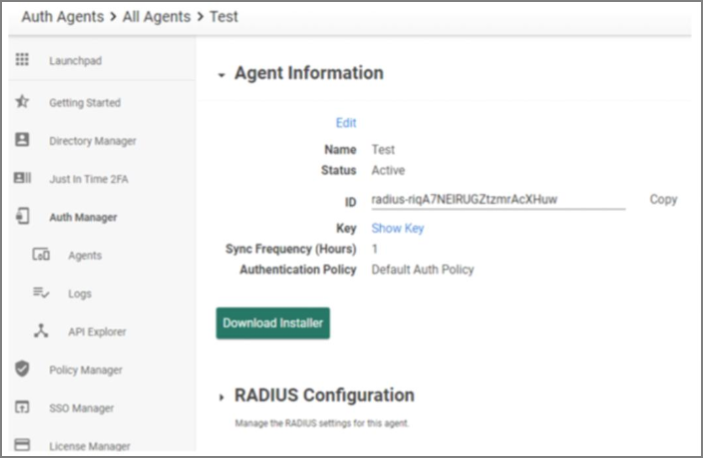
Note: The above information is to be used ONLY at the time of installing the service.
-
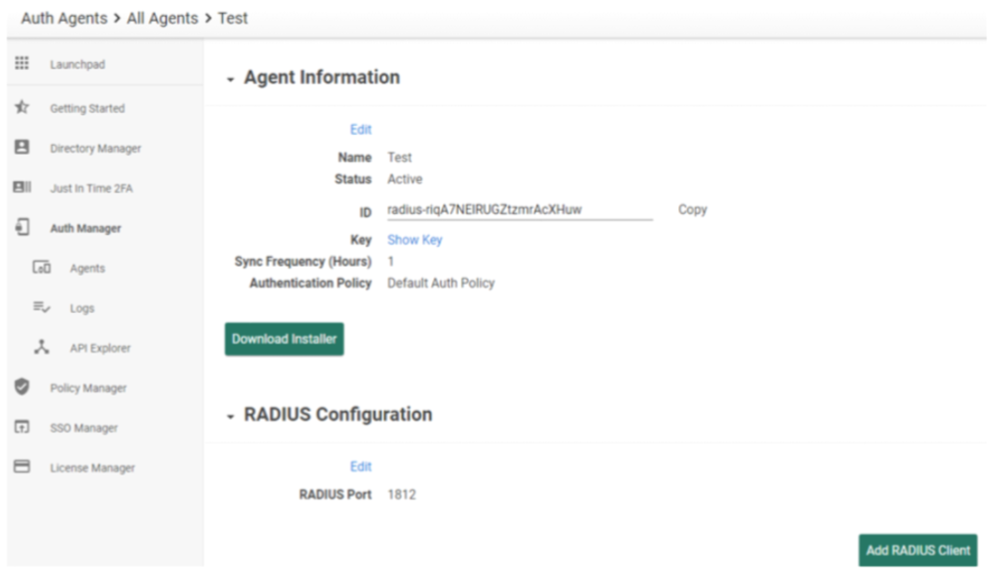
Click RADIUS Configuration and click Add RADIUS Client button or edit the port to use for communication (default port is 1812).
-
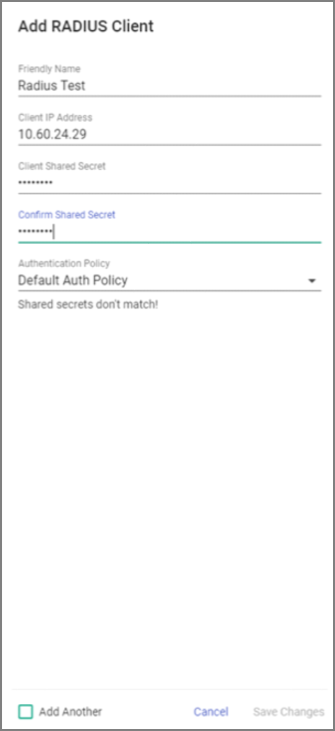
In the Add RADIUS Client screen, perform the following:
- Add a friendly name for the Client, add the Client IP address, and add a Client Shared Secret. (The Client Shared Secret key is the password or key setup on each client added in AuthAnvil portal. The same key must be entered in the RADIUS configuration tab in Secret Server under RADIUS Shared Secret).
- Confirm Shared Secret (formerly Confirm Password) for the Client.
Note: This is the shared Secret that will be placed on the forwarding device/router to authenticate the communication.
-
Click Save Changes.
Note: To add more than one client, select the Add Another checkbox before selecting the Add RADIUS client button.