Upload Custom Parser
-
Save the following as an xml file.
This is an example of a Custom Parser that needs to be uploaded in step 8.
Copy<?xml version="1.0" encoding="UTF-8" standalone="yes"?>
<ns2:device-extension xmlns:ns2="event_parsing/device_extension">
<pattern id="EventCategory-Pattern-1" type="JavaPattern" use-default-pattern="false">\|\d+\|(.*)\|\d\|msg</pattern>
<pattern id="EventName-Pattern-1" type="CefKey">$id$</pattern>
<pattern id="SourceIp-Pattern-1" type="CefKey">src</pattern>
<pattern id="UserName-Pattern-1" type="CefKey">suser</pattern>
<pattern id="AllEvents" type="JavaPattern">(.*?)</pattern>
<match-group order="1" device-type-id-override="4001">
<matcher order="1" field="EventCategory" pattern-id="EventCategory-Pattern-1" capture-group="\1" enable-substitutions="true"/>
<cef-matcher order="1" field="EventName" pattern-id="EventName-Pattern-1" enable-substitutions="true"/>
<cef-matcher order="1" field="SourceIp" pattern-id="SourceIp-Pattern-1" enable-substitutions="true"/>
<cef-matcher order="1" field="UserName" pattern-id="UserName-Pattern-1" enable-substitutions="true"/>
<event-match-multiple pattern-id="AllEvents" send-identity="UseDSMResults" force-qidmap-lookup-on-fixup="true"/>
</match-group>
</ns2:device-extension> -
Log into QRadar.
-
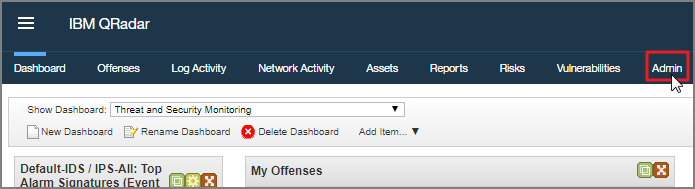
Click the Admin tab.
-
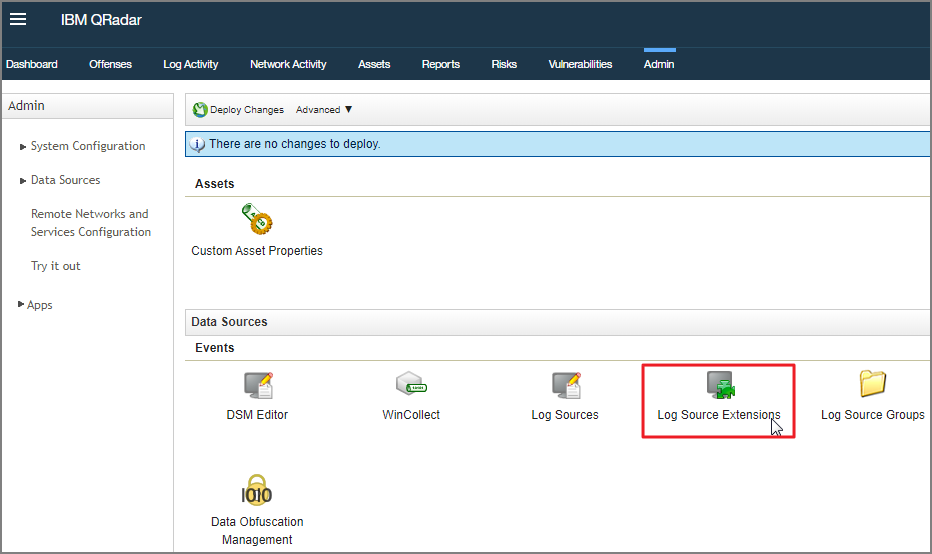
Click on Log Source Extensions.
-
Select Add.

-
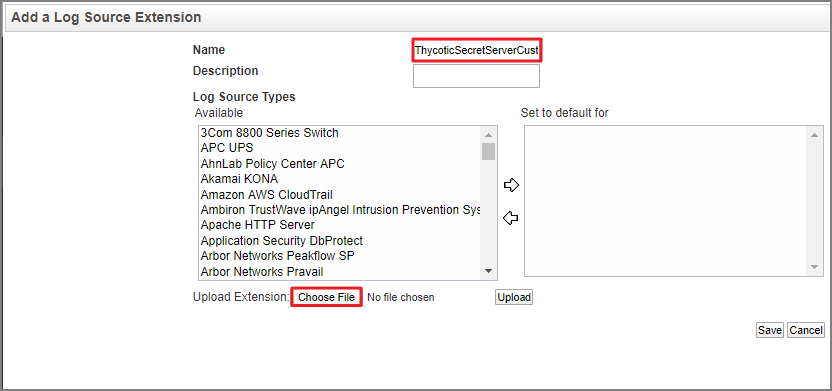
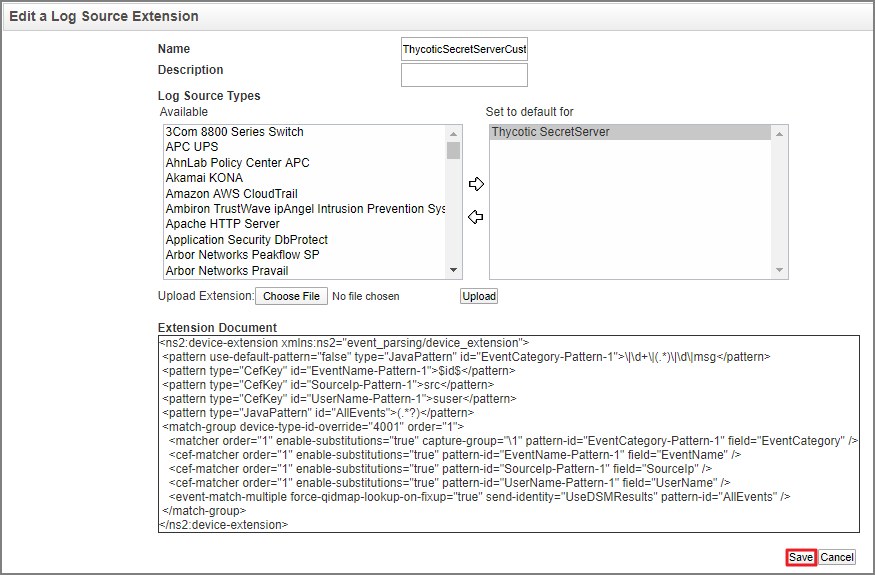
Add a name and description for the Log Source Extension.
-
Select Choose File.
-
Select the xml file you created in step 1 with the provided example.
-
Click Upload.
-
Select the log source extension and set it to the default.
-
Select Save.
-
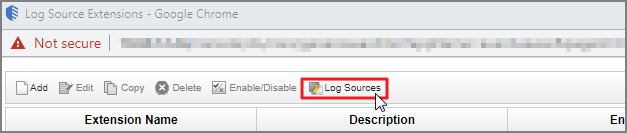
Go to Log Sources.
-
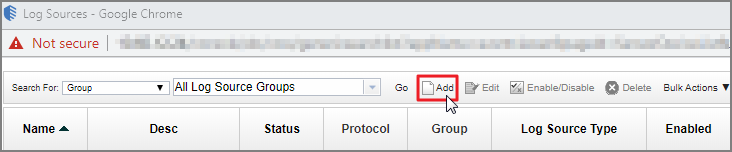
Click Add.
-
Fill in the required fields:
- Log Source Name
- Log Source Description
- Log Source Type
- Protocol Configuration
- Log Source Identifier
- Log Source Extension: Click the dropdown and choose your custom-built parser (the xml file that was saved as a log source extension).
Please be aware that the Log Source is the hostname or the IP address of the machine.
-
Select Save.
