Configuring QRadar via Log Source
This section explains how to configure IBM QRadar to properly receive, parse, and visualize log data from Secret Server On-Prem. Complete each of the following steps to enable full integration support.
Set up a log source extension in QRadar to identify and associate incoming log traffic from Secret Server with the correct log source type.
Define the actual log source in QRadar using the Quick Log Source method to complete log ingestion setup. This ensures logs are mapped to the Delinea Secret Server source.
Step 1: Create a Log Source Extension in QRadar
-
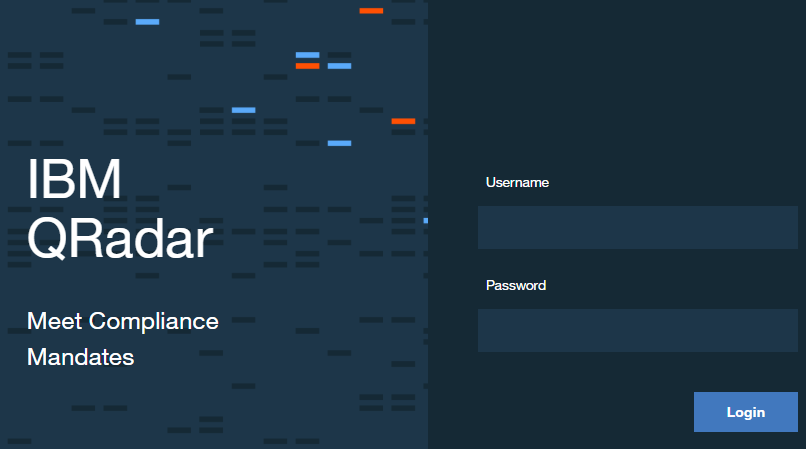
Log into QRadar.
-
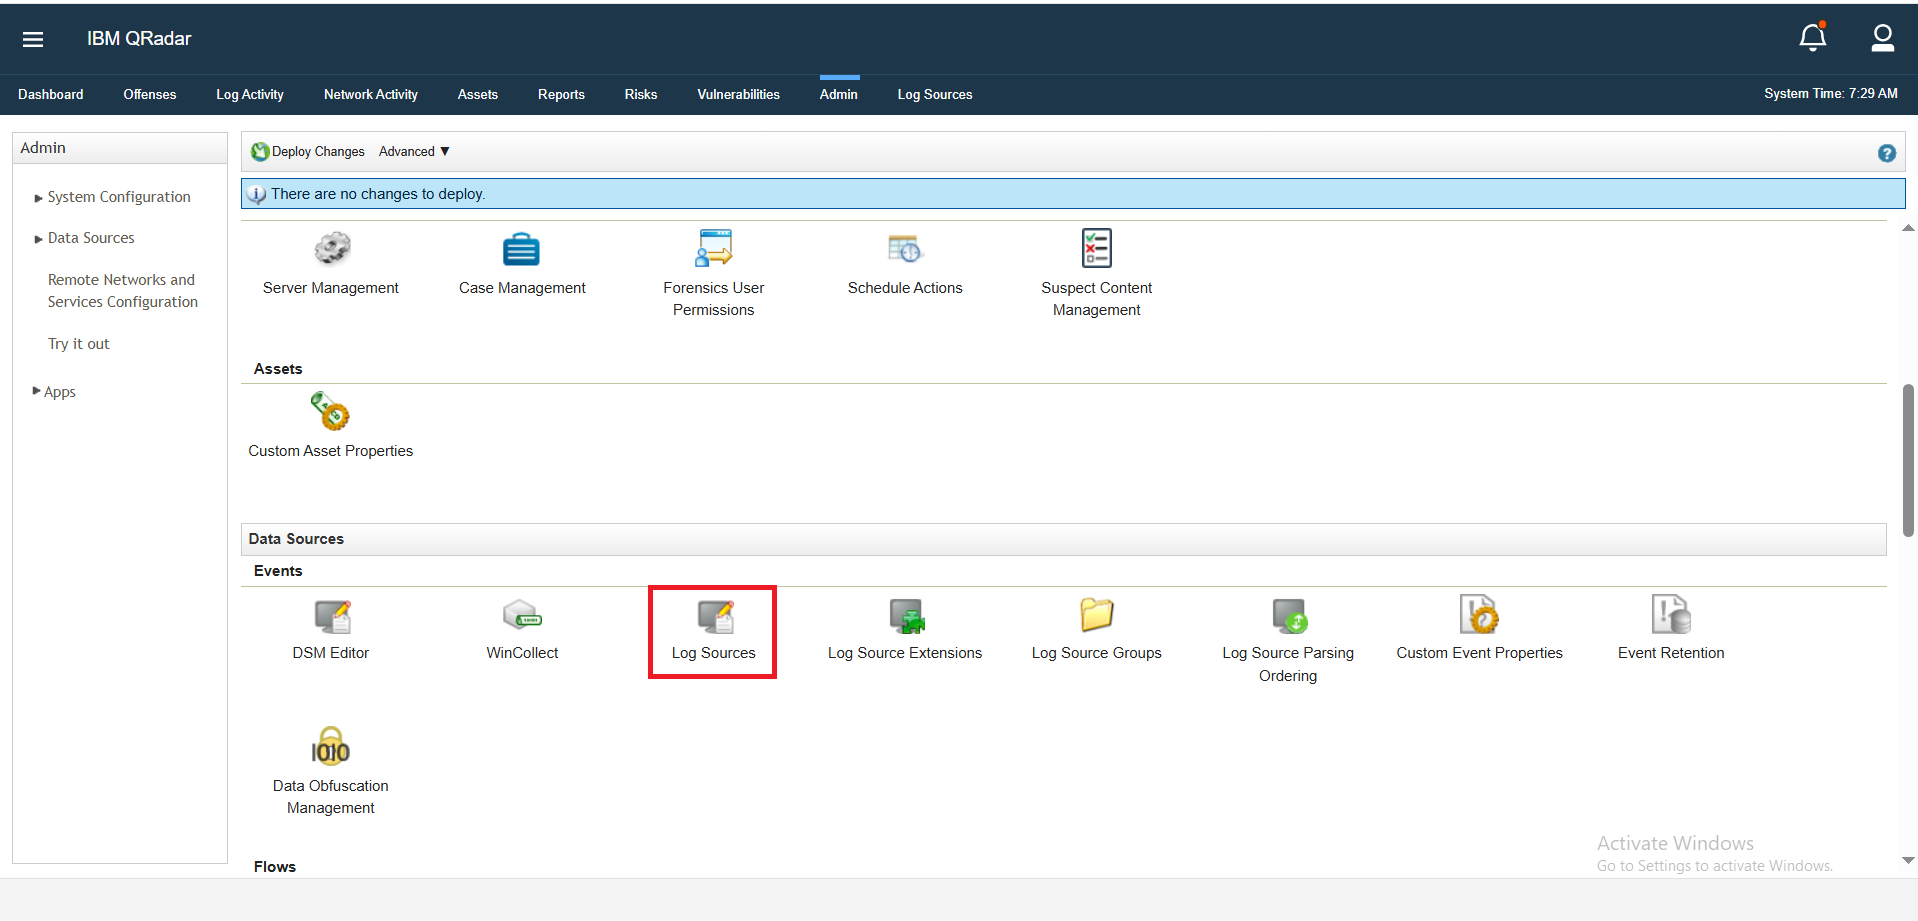
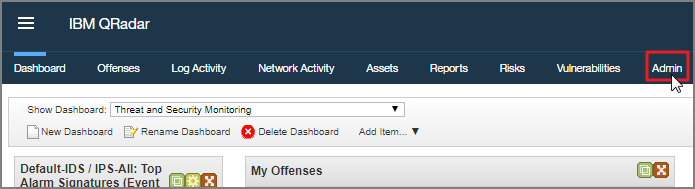
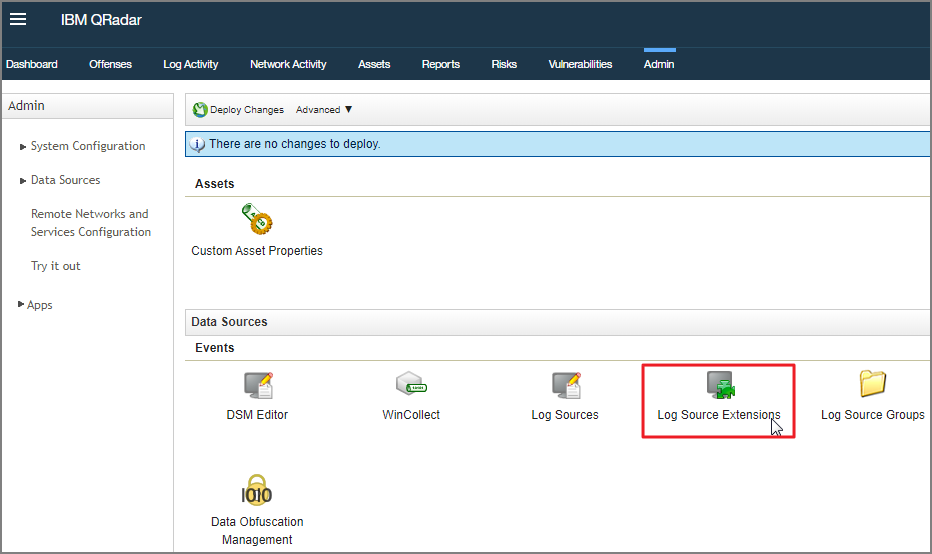
Navigate to the Admin tab.
-
Select Log Source Extensions.
-
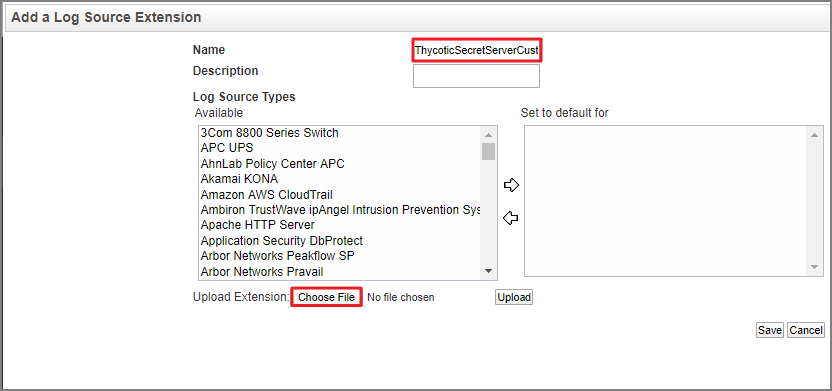
Select Add.

-
Add a name and description for the Log Source Extension.
-
Select the appropriate Log Source Type from the displayed list.
-
Select Choose File.
-
Select the xml file you created in step 1 with the provided example.
-
Select Upload.
-
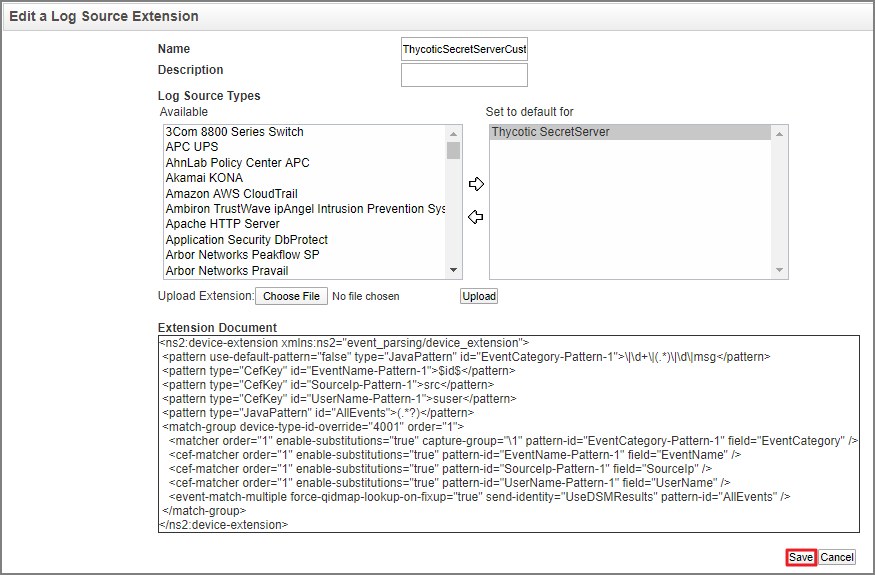
Select the log source extension and set it to the default.
-
Select Save.
Step 2: Create a Log Source in QRadar
-
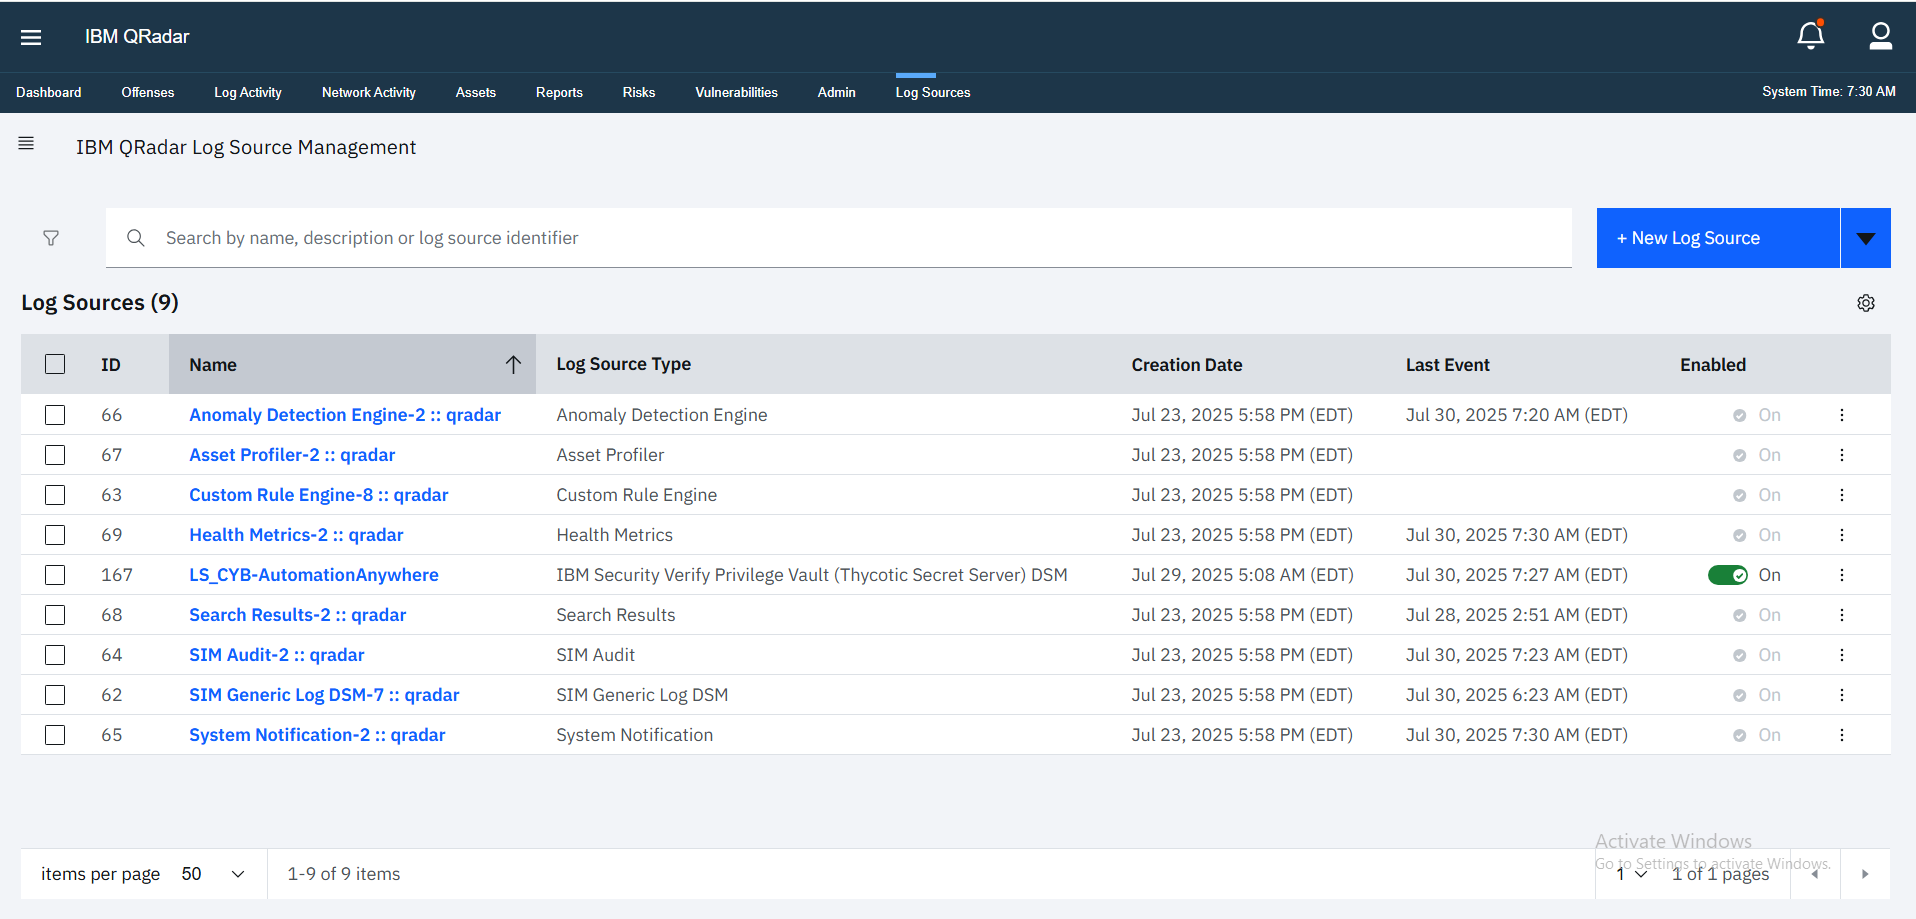
Go to Log Sources.
-
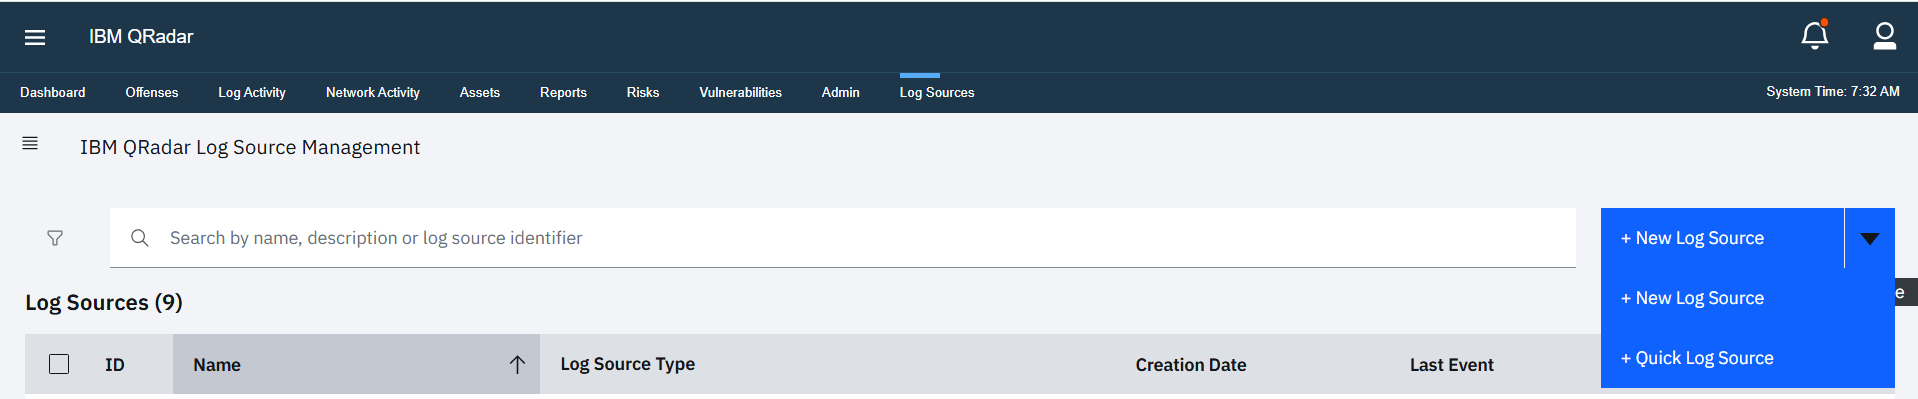
Expand the New Log Source dropdown.
-
Select the Quick Log Source option.
-
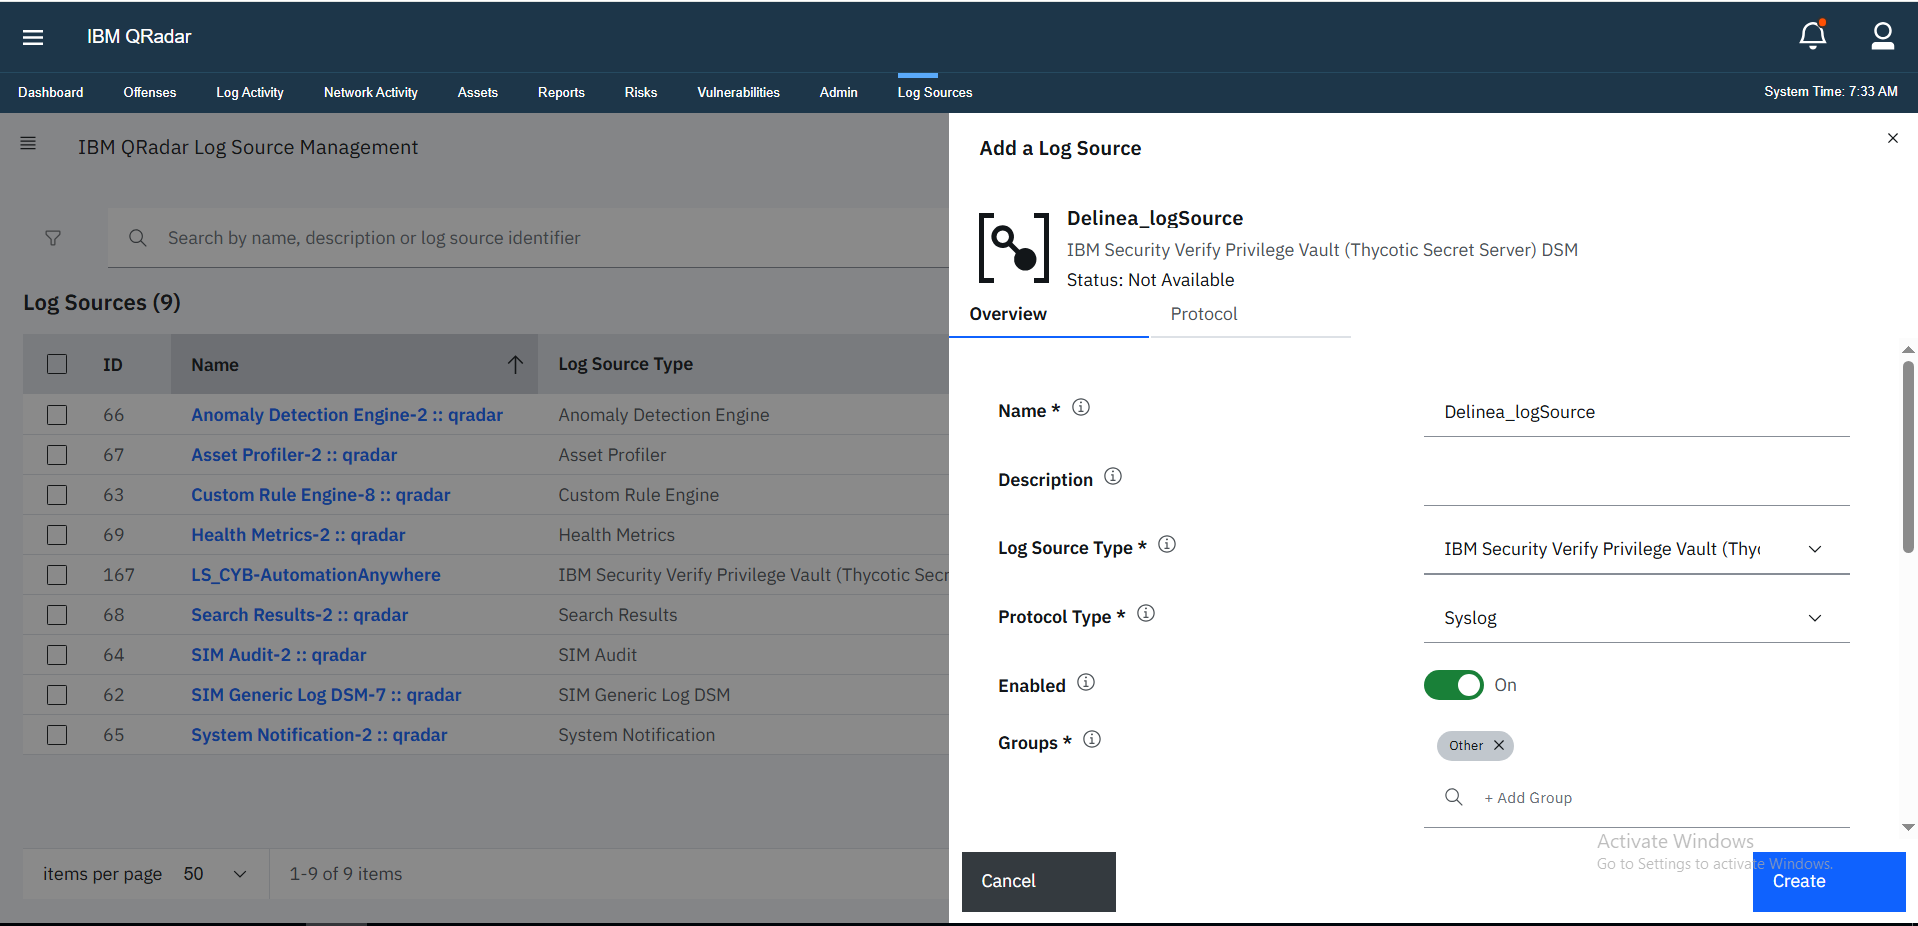
Open the Overview tab, and provide a name for your log source in the Name field.
-
In the Log Source Type field, select the IBM Security Verify Privilege Vault option.
-
In the Protocol Type field, select Syslog.
-
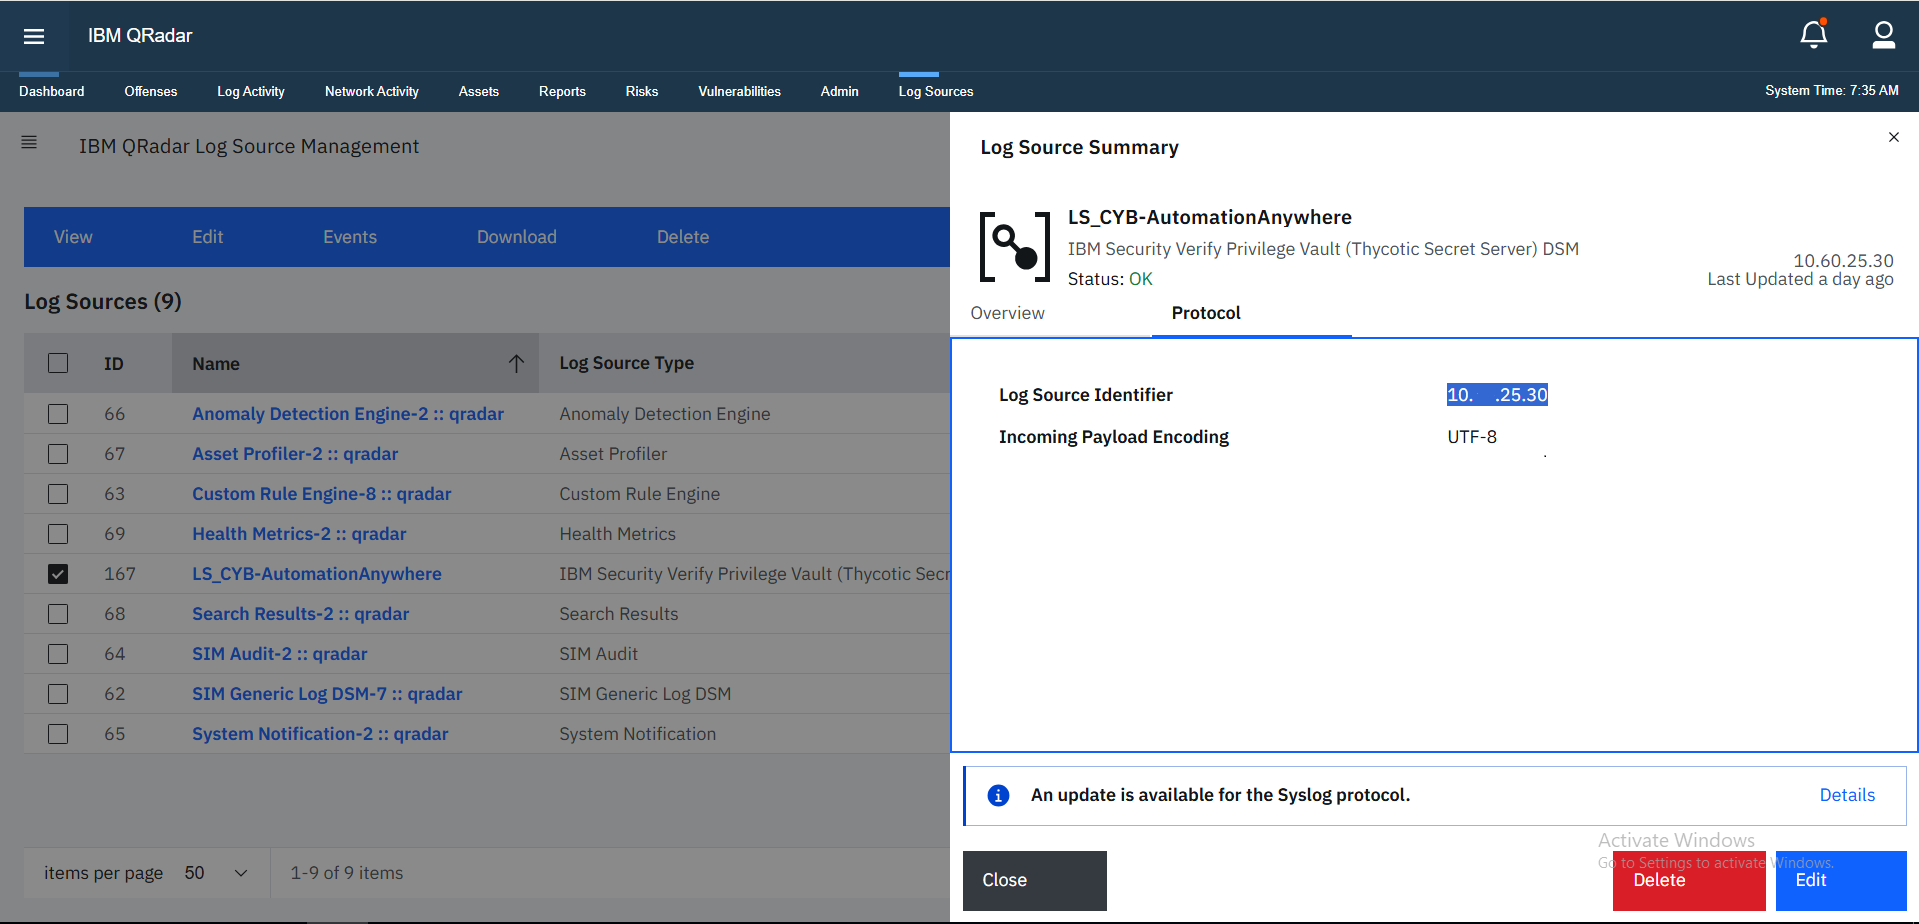
Open the Protocol tab, and type the IP/hostname of your Secret Server machine in the Log Source Identifier field to identify that the logs are coming from that specific Secret Server.
-
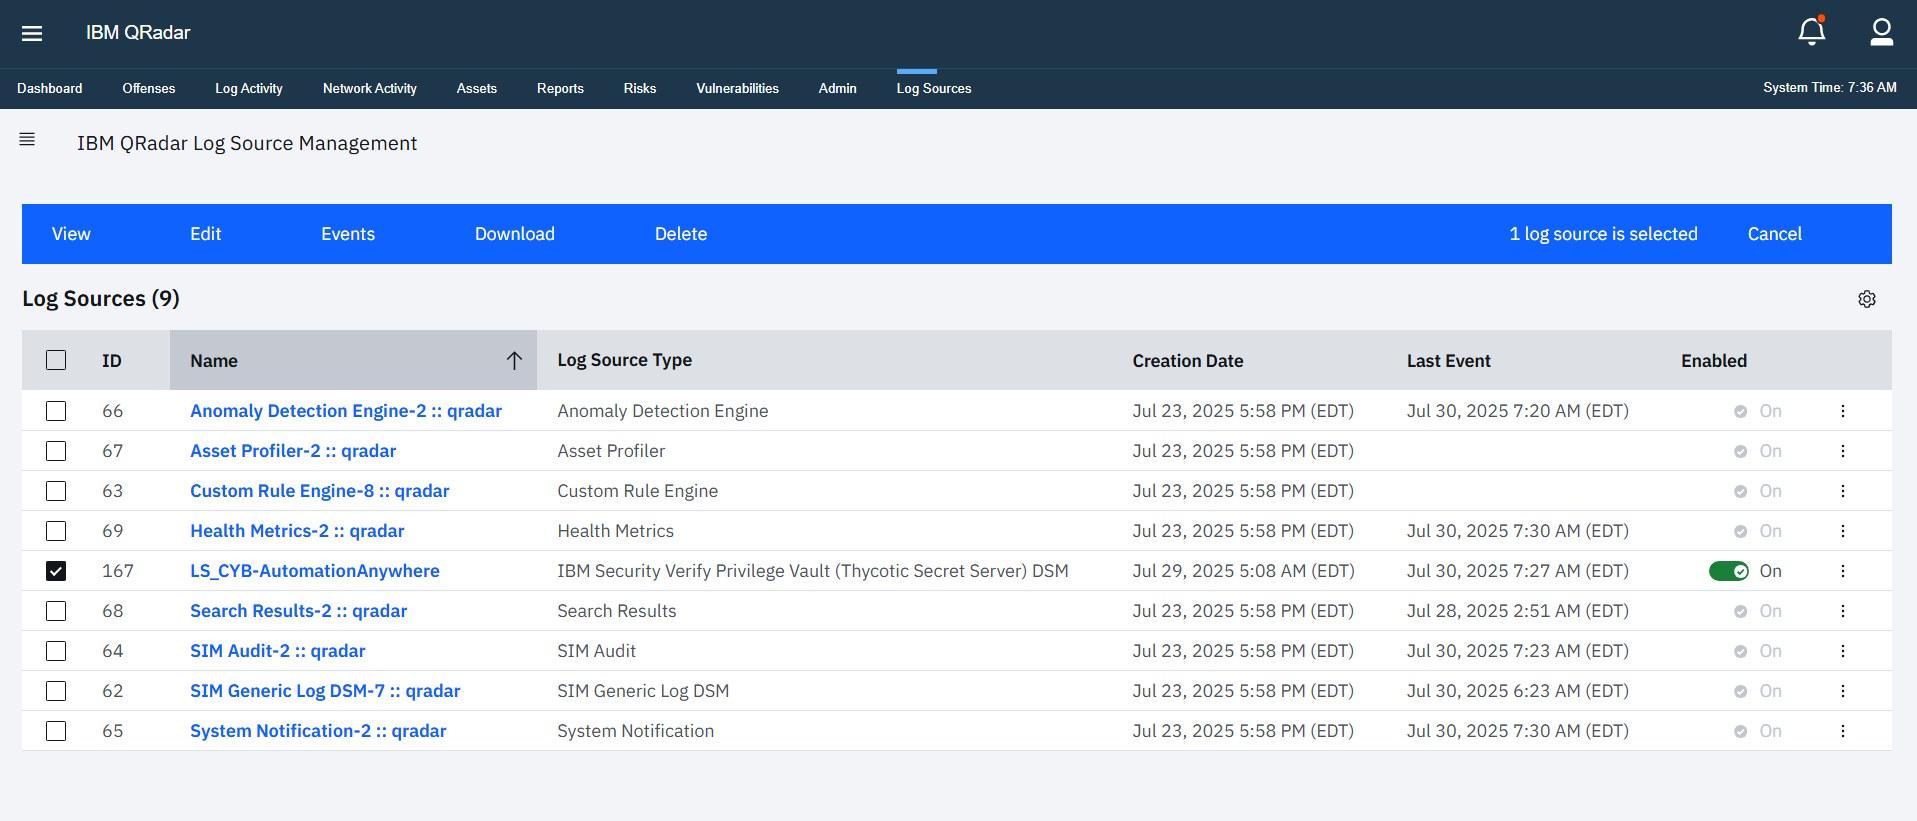
Make sure the toggle for your created log source is enabled.