Update User Details in Secret Server Through IBM IGI
-
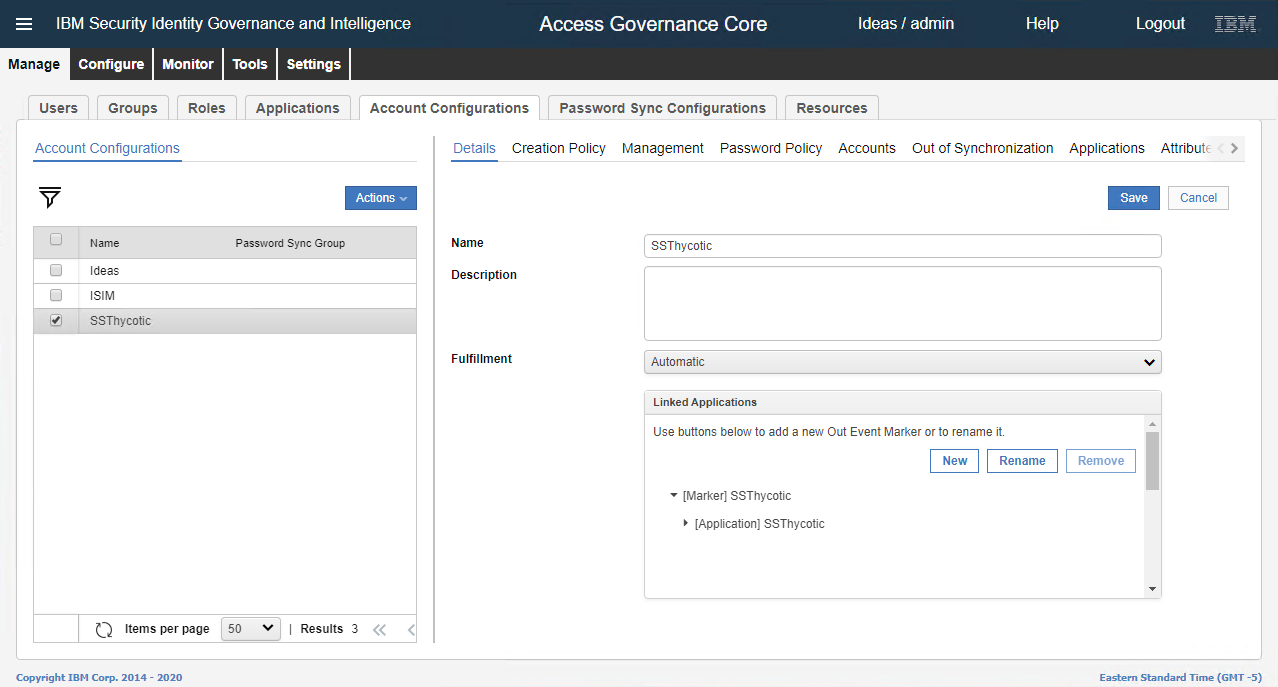
Click Account Configurations.
-
Select the account.
-
On the right-hand side, click Attribute-to-Permission Mapping.

-
In the Actions list, click Discover Account attributes from Target.

-
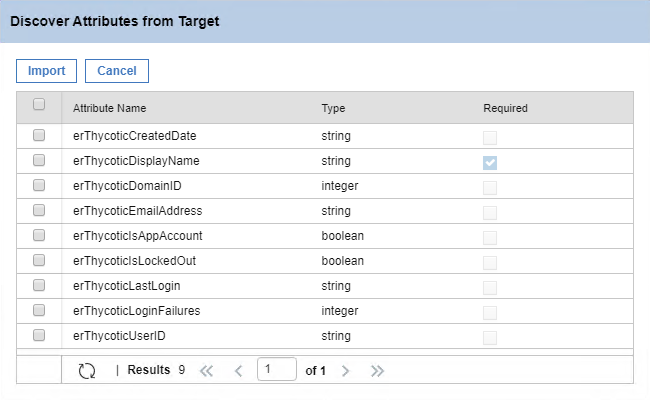
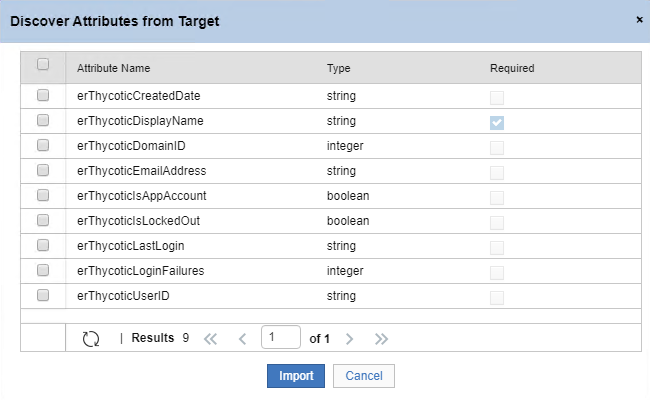
The Discover Attributes from Target dialog box displays.
-
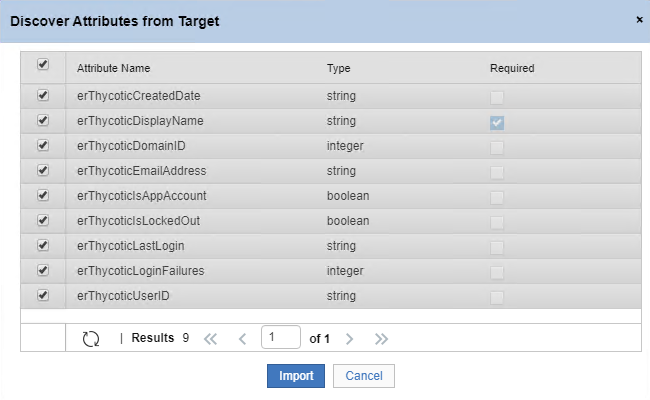
Select the Attribute Name check box in the header.
-
Click Import. A message, ‘Operation successfully completed.’ displays. Click Ok and the files are imported.
-
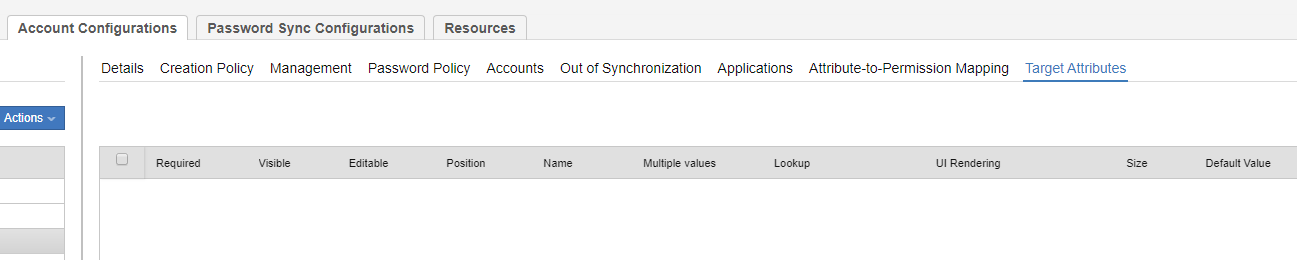
On the right-hand side, click Target Attributes.
-
In the Actions list, click Discover Account attributes from Target.

-
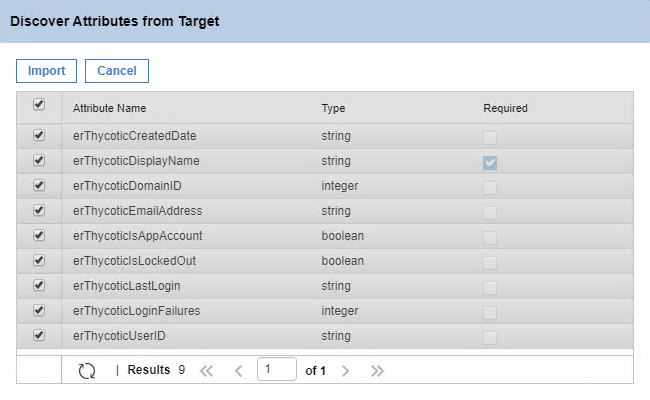
The Discover Attributes from Target dialog box displays.
-
Select the Attribute Name check box in the header.
-
Click Import and a message, ‘Operation successfully completed.’ displays. Click Ok and the files are imported.
-
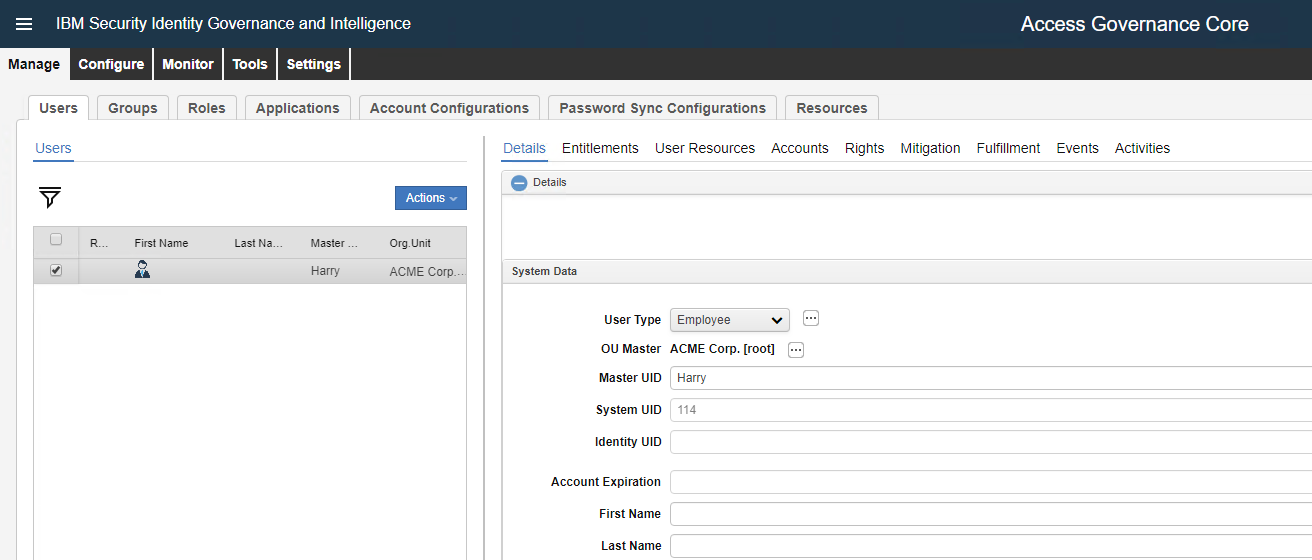
On the left-hand side, select the Users tab.
-
Select the user.
-
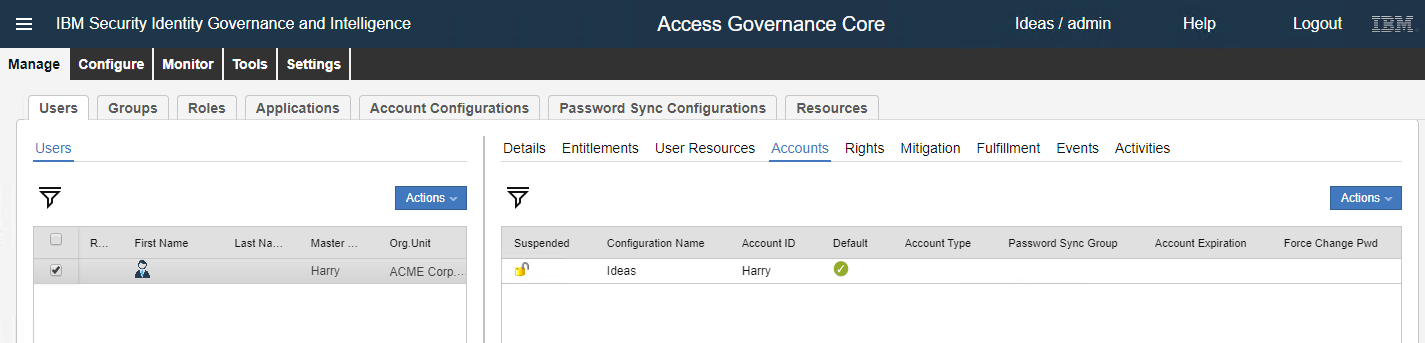
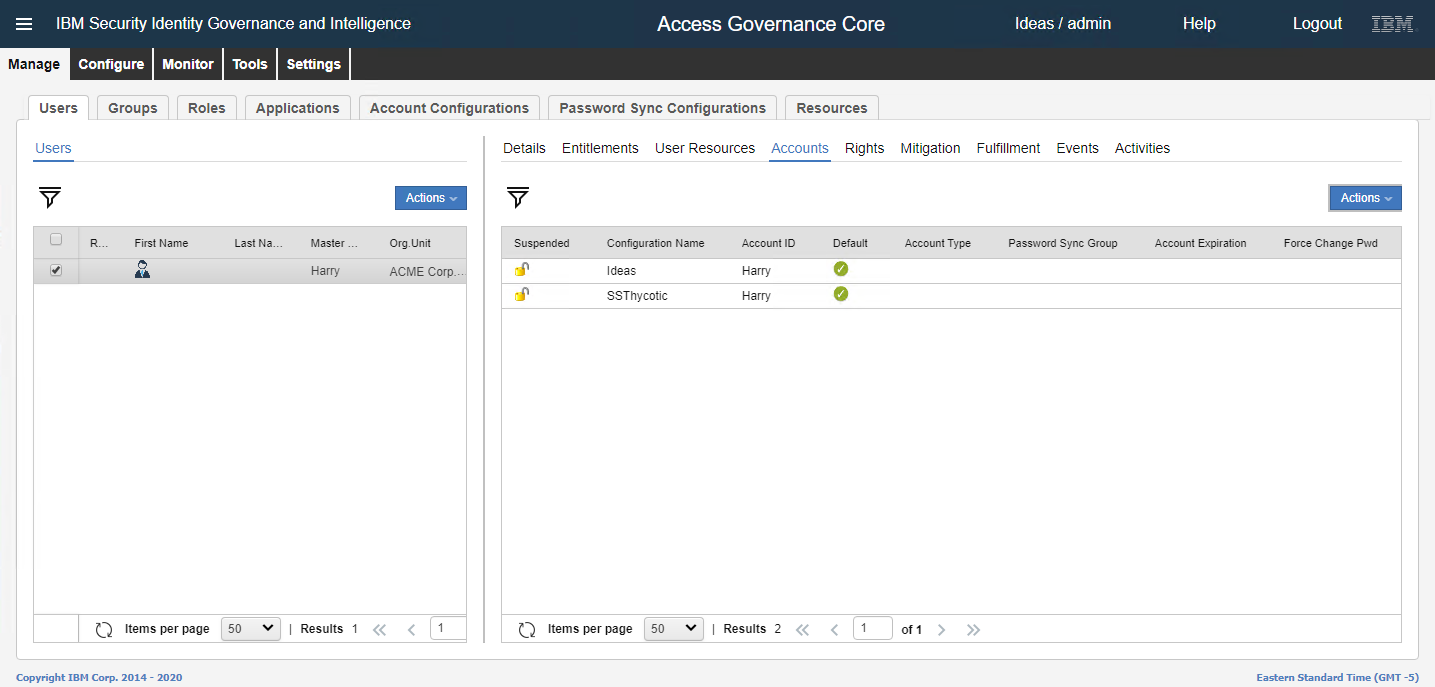
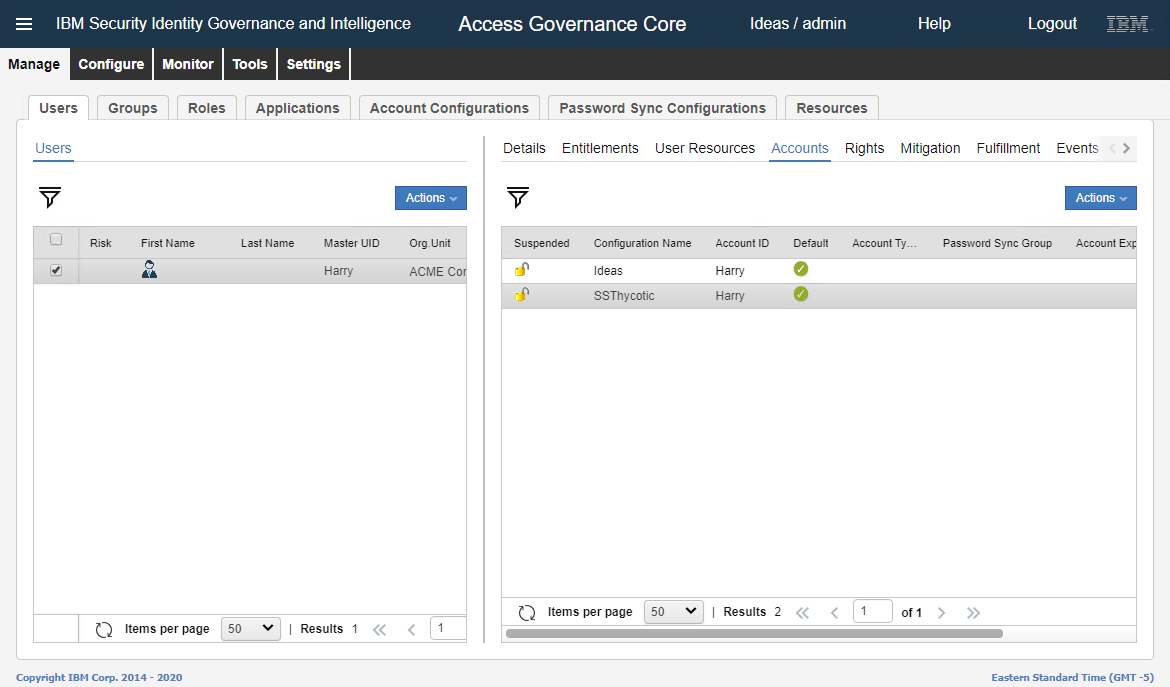
On the right-hand side, click Accounts. The master account is listed.
-
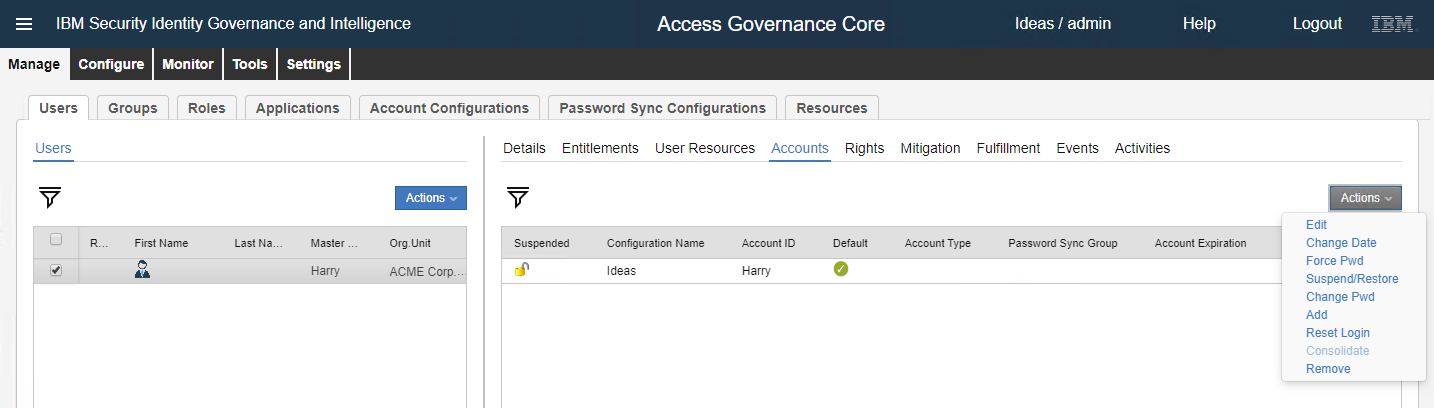
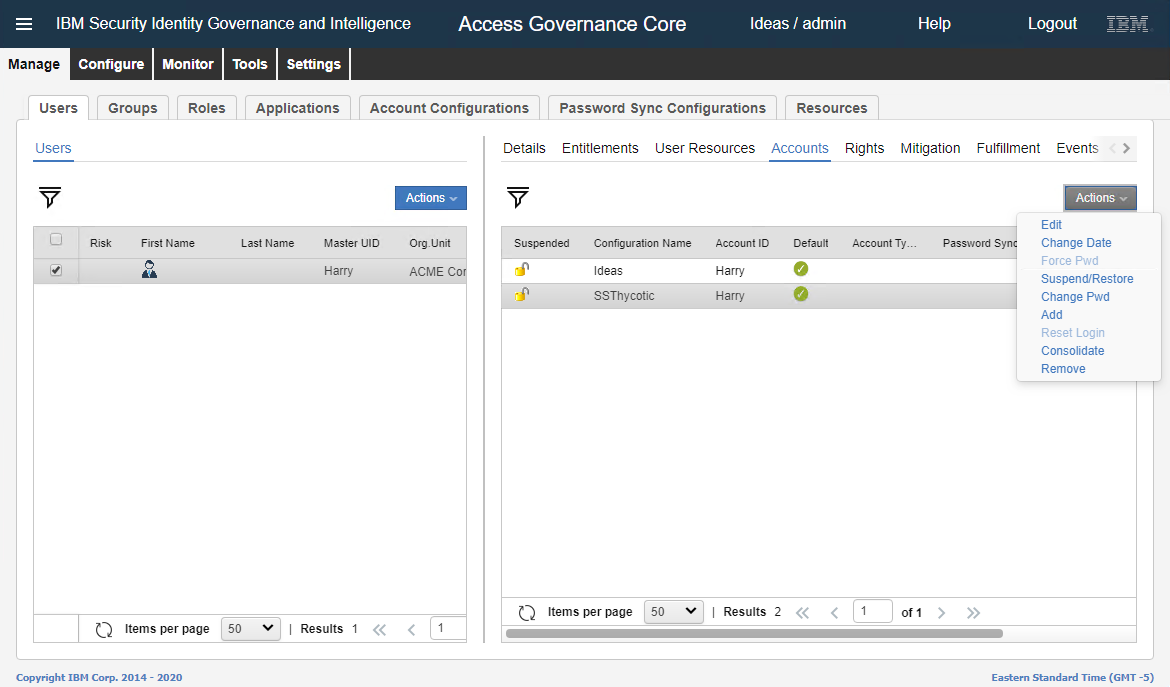
In the Actions list, click Add.
-
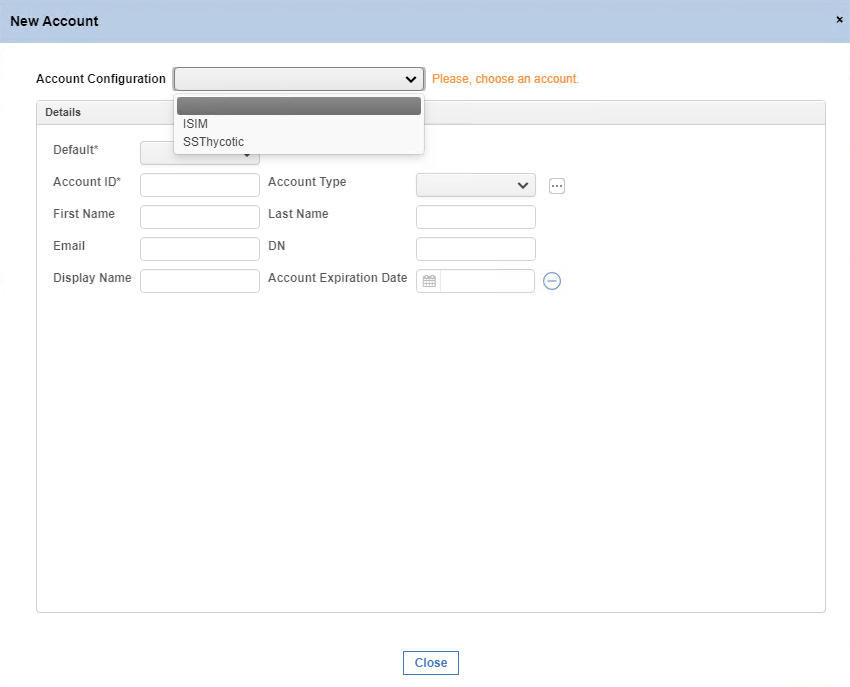
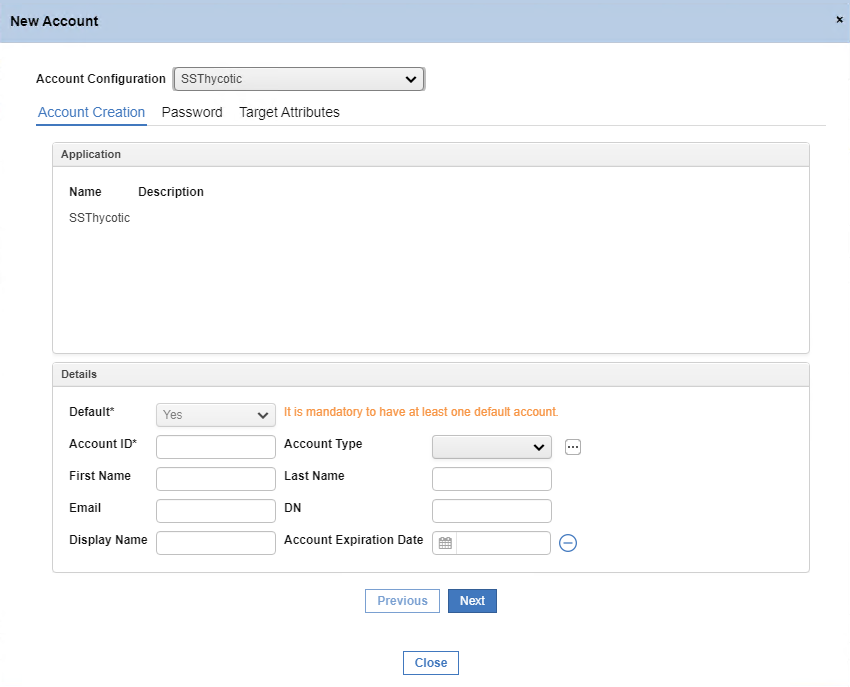
The New Account dialog box appears.
-
In the Account Configuration list, select the Secret Server account. The Account Creation tab is selected.
-
Go to Account Creation tab > Details section > Account ID.
-
In the Account ID text box, type the account ID and click Next. The Password tab is selected.
-
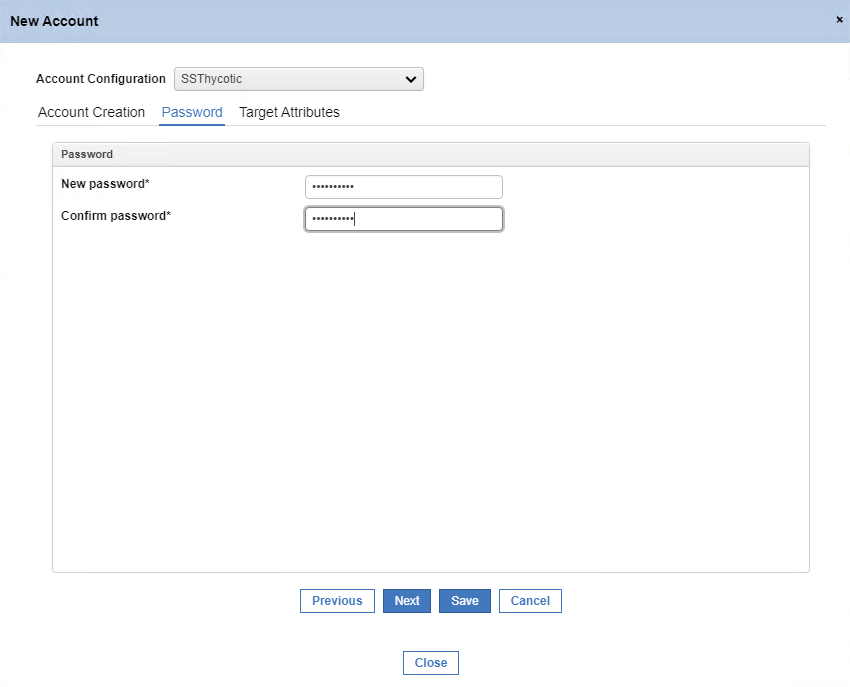
Fill in the required information, (for example, password, confirm password), and then click Next. The Target Attributes tab is selected.
-
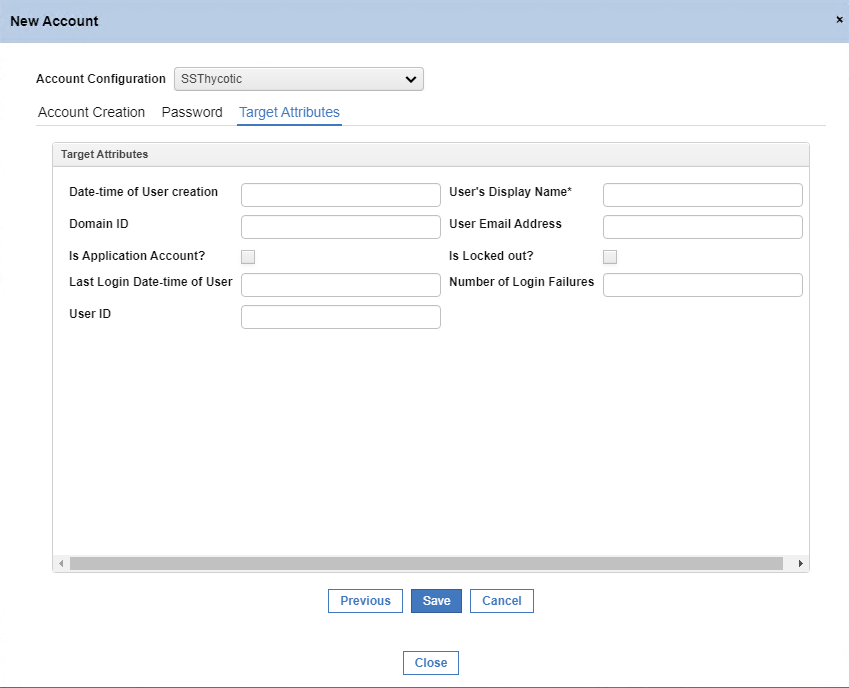
In the User’s Display Name text box, type the display name for the user.
-
Click Save. The user is listed in the Accounts tab.
-
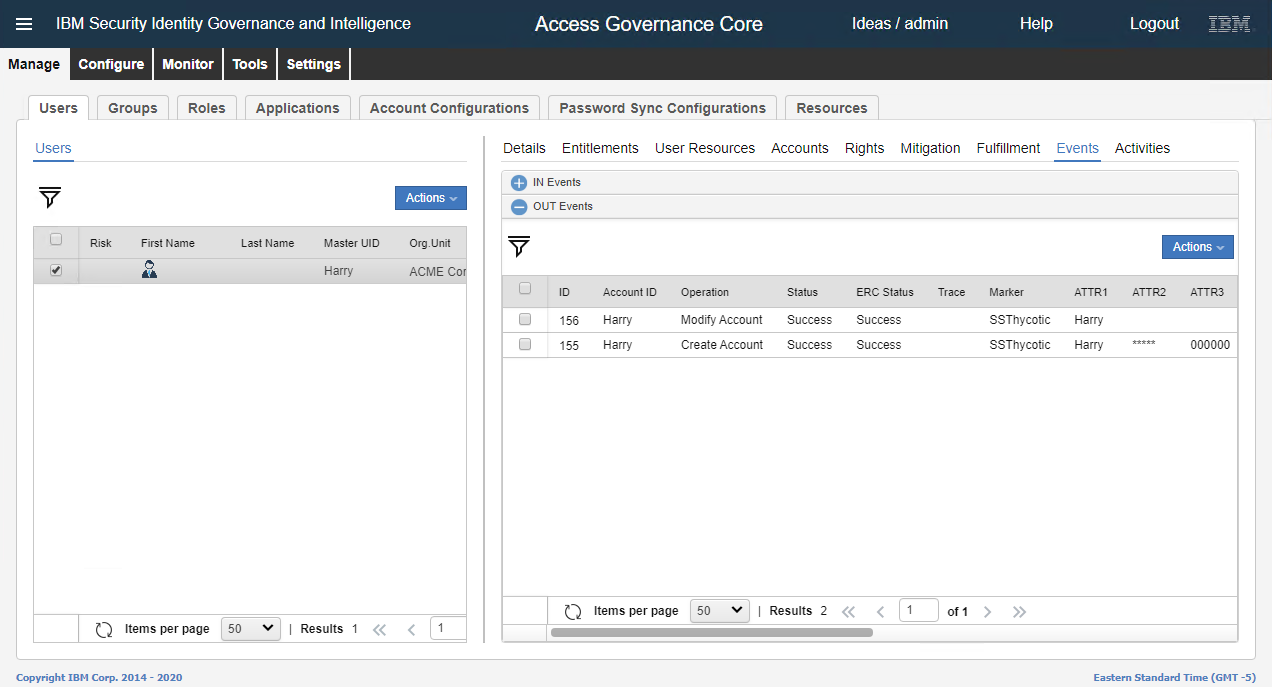
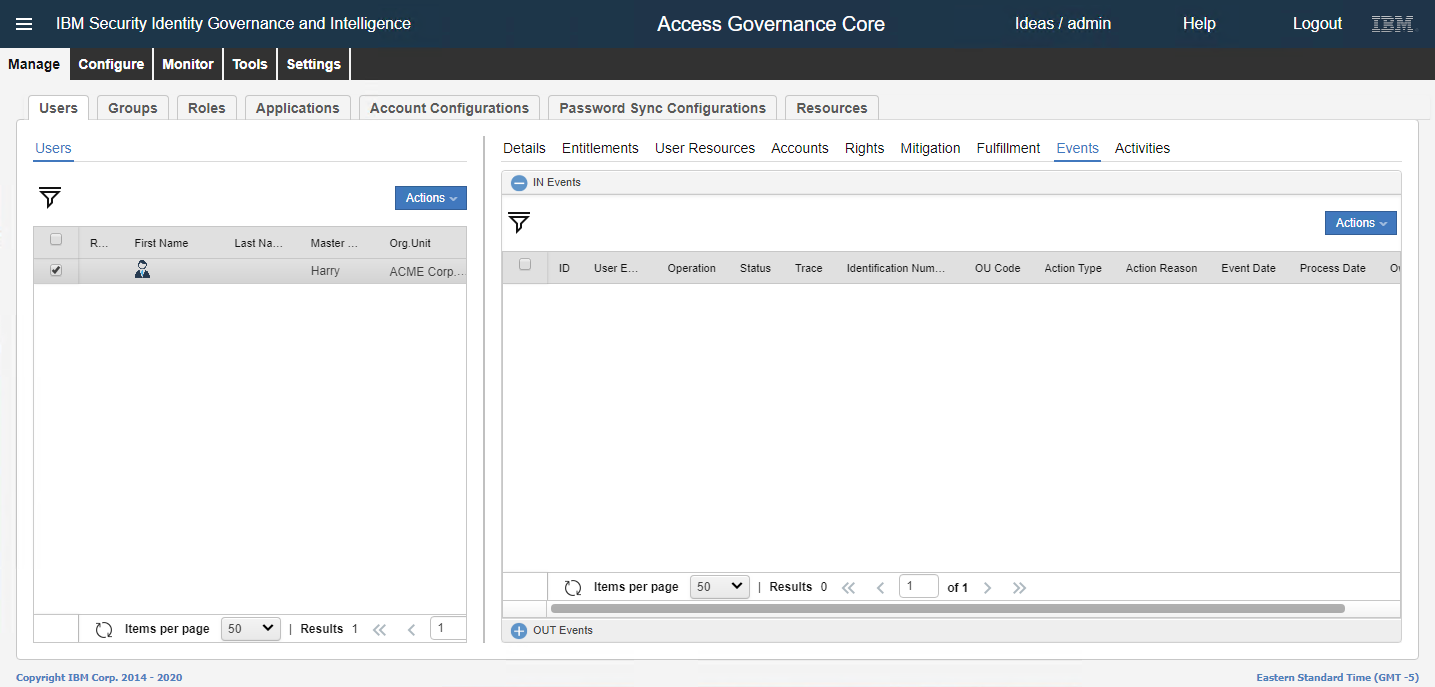
Click the Events tab.
-
At the bottom of the Events tab, click on OUT Events. The event is listed. Wait until the Status and the ERC Status is displayed as Success.
-
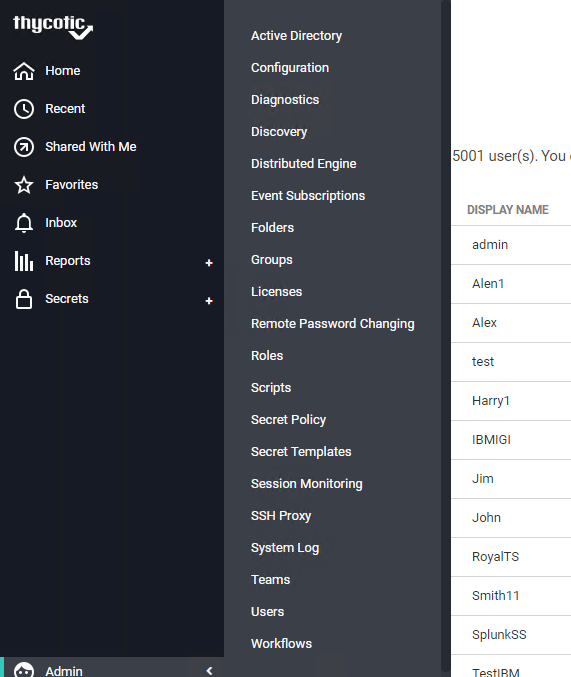
Go to Secret Server > Admin > Users.
-
The user is created in Secret Server. The user name and the display name for the user is displayed.
-
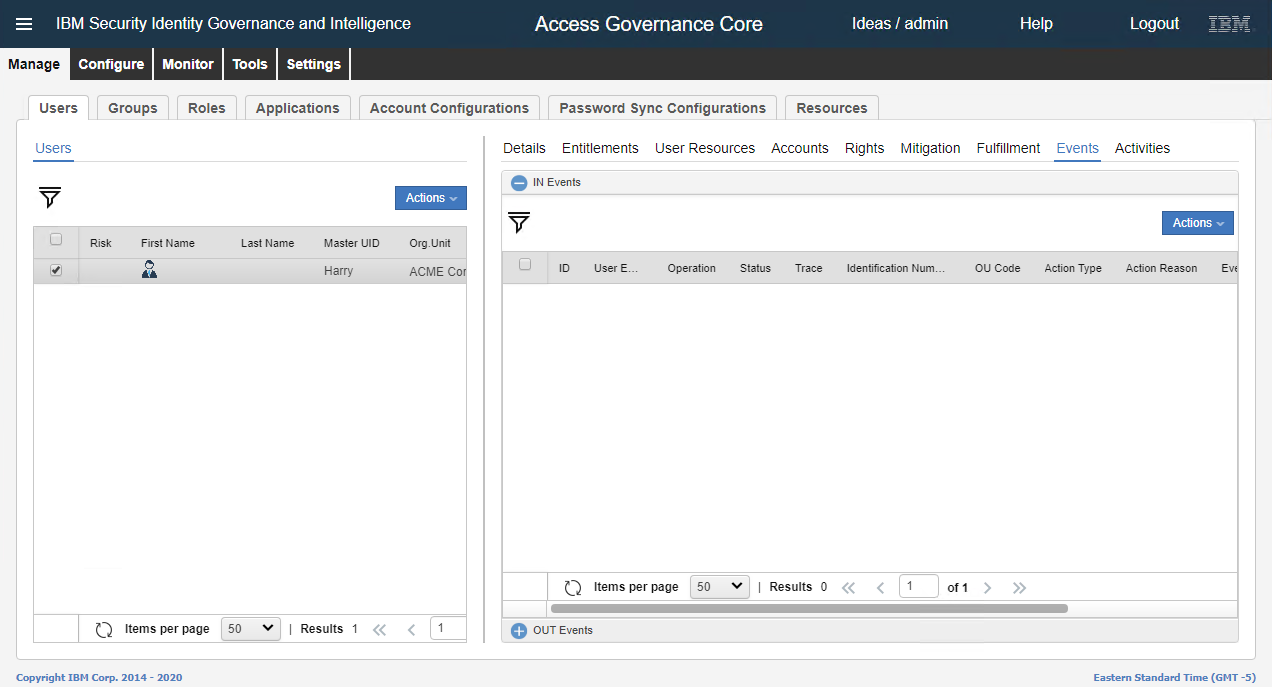
Go to IBM IGI Administrator console and in the menu click Access Governance Core.
-
Click Manage tab Users > Accounts.
-
Select the account.
-
In the Action list, click Edit.
-
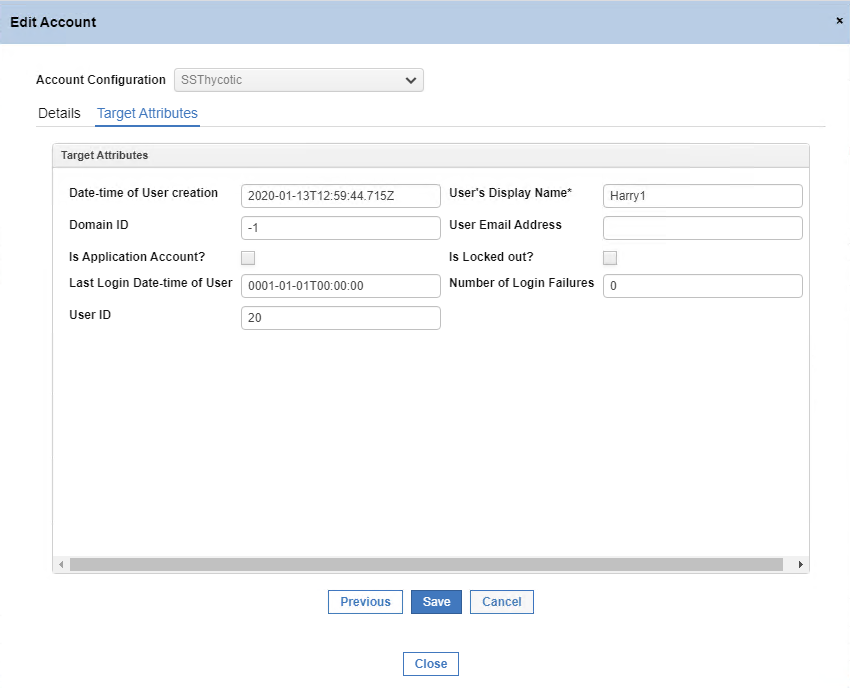
The Edit Account dialog box displays.

-
Fill in the required information, (for example, first name, last name, email, display name), and then click Next. The Target Attributes tab displays.
-
In the User’s Display Name text box, change the display name for the user.
-
Click Save.
-
Click the Events tab.
-
At the bottom of the Events section, click OUT Event.
-
The event is listed. Wait until the Status and the ERC Status is displayed as Success.