Setting Up Apache Tomcat as a Proxy Server on Red Hat Enterprise Linux
Setting Up Apache Tomcat as a Proxy Server with HTTP
These instructions provide information for setting up Apache Tomcat as a proxy server for websites with HTTP.
Run the commands in the order listed below to install Java for Apache Tomcat.
-
sudo yum update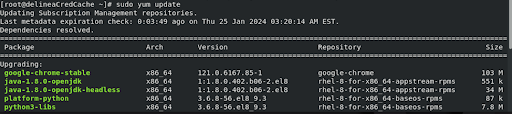
-
sudo yum install java-11-openjdk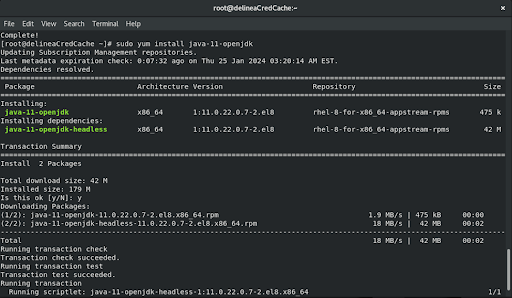
-
java –version
Configuring Apache Tomcat HTTP Proxy Web Server
Run the commands in the order listed below.
-
sudo yum update -
sudo yum install httpd
Creating the Apache Tomcat HTTP Proxy Server Config File
-
Run the
nano/etc/httpd/conf.d/ssl.confcommand. -
In the created configuration file, insert the data below and replace the file path and URLs if required.
Copy<VirtualHost *:80>
ServerName your-domain.com
ProxyPass / http://localhost:8080/
ProxyPassReverse / http://localhost:8080/
</VirtualHost> -
Press Ctrl + O to write changes, press Enter, and finally, press Ctrl + X to exit.
-
Run the following commands to enable the proxy and
-
Check the error log if required.
Setting Up Apache Tomcat as a Proxy Server for HTTPS Websites
-
Run the commands for the Java installation described in Setting Up Apache Tomcat as a Proxy Server with HTTP.
-
Install OpenSSL on a Red Hat Enterprise Linux computer by running the following commands:
-
sudo yum install opensslcommand. -
nano /etc/ssl/openssl2.cnfcommand to create theOpenSSLconfiguration file. -
In the created configuration file, insert the following data:
Copydefault_bits = 2048
default_keyfile = localhost.key
distinguished_name = req_distinguished_name
req_extensions = req_ext
x509_extensions = v3_ca
[req_distinguished_name]
countryName = Country Name (2 letter code)
countryName_default = US
stateOrProvinceName = State or Province Name (full name)
stateOrProvinceName_default = New York
localityName = Locality Name (eg, city)
localityName_default = Rochester
organizationName = Organization Name (eg, company)
organizationName_default = localhost
organizationalUnitName = organizationalunit
organizationalUnitName_default = Development
commonName = websphere-ubuntu.gamma.thycotic.com
commonName_default = websphere-ubuntu.gamma.thycotic.com
commonName_max = 64
[req_ext]
subjectAltName = @alt_names
[v3_ca]
subjectAltName = @alt_names
[alt_names]
DNS.1 = websphere-ubuntu.gamma.thycotic.com
DNS.2 = localhost
IP.1 = 10.60.12.156 -
Replace the valid common name, DNS name (full name of the computer [hostname -f]), and IP address of the Linux computer.
-
Press Ctrl + O to write changes, press Enter, and finally, press Ctrl + X to exit.
-
Generate a self-signed certificate by running the following command:
sudo openssl req -x509 -nodes -days 365 -newkey rsa:2048 -keyout /etc/ssl/private/selfsigned.key -out /etc/ssl/certs/selfsigned.crt -config /etc/ssl/openssl2.cnf -
Generate a self-signed certificate in .pfx format by running the following command:
sudo openssl pkcs12 -export -out /etc/ssl/certs/selfsigned.pfx -inkey /etc/ssl/private/selfsigned.key -in /etc/ssl/certs/selfsigned.crt -
Run the
nano /etc/httpd/conf.d/ssl.confcommand to create theApache Tomcatconfiguration file. -
In the created configuration file, insert the following data and replace the file path and URLs if required:
CopyVirtualHost *:443>
ServerName cyb-ubuntu.prs.thycotic.com
SSLEngine on
SSLCertificateFile /etc/ssl/certs/selfsigned.crt
SSLCertificateKeyFile /etc/ssl/private/selfsigned.key
SSLProxyEngine on
ProxyPass / http://localhost:5000/
ProxyPassReverse / http://localhost:5000/ -
Press Ctrl + O to write changes, press Enter, and finally, press Ctrl + X to exit.
-
Run the following commands to enable the proxy:
Copyproxy_https:
sudo yum install mod_proxy mod_proxy_http mod_proxy_ssl
sudo systemctl start httpd
sudo systemctl restart httpd -
Check the error log if required by running the following commands:
Copytail -f /etc/httpd/logs/ssl_error_log
tail -f /var/log/httpd/error_log
tail -f /var/log/httpd/access_log