Integrating Splunk Enterprise
Splunk Enterprise technology analyzes business and website data, manages applications, ensures compliance, and enhances security.
You can integrate Splunk Enterprise with the Delinea Platform using webhooks.
Prerequisites
Ensure that you have all the required accounts and utilities before starting the integration:
-
Account on the Delinea Platform
-
Account in Splunk Enterprise
-
Installed OpenSSL on local computer
-
Installed Docker container for Splunk Enterprise
Network and Infrastructure Requirements
Because the Delinea Platform is cloud-based and pushes webhooks outbound to your Splunk Enterprise HTTP Event Collector (HEC), the following customer-side requirements must be in place before the integration can function:
-
Publicly accessible HEC endpoint — The on-premises Splunk HEC must be reachable from the internet, either directly through a public IP address or through a NAT or reverse proxy, so the Delinea Platform can deliver webhooks.
-
Public DNS domain (FQDN) for the HEC — The webhook Endpoint URL requires a resolvable fully qualified domain name (FQDN). A bare public IP address is not sufficient, because the SSL certificate must match the DNS hostname used to reach the HEC endpoint.
-
Valid CA-signed SSL/TLS certificate on the HEC FQDN — Configure the HEC with HTTPS (
enableSSL = 1ininputs.conf) using a CA-signed certificate that covers the HEC FQDN and includes the full certificate chain. Self-signed certificates are not supported in production. -
Inbound firewall access from Delinea Platform egress IP addresses — Your firewall must allow inbound traffic from Delinea's published egress IP addresses and CIDR ranges. Retrieve the current list at https://setup.delinea.app/network-requirements, or from your tenant at
https://<tenant>.delinea.app/network-requirements. This list can change, so track updates at https://setup.delinea.app/network-requirements/changelog. For details, see Network Requirements. -
HEC TCP port open on the firewall — TCP port
8088(or the HEC port configured in your deployment) must be open and unblocked on all network devices between the internet and the Splunk instance.
Disable SSL/TLS inspection on these firewall rules. Delinea Platform services fail if an intermediate certificate is detected.
Setting Up Splunk Enterprise
To configure Splunk Enterprise, create an SSL certificate and generate a private key with the appropriate files to combine your SSL/TLS certificate, intermediate certificates (if applicable), and the private key into a single file.
Creating a Certificate in Zero SSL
You can create an SSL certificate from any certificate provider. The instructions below are for creating an SSL certificate issued by Zero SSL.
-
Go to Zero SSL.
-
Open the SSL Certificates panel.
-
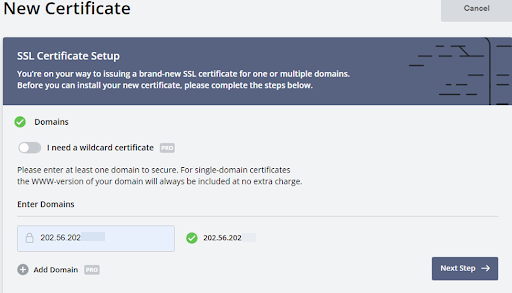
Click New Certificate.
-
Provide a valid domain for the certificate, then click Next Step until the Verify Domain dialog appears.
-
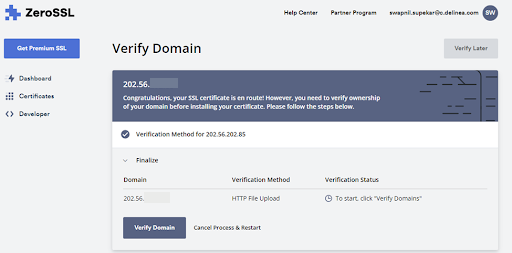
In the Verify Domain dialog, select an HTTP File Upload and follow the instructions.
-
Select Next Step.
-
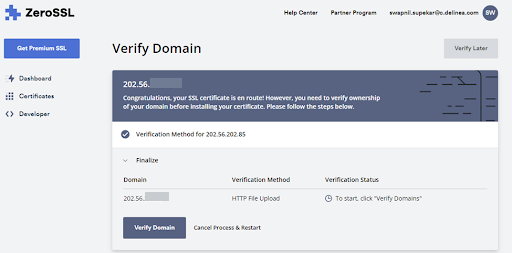
In the Verify Domain dialog, check the details for the certificate verification and click Verify Domain.
-
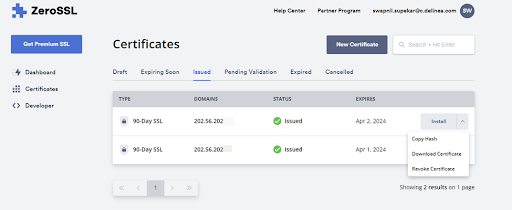
Once done, go to the Certificates panel, select your certificate, and download it.
Configuring a Certificate in OpenSSL
To configure a certificate in OpenSSL, generate private key (private.pem), caCertificateFile (certificate.pem), and full chain (full_chain.pem) files.
Generating a Private Key
To generate a private key file in OpenSSL:
-
Copy the downloaded certificate to the Splunk directory on your local computer. For example:
C:/programfiles/Splunk/etc/auth/sloccerts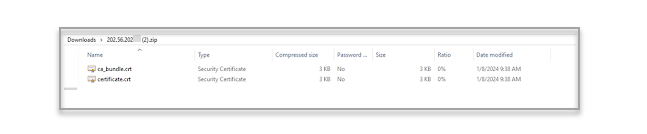
-
Verify that you have OpenSSL installed on your computer.
-
Depending on your operating system, open a terminal or a command prompt.
-
Navigate to the directory where you want to generate a private key. You can use the
cdcommand to change directories.
-
Run the following command to generate a private key:
openssl genpkey -algorithm RSA - out private.keyThe command generates a private key using the RSA algorithm and saves it to a private key file. You can adjust the algorithm or key size according to your preferences.
Generating a caCertificateFile
To generate a caCertificateFile, create a Certificate Signing Request (CSR) and then self-sign it. Open a terminal or a command prompt and run the following commands:
-
To generate a Certificate Signing Request (CSR):
openssl req -new -key ca_private_key.pem -out ca_csr.pemThis command generates a Certificate Signing Request (CSR) using the private key
ca_private_key.pemand saves it toca_csr.pem. -
To self-sign a Certificate Signing Request (CSR):
openssl x509 -req -days 365 -in ca_csr.pem -signkey ca_private_key.pem -out ca_certificate.pem
Generating a full_chain.pem file
A full_chain.pem file typically combines your SSL/TLS certificate, intermediate certificates (if applicable), and the private key into a single file. The order of the certificates is crucial for proper functioning.
Assuming you have the following components:
-
Your SSL/TLS certificate (for example, your_certificate.crt)
-
Intermediate certificate(s) (if provided by your Certificate Authority)
-
Your private key (for example, a private.key)
To generate a full_chain.pem file using these components:
-
Run the following command in the Splunk directory on your computer. Replace
your certificate.crtwith the actual name of your SSL/TLS certificate file, replaceintermediate.crtwith the name of any intermediate certificate file (if applicable), and replaceprivate.keywith the name of your private key file:cat your_certificate.crt intermediate.crt private.key > full_chain.pemEnsure that you concatenate the files correctly: certificate, intermediate certificate(s), and finally the private key. The resulting
full_chain.pemfile should contain all the necessary information in the correct order. -
After you create the
full_chain.pemfile, use it in your Splunk configuration for SSL/TLS settings, including configuring thesslRootCAPathparameter to point to this file. -
Go to the Splunk directory on your local computer.
-
Open the
inputs.conffile and specify the following data:[http]
disabled = 0
index = main
enableSSL = 1
port = [port]
privKeyPath = $SPLUNK_HOME/etc/auth/sloccerts/private.key
serverCert = $SPLUNK_HOME/etc/auth/sloccerts/full_chain.pem
caCertFile = $SPLUNK_HOME/etc/auth/sloccerts/certificate.pem
sslPassword = [SSL password]
db17Z -
Open the
Web.conffile and specify the following data:[settings]
enableSplunkWebSSL = true
httpport = [http port]
enableSplunkWebSSLDebug = true -
Restart your Splunk server.
Integrating Webhooks and Splunk Enterprise
After you have generated and managed certificates, you can set up integration between Splunk Enterprise and Delinea Platform webhooks.
Configuring Splunk Enterprise HTTP Event Collector
-
Install a Docker container to run Splunk Enterprise inside it. See the Splunk Enterprise official documentation.
-
Open a Docker container and run Splunk Enterprise with an extra port exposed for HTTP Event Collector (HEC) using the following command:
docker run -d -p 8000:8000 -p 8088:8088 -e SPLUNK_START_ARGS='--accept-license' -e SPLUNK_PASSWORD=[password] splunk/splunk:latest -
Log in to your Splunk Enterprise account with admin permissions.
-
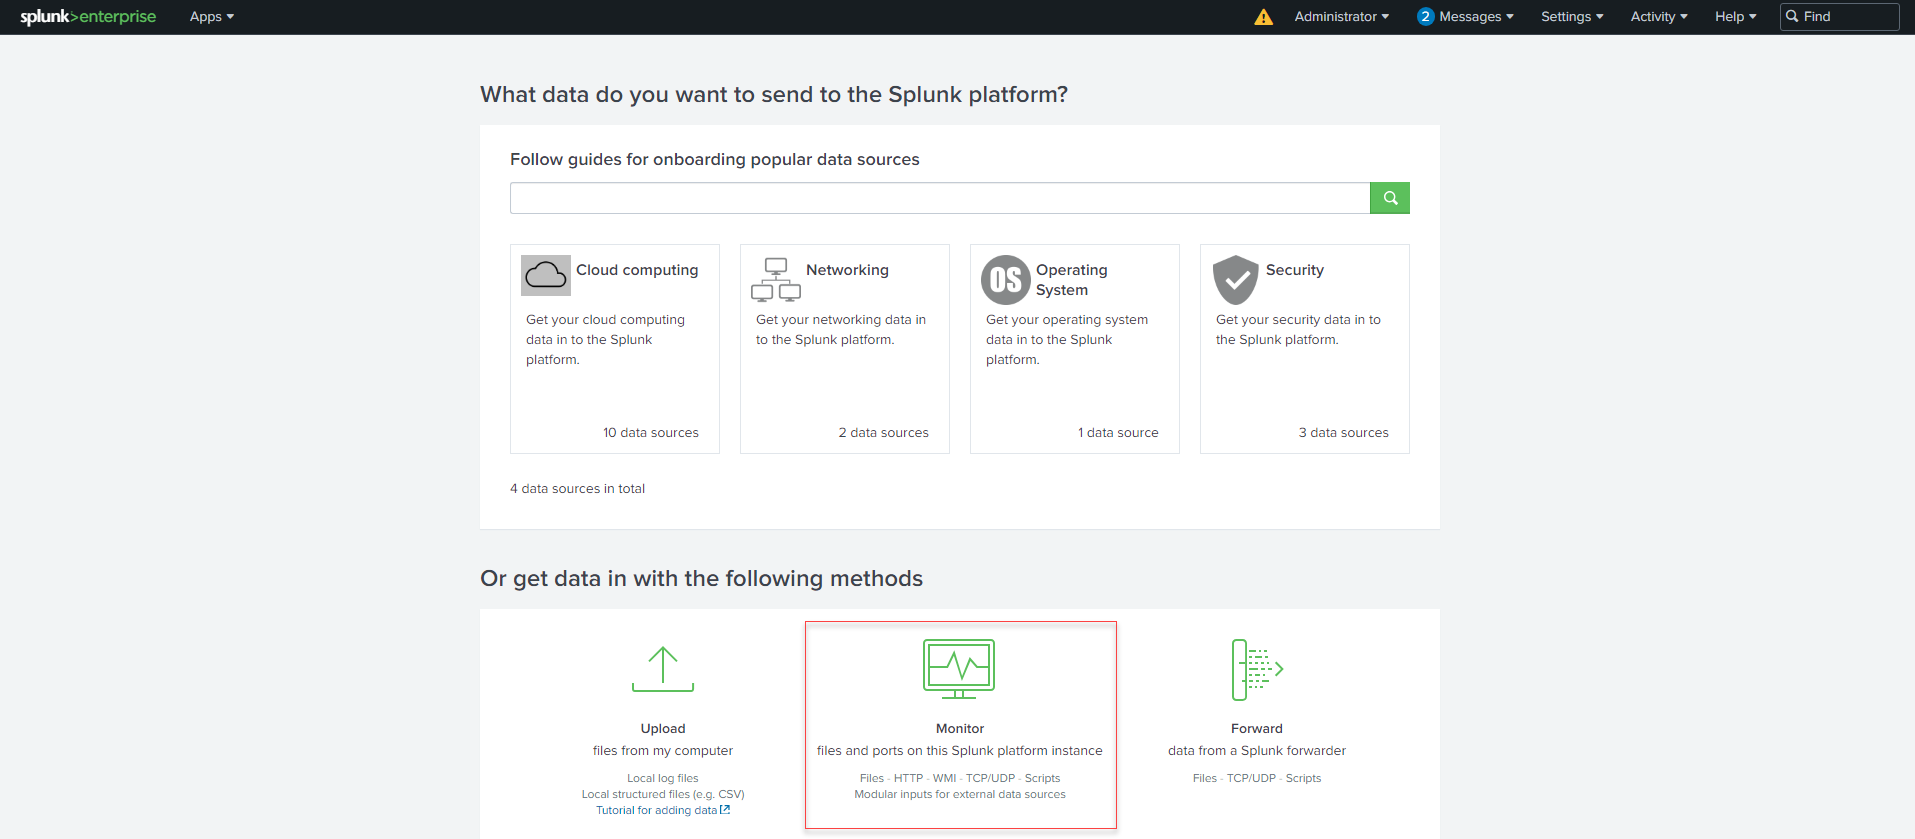
On the Quick links tab, click Add Data.

-
Select Monitor.
-
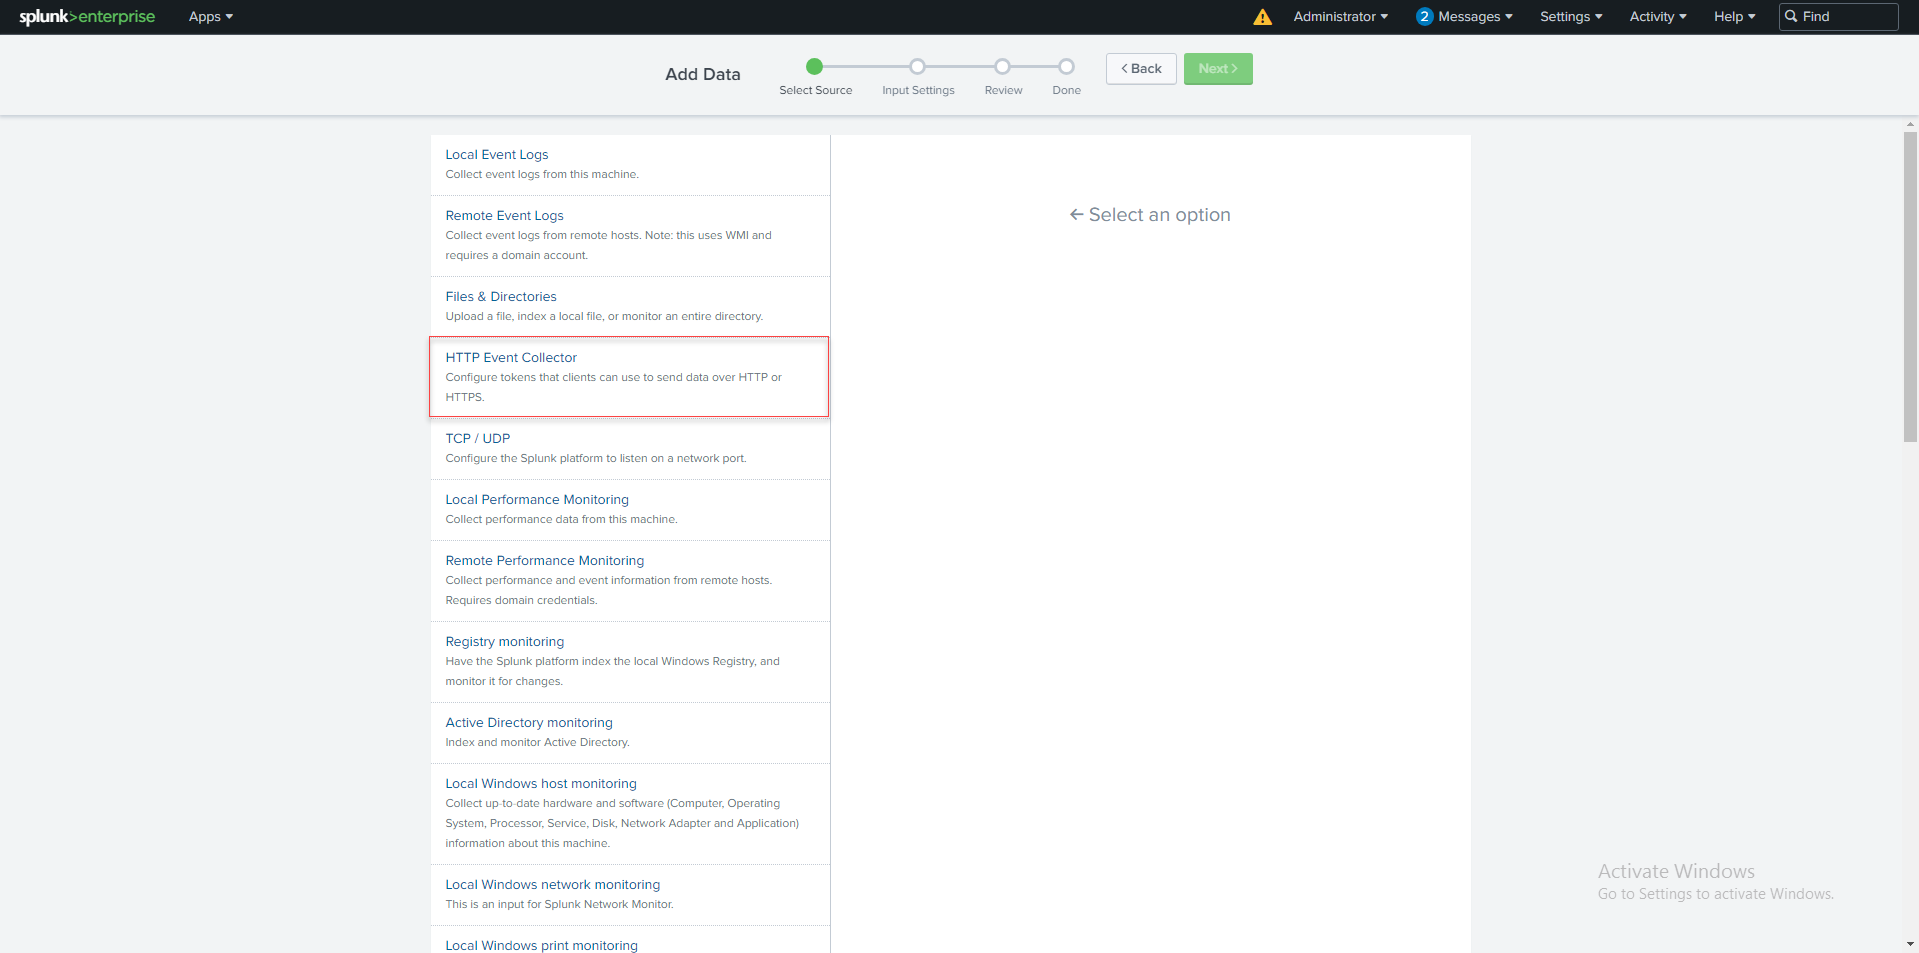
From the left panel, select HTTP Event Collector.
-
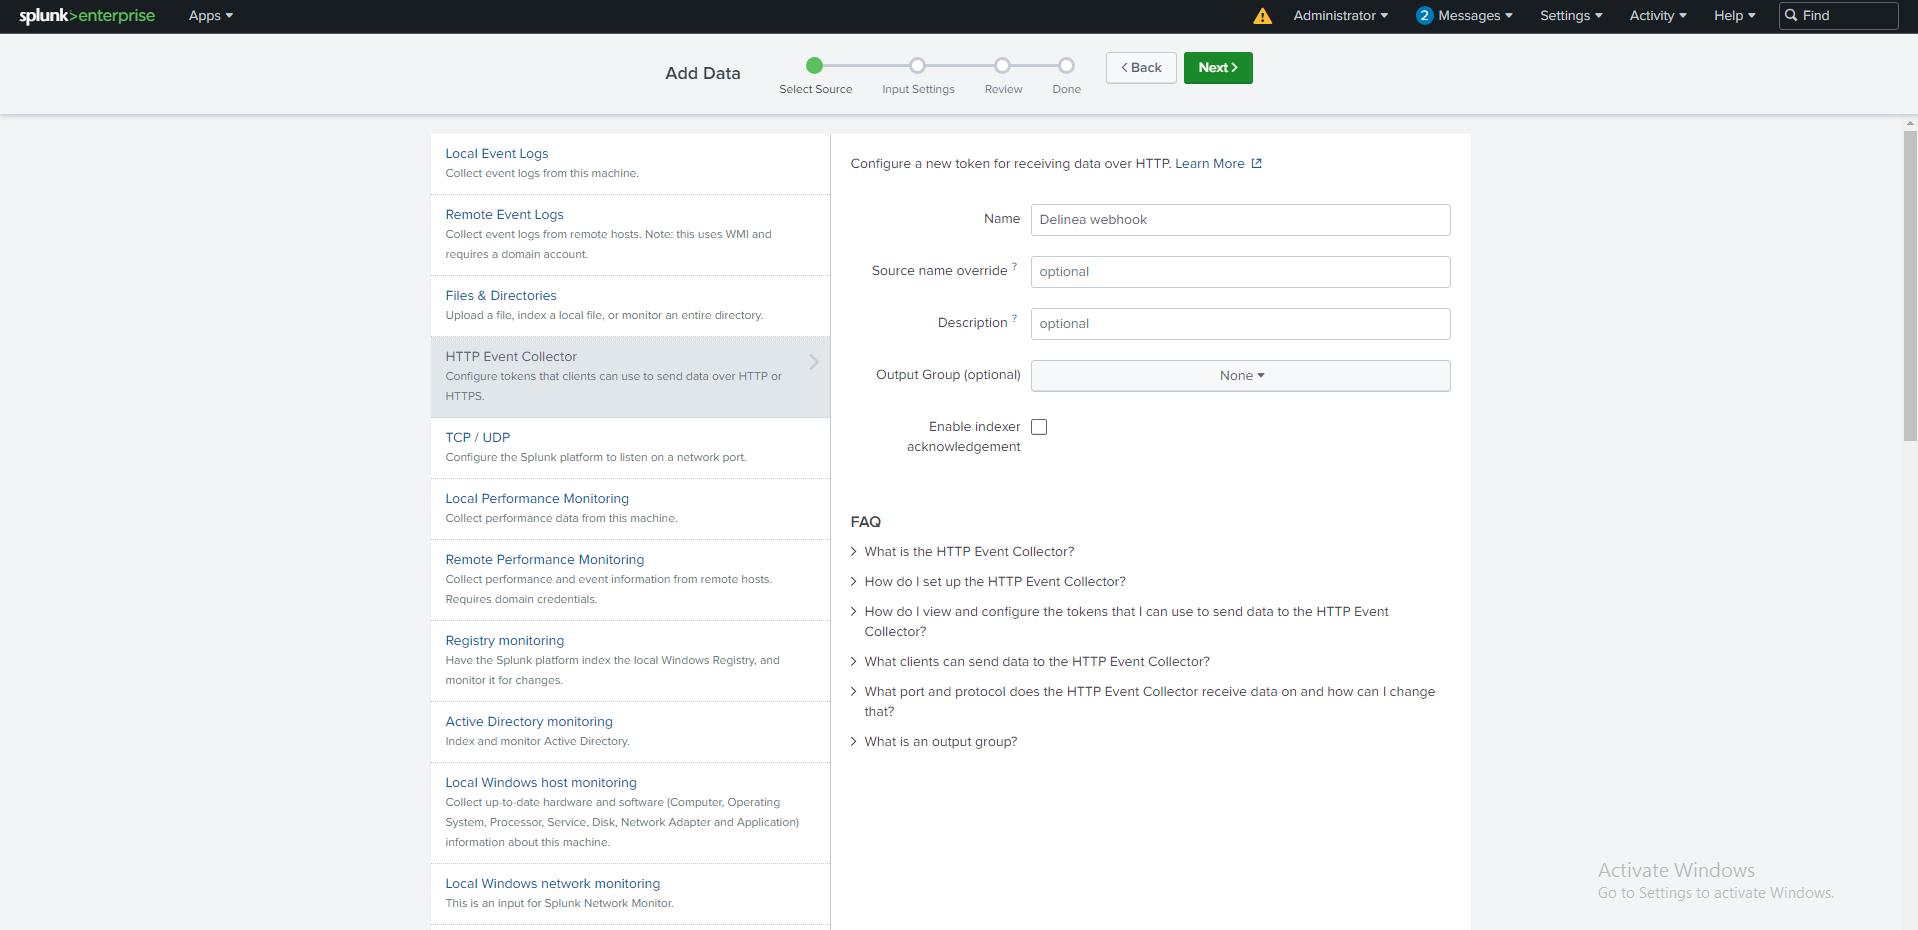
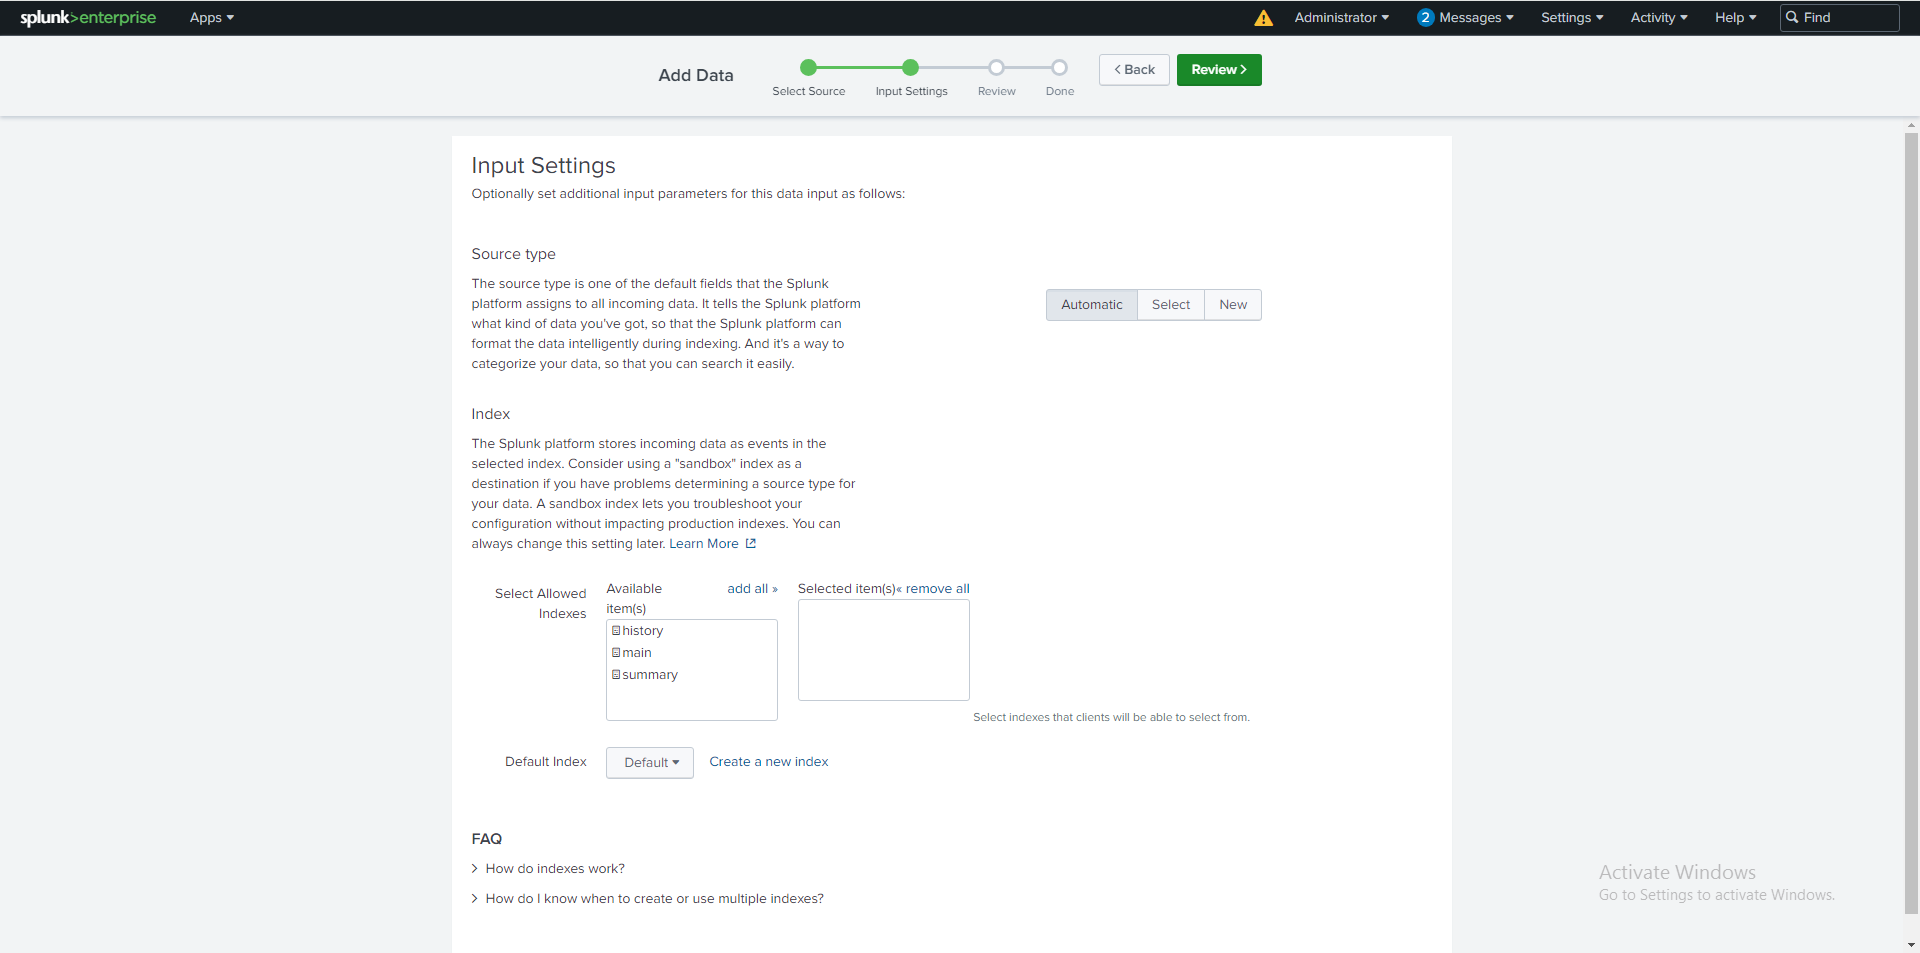
In the HTTP Event Connector form, specify the required details and select Next.
-
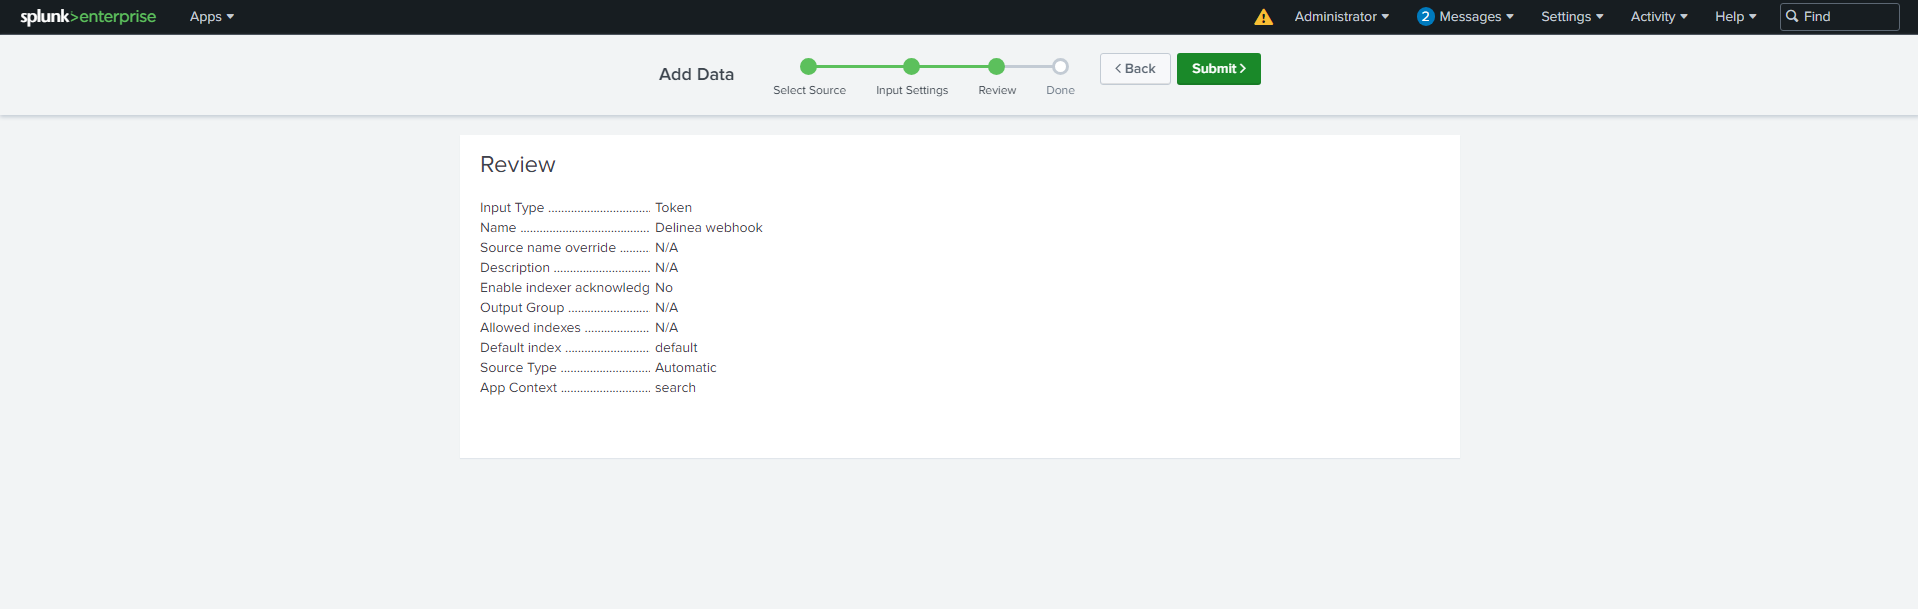
Check the displayed details, then select Review.
-
Select Submit.
-
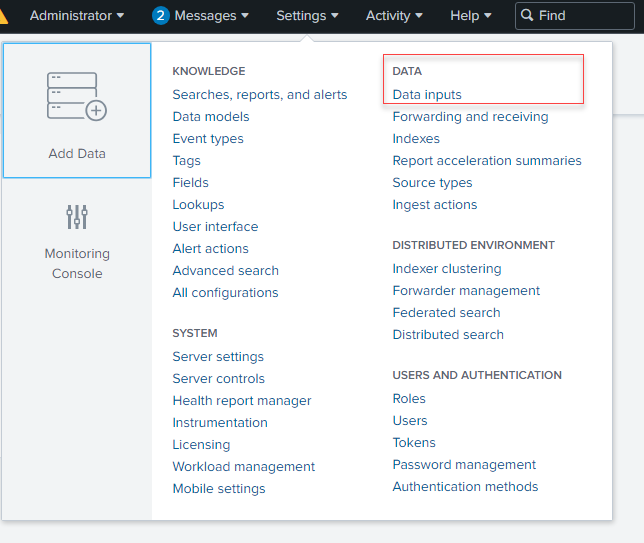
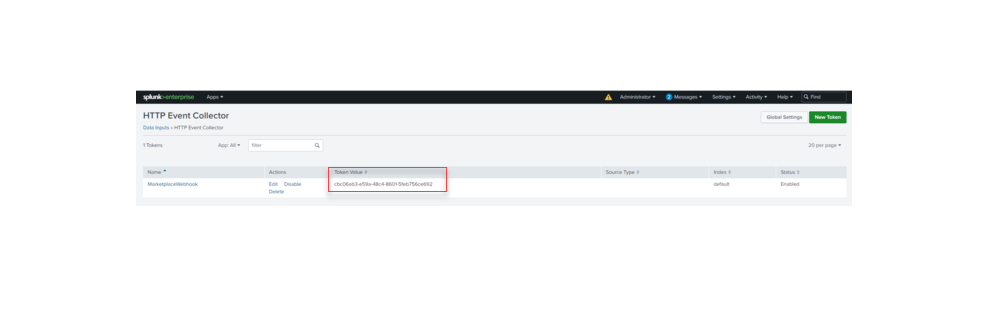
Go to Settings > Add Data > Data inputs.
-
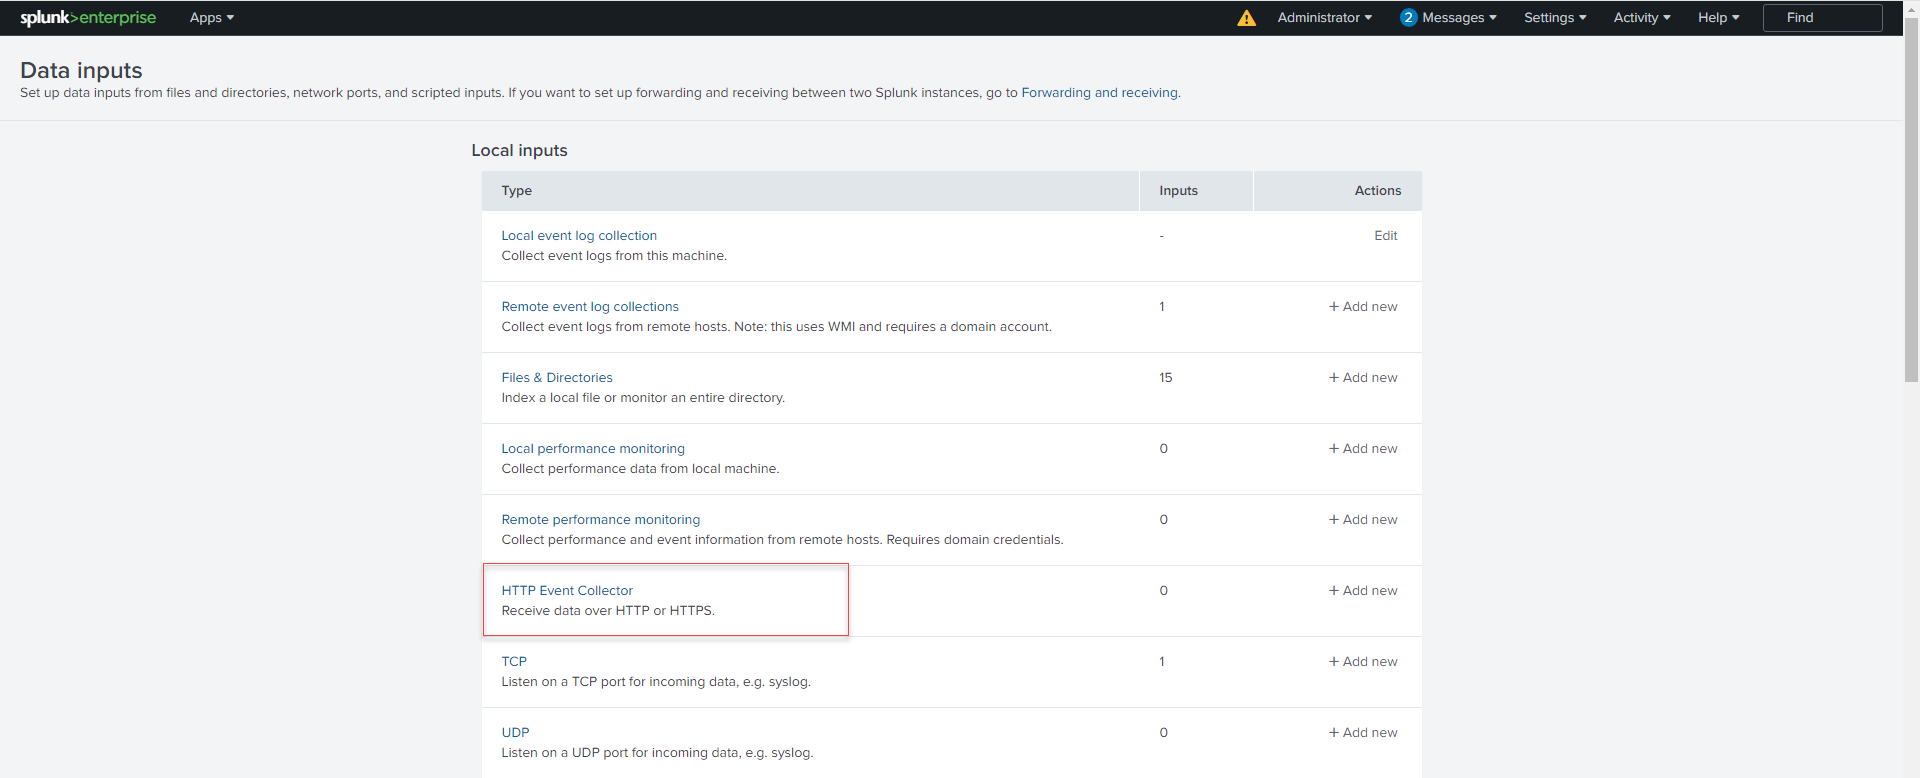
In the Data inputs dialog, select HTTP Event Collector.
-
In the HTTP Event Collector dialog, copy a Token Value. You will use this Token Value when creating a webhook on the Delinea Platform.
Creating Webhooks for Splunk Enterprise
-
Log in to the Delinea Platform.
-
From the left navigation menu, select Settings > Webhooks.
-
On the Webhooks page, select Create Webhook.
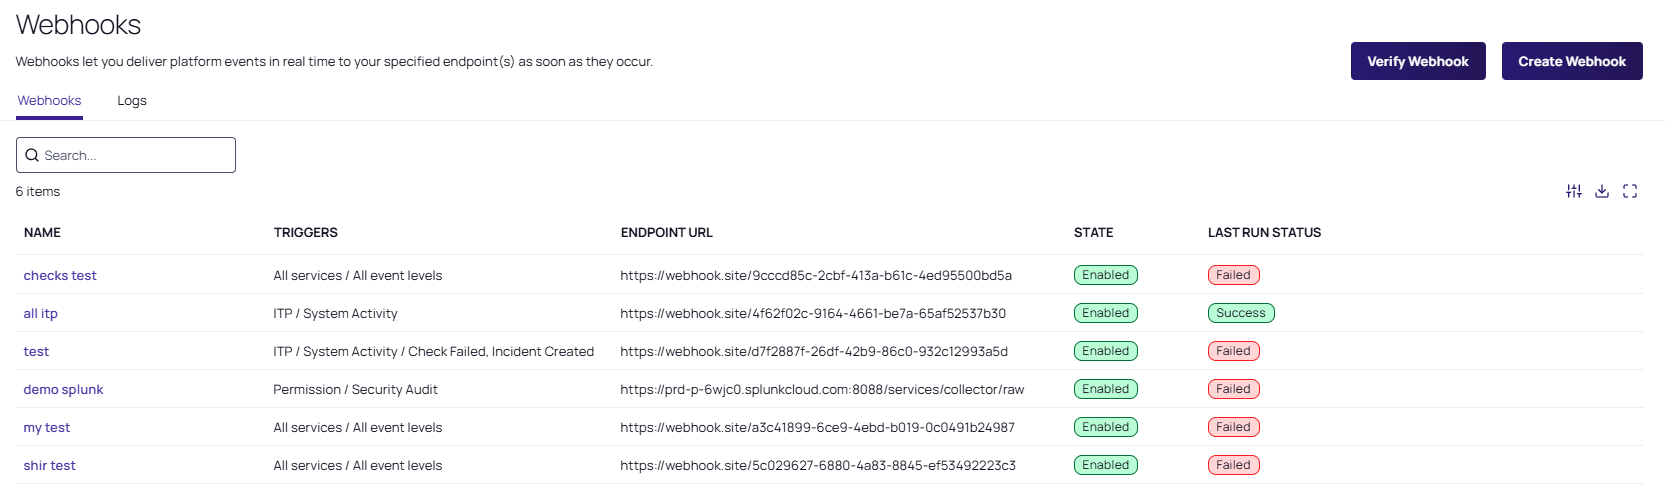
The Create Webhook dialog opens.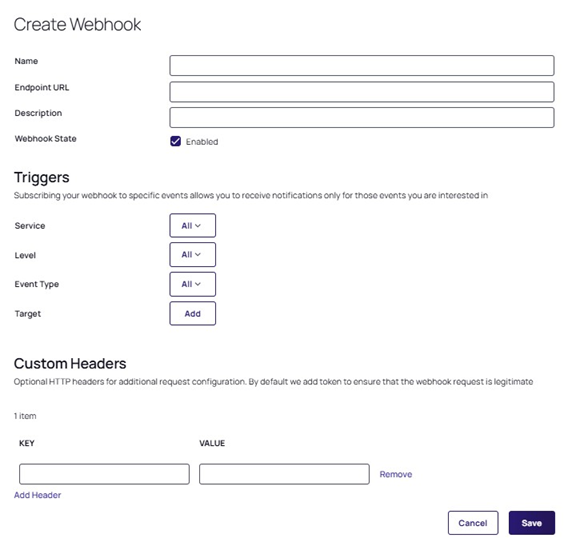
-
In the Create Webhook dialog, complete the following fields:
-
Name: Enter a unique name for the webhook to help identify it in your system.
-
Endpoint URL: The HTTP Event Collector (HEC) URL of your Splunk Enterprise instance, in the form
https://<splunk-host>:8088/services/collector/raw.The
:8088port (or the custom HEC port configured in your Splunk Enterprise deployment) is required in the Endpoint URL. Unlike Splunk Cloud, Splunk Enterprise does not default the HEC port — it must be specified in the URL. -
Description: Enter a brief description of the webhook to provide context about its specific function.
-
Webhook State: Use the checkbox to enable or disable the webhook, where checking it makes the webhook active and unchecking it disables notifications.
-
Triggers: Choose Service, Level, and Event Type for your webhook subscription to receive notifications and add the Target to triggers.
-
Key: Authorization
-
Value: Splunk <HEC_TOKEN> — the literal word
Splunk(capitalized), followed by a single space and the HEC token you copied from Splunk Enterprise.
Do not enable Indexer acknowledgement on the HEC token used for the Delinea Platform webhook integration. Splunk requires an
X-Splunk-Request-Channelheader on every request to/services/collector/rawwhen indexer acknowledgement is enabled, and the Delinea Platform does not send this header. If indexer acknowledgement is required in your environment, contact Delinea support. -
-
Provide other required details, then click Save.
-
Verify the configured webhook on the Delinea Platform (see Testing a webhook).
For more information, see Webhook Management.
Troubleshooting
Issue:
An SSL error as a result of the webhook test.
Solution:
-
Depending on your operating system, open a terminal or a Command prompt.
-
Navigate to the Splunk directory on your computer and insert the following data:
var handler = new HttpClientHandler
{ClientCertificateOptions = ClientCertificateOption.Manual,
ServerCertificateCustomValidationCallback =
(httpRequestMessage, cert, cetChain, policyErrors) => true
};
-
Go back to the Delinea Platform and test the webhook created for Splunk Enterprise again.
-
Ensure that the webhook for Splunk Enterprise is configured correctly by receiving a success alert.
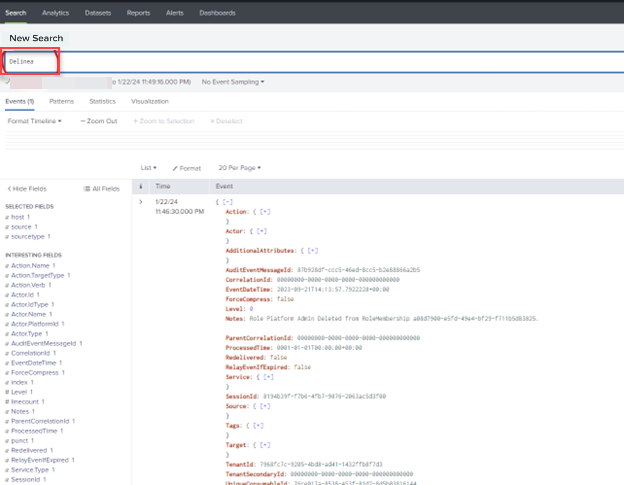
Verifying Logs for Splunk Webhook
When you have ensured that webhooks are correctly configured for Splunk Enterprise, you can verify that the expected logs were received using webhooks.
-
Log in to your Splunk Enterprise account with admin permissions.
-
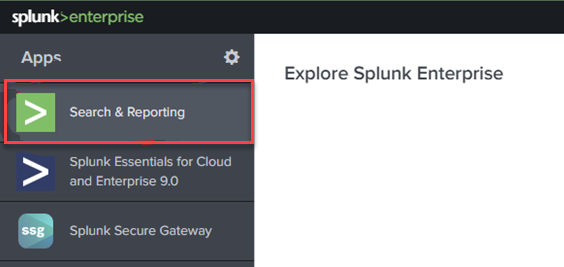
From Apps, select Search & Reporting.
-
In New Search, specify "Delinea" and select Enter.
-
Verify that the log is displayed.
-
To verify the logs in the Delinea Platform see Verifying a Webhook.