Managing Webhooks
This section describes how to create and manage webhooks.
Prerequisites
Ensure that you have permission on the Delinea Platform to manage webhooks:
-
Permission name: Manage Webhooks
-
Permission string: delinea.platform/webhooks/manage
Creating a Webhook
-
Navigate to Settings > General settings > Webhooks. The Webhooks page opens.
-
Select Create Webhook.
The Create Webhook page opens.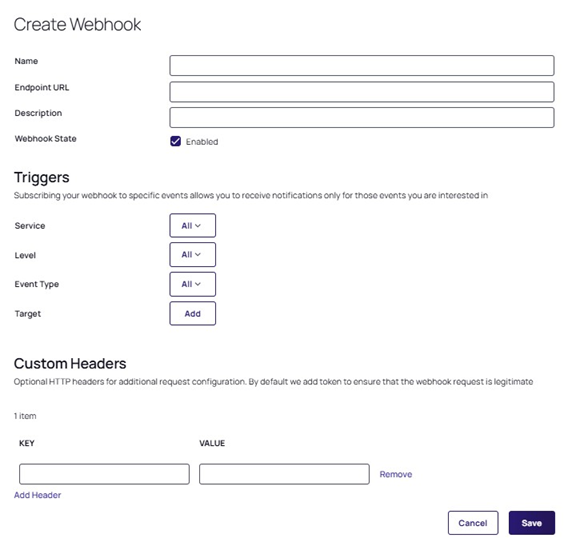
-
On the Create Webhook page, complete the following fields:
-
Name: Enter a unique name for the webhook to help identify it in your system.
-
Endpoint URL: Must be a publicly available webhook ingestor site or server. See https://webhook.site/.
-
Description: Enter a brief description of the webhook to provide context about its specific function.
-
Webhook State: Use the checkbox to enable or disable the webhook, where checking it makes the webhook active and unchecking it disables notifications.
-
Triggers section
Define the events that will trigger the webhook by selecting options for service, severity level, event type, and target.
-
Service: Select the specific service to subscribe to webhook notifications from, helping target relevant service events. Available services include ITP (Identity Threat Protection) for Threat Center alerts, Secret Server for vault events, and other Platform services. For a list of alert types that can trigger webhooks, see Types of Alerts.
-
Level: Choose the severity or level of events (e.g., error, warning, info) to determine which events trigger the webhook.
-
Event Type: Select the type of event that should trigger the webhook, allowing granular control over which events cause notifications.
-
Target: Add a specific target for the webhook notifications to filter and direct them to the correct recipient or system.
Custom Headers section
Define additional HTTP headers (e.g., Authorization, API-Key) to be included in the webhook requests, enabling customization of the HTTP request headers.
-
Key: Enter the name of the custom header to specify its type (e.g., Authorization, API-Key) for the webhook request.
Note: Use the Add Header hyperlinked button if you want to add more custom headers to the webhook request to allow for additional configuration options. -
Value: Enter the corresponding value for the custom header to ensure the correct data is included in the webhook request.
Note: Use the Remove hyperlinked button to remove a specific header entry when it's no longer needed or accurate for the webhook configuration.
When you are finished completing the fields on the Create Webhook page, select Save to create your webhook with your specified configurations.
Managing Webhooks
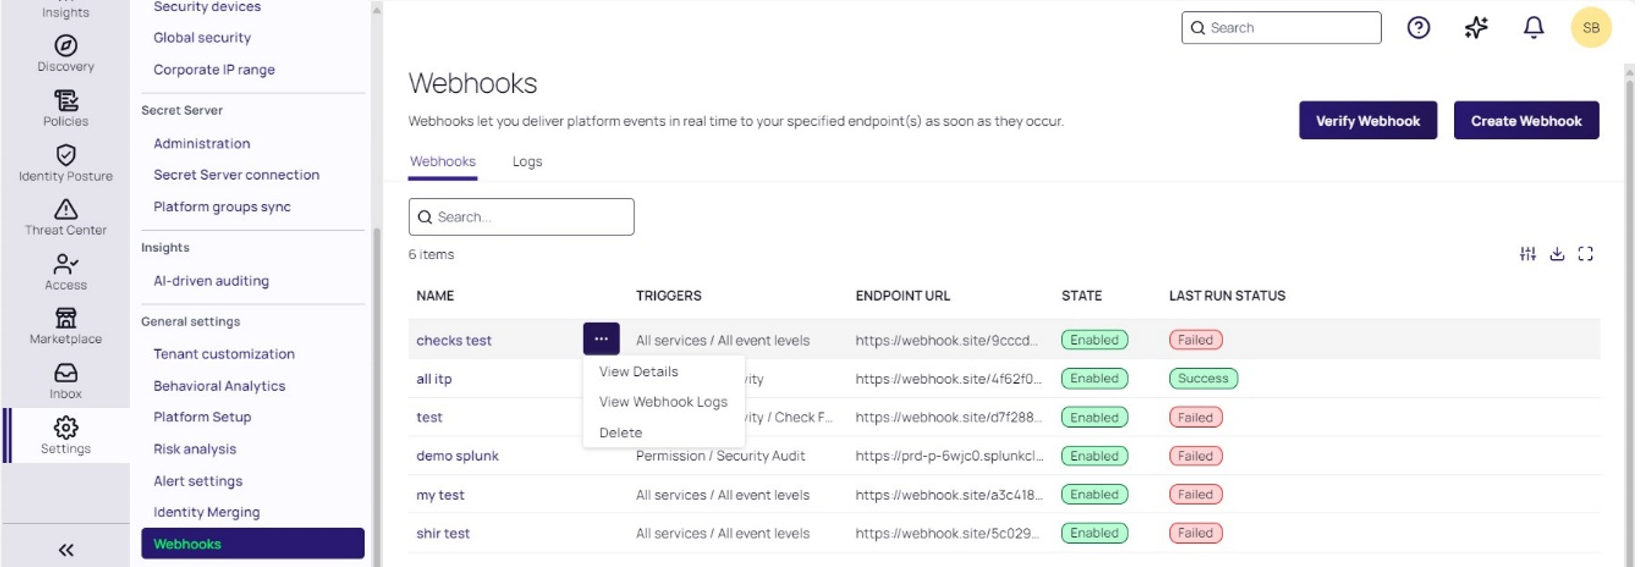
To access available webhooks or to create a new one, navigate to Settings > Webhooks.
On the Webhooks page, two tabs are available: Webhooks and Logs:
-
Webhooks: On the Webhooks tab, you can see all available webhooks. The following columns are displayed:
-
Name: The name of the webhook.
-
Triggers: The specific Platform events or actions that trigger the webhook, such as user logins, secret access, or policy changes.
-
Endpoint URL: The URL to which the webhook sends event data. This is the endpoint specified when configuring the webhook where Platform events are delivered.
-
Created By: The user who created the webhook. This is especially useful in team or multi-user environments.
-
Created At: The timestamp indicating when the webhook was initially created.
-
State: The state of the webhook, for example Enabled (active) or Disabled (inactive).
-
Last Run Status: The status of the most recent webhook execution, for example "Success," "Failed," "Pending").
-
-
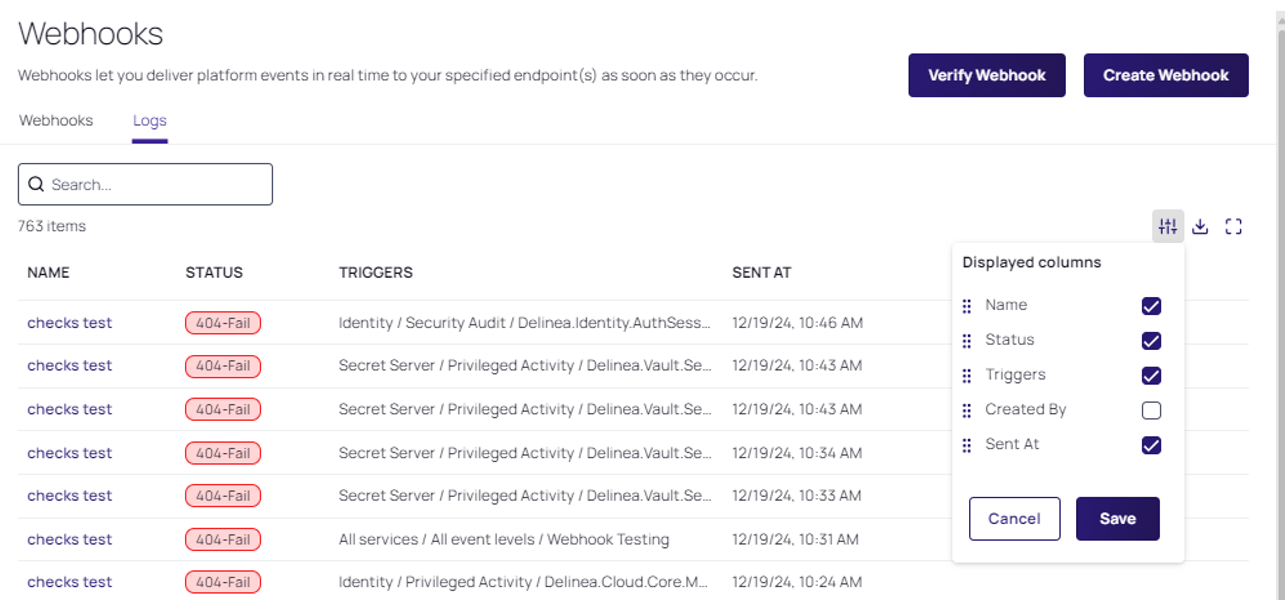
Logs: On the Logs tab, the following columns are displayed:
-
Name: The name or identifier of the webhook event or configuration.
-
Status: The status of the webhook, for example Success, Failure.
-
Triggers: The specific events or actions that you choose to be notified about.
-
Created By: The user or account that created the webhook configuration.
-
Sent At: The timestamp indicating when the webhook event was sent to the specified endpoint.
-
On both tabs, you can use the grid button to choose only the columns you wish to see.
To manage your webhooks:
-
Navigate to Settings > General settings > Webhooks. The Webhooks page opens.
-
Select your webhook from the list.
-
Select Edit to change the configurations for the webhook.
-
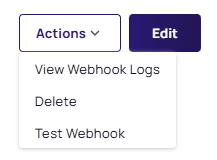
Select the Actions drop-down menu.
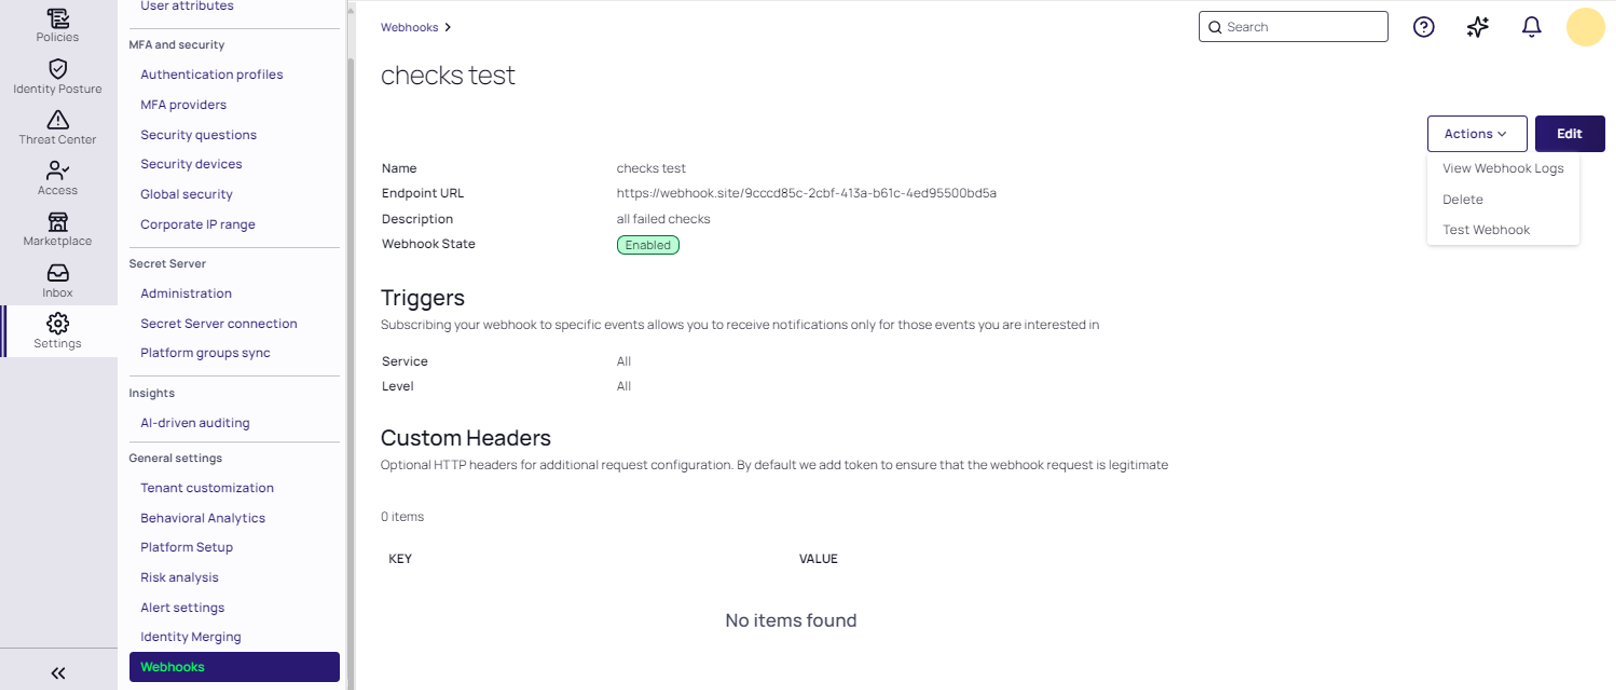
From the Actions dropdown you can select:
-
Delete to delete the selected webhook
-
Test Webhook to test the created webhook
-
View Webhook Logs to display the webhook logs.
-
Webhook Logs
The Delinea Platform logs test results and failures.
In the logs, the Target is the entity (such as a secret) that is tracked by the audit event, allowing webhook notifications to filter and direct the information to the appropriate recipient or system. For a list of all event types, see Reviewing Audit Logs.
There are three ways to view the webhook logs from the Webhooks page:
-
Select the Logs tab, or...
-
Select a webhook to open it, click the Actions drop-down menu, and choose View Webhook Logs, or...
-
Hover over the webhook row, click the ellipses (...) that appears, and select the View Webhook Logs option.
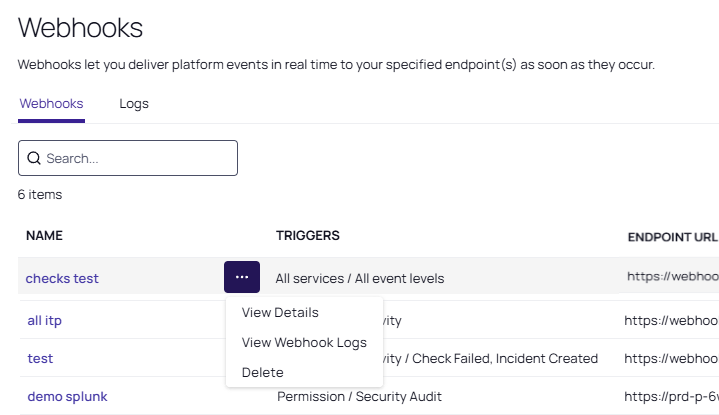
Here you can also delete the webhook by selecting the Delete option, or see details by selecting the View Details option.
To download webhook logs:
-
Select the Download icon.
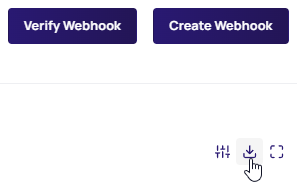
The Download page opens.
-
On the Download page, specify the logs to download using the fields presented:
-
Records: Specify the number of records to include in the logs.
-
File Name: Enter a name for the webhook log file to make it easier to locate.
-
Date Format: Select your preferred date format from the drop-down menu.
Verifying a Webhook
Complete the following steps to validate the incoming webhook payloads against the token and verify that they are from us and have not been tampered with:
-
Navigate to Settings > General settings > Webhooks. The Webhooks page opens.
-
Select Verify Webhook.
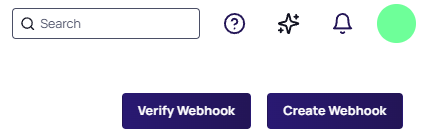
The Verify Webhook page opens.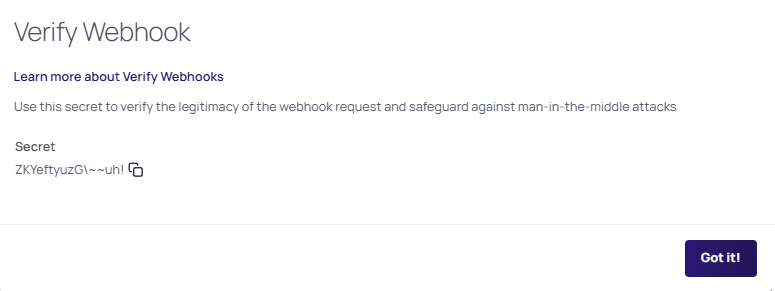
-
On the Verify Webhook page, copy the secret token and store it in a secure and accessible server location.
Delinea Platform will use your secret token to create a hash signature that is sent to you with each payload. The hash signature will appear in each delivery as the value of the X-Token header. -
Select Got it! to close the page.
Calculating Hash
In your code that handles webhook deliveries, calculate a hash using your secret token. Then compare the hash sent by us with the expected hash you calculated to ensure that they match.
Python Example
You can use the following verify_signature function and call it when you receive a webhook payload:
import base64

import hashlib

import hmac

import json


def verify_signature(payload_body: dict, secret_token: str, signature_header: str):

    """Verify that the payload was sent from Delinea by validating SHA256.


    Raise and return 403 if not authorized.


    Args:

        payload_body: original request body to verify (request.body())

        secret_token: Delinea app webhook token (WEBHOOK_SECRET)

        signature_header: header received from Delinea(x-hub-signature-256)

    """

    if not signature_header:

        raise HTTPException(status_code=403, detail="x-signature header is missing!")

    payload = json.dumps(payload_body).encode("utf-8")

    signature = base64.b64decode(signature_header)

    digest = hmac.new(secret_token.encode("utf-8"), msg=payload, digestmod=hashlib.sha256).digest()

    if not hmac.compare_digest(digest, signature):

        raise HTTPException(status_code=403, detail="Request signatures didn't match!")
For more information, see: