Adding and Configuring a Custom User-password Application
To add a custom user-password application
-
In Admin Portal, click Apps, then click Add Web Apps.
The Add Web Apps screen appears.
-
Click Custom.
-
On the Custom tab, next to the User-Password application, click Add.
-
In the Add Web App screen, click Yes to add the application.
Admin Portal adds the application.
-
Click Close to exit the Application Catalog.
The application that you just added opens to the Application Settings page.
-
Enter the web application’s login URL in the URL field.
-
(Optional) If the web application has a login URL that is designed for viewing on mobile devices, enter that address in the Mobile URL field.
When a user on a mobile device requests this web application, the connection request goes to the mobile URL. If there is no mobile URL, a mobile device connection request goes to the standard URL in the field above. All requests from standard browsers go to the standard URL.
-
On the Description page, change the name and description for the application.
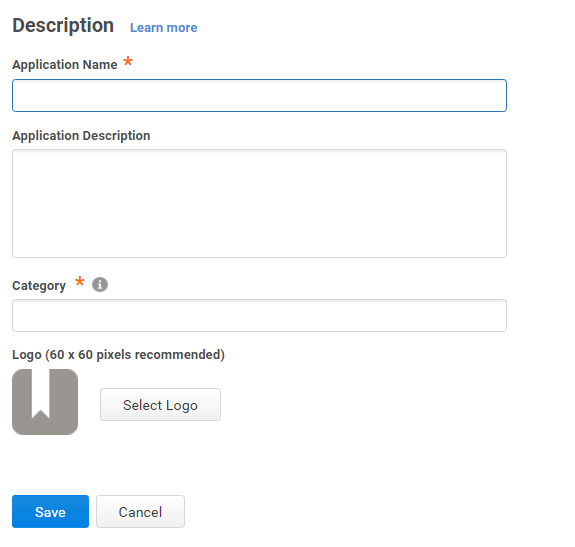
Because this is a generic or custom application, it’s recommended to give this application a unique name. You can also provide a custom application logo.
-
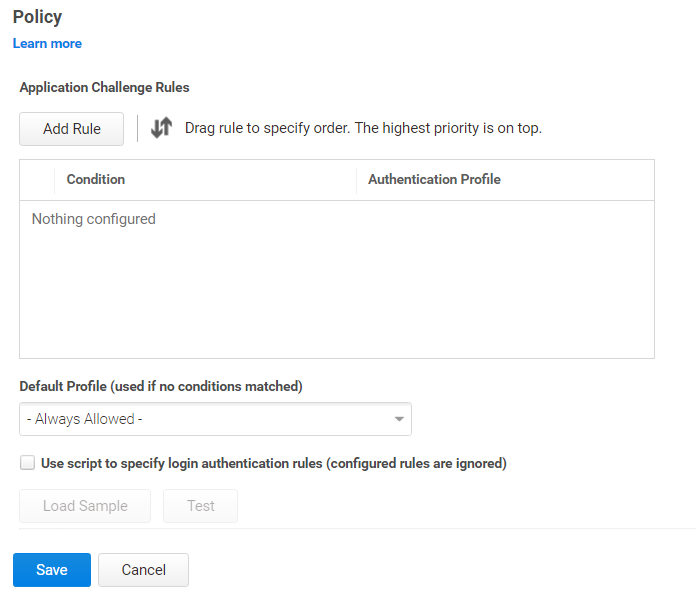
(Optional) On the Policy page, specify additional authentication controls for this application.
-
Click Add Rule.
The Authentication Rule window displays.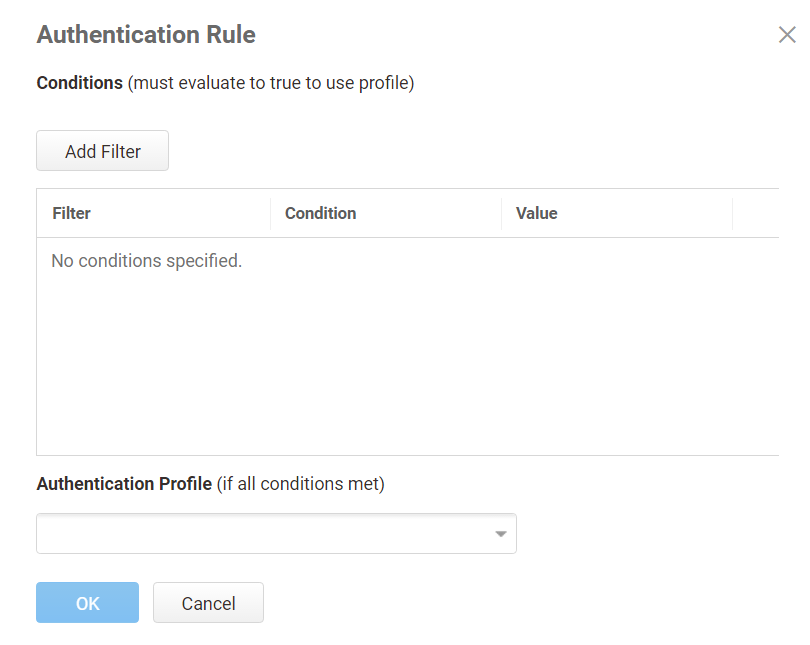
-
Click Add Filter on the Authentication Rule window.
-
Define the filter and condition using the drop-down boxes.
For example, you can create a rule that requires a specific authentication method when users access the Privileged Access Service from an IP address that is outside of your corporate IP range. Supported filters are:
Filter Description IP Address The authentication factor is the computer’s IP address when the user logs in. This option requires that you have configured the IP address range in Settings, Network, Corporate IP Range. Identity Cookie The authentication factor is the cookie that is embedded in the current browser by the Privileged Access Service after the user has successfully logged in. Day of Week The authentication factor is the specific days of the week (Sunday through Saturday) when the user logs in. Date The authentication factor is a date before or after which the user logs in that triggers the specified authentication requirement. Date Range The authentication factor is a specific date range. Time Range The authentication factor is a specific time range in hours and minutes. Device OS The authentication factor is the device operating system. Browser The authentication factor is the browser used for opening the Privileged Access Service Admin Portal. Country The authentication factor is the country based on the IP address of the user computer. For the Day/Date/Time related conditions, you can choose between the user’s local time and Universal Time Coordinated (UTC) time. -
-
Click the Add button associated with the filter and condition.
-
Select the profile you want applied if all filters/conditions are met in the Authentication Profile drop-down.
The authentication profile is where you define the authentication methods. If you have not created the necessary authentication profile, select the Add New Profile option. See Creating authentication profiles -
Click OK.
-
(Optional) In the Default Profile (used if no conditions matched) drop-down, you can select a default profile to be applied if a user does not match any of the configured conditions.
If you have no authentication rules configured and you select Not Allowed in the Default Profile dropdown, users will not be able to log in to the service. -
Click Save.
If you have more than one authentication rule, you can prioritize them on the Policy page. You can also include JavaScript code to identify specific circumstances when you want to block an application or you want to require additional authentication methods. For details, see Application Access Policies with JavaScript.If you left the Apps section of Admin Portal to specify additional authentication control, you will need to return to the Apps section before continuing by clicking Apps at the top of the page in Admin Portal.
-
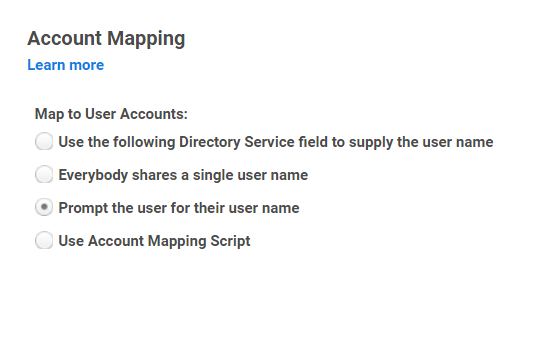
On the Account Mapping page, configure how the login information is mapped to the application’s user accounts.
-
Use the following Directory Service field to supply the user name: Use this option if the user accounts are based on user attributes. For example, specify an Active Directory field such as mail or userPrincipalName or a similar field from Delinea Directory.
For Web - User Password applications, selecting this option allows an additional option to let Active Directory users log in using Active Directory credentials. Select the Use the login password supplied by the user (Active Directory users only) option for every Web - User Password application that you want users to log in to using Active Directory credentials.
-
Everybody shares a single user name: Use this option if you want to share access to an account but not share the user name and password. For example, some people share an application developer account.
-
Prompt the user for their user name: Use this option if you want users to supply their own user name and password. The first time a user launches the application, they enter their login credentials for that application. The Privileged Access Service stores the user name and password and the next time the user launches the application, the Privileged Access Service logs the user in automatically.
LoginUser.Username = LoginUser.Get('mail')+'.ad';
The above script instructs the Privileged Access Service to set the login user name to the user’s mail attribute value in Active Directory and add ‘.ad’ to the end. So, if the user’s mail attribute value is Adele.Darwin@acme.com then the Privileged Access Service uses Adele.Darwin@acme.com.ad. For more information about writing a script to map user accounts, see User-Password Application Scripting.
When the user first logs in to the application, the Admin Portal will ask for the application’s login password and then (if the script hasn’t already created a password) store the application password in the Privileged Access Service so it’s not required for later logins by the user.
The options are as follows:
-
-
On the Advanced tab, click Edit to enter or modify the JavaScript that specifies the HTML login response that the Privileged Access Service sends to the web application login URL when a user requests the application. This advanced script must be present and configured to match the service provider’s required form fields.
The default example script shows how to specify form fields. The example script does not work as is, and you must modify the script to match each application’s form field requirements. For the vast majority of web applications, you need to replace only the username-field in line 2 with the form field name you discovered earlier for user name, replace the password-field in line 4 with the form field name you discovered for the password, and then delete lines 6 and 7.
An example (without comment lines) using the form field names User and Password:
response.AddFormField("User", encode(LoginUser.Username));response.AddFormField("Password", encode(LoginPassword));For detailed information about writing an advanced script and for descriptions of the objects and methods provided by the Privileged Access Service for defining an HTTP login response, read User-Password Application Scripting.
-
(Optional) Click App Gateway to allow users to securely access this application outside of your corporate network. For detailed configuration instructions, see Configuring App Gateway.
The App Gateway feature is a premium feature and is available only in the Privileged Access Service App+ Edition. Please contact your Delinea representative to have the feature enabled for your account.
-
(Optional) On the Changelog page, you can see recent changes that have been made to the application settings, by date, user, and the type of change that was made.
-
(Optional) Click Workflow to set up a request and approval work flow for this application.
See Managing Application Access Requests for more information.
-
Click Save.