Moving the Microsoft SQL Server Database to Another Machine
Follow the steps below for moving MS SQL Server database for Secret Server.
Task 1: Backing up and Restoring the Database
To back up your Secret Server installation:
-
Enable the maintenance mode.
-
Stop the Secret Server site in Internet Information Server (IIS) to prevent any changes to the database.
-
Navigate to the directory where Secret Server is installed.
-
Copy the folder (holding the application) to your back up location.
-
Open your SQL Server Management Studio.
-
Right click the database your Secret Server is running on, and select Tasks > Backup.
-
Click the Add button. You are prompted to enter a file path for the
.bakfile. This can be the final destination (not recommended) or a temporary one (for later moving to a back up location). -
Make sure SQL Server has permissions for this location. That is, create (if needed) and or grant access to the account that will access the database (see the Installation for account creation instructions). See Running the IIS Application Pool As a Service Account (Task 2) for details.
-
Copy the resulting database backup file (
.bak) to your backup location.
osql -S myserver\SQLEXPRESS -E - Q "BACKUP DATABASE SECRETSERVER TO DISK = 'c:\backup\ss.bak'.See Restoring Secret Server from a Backup for restoring instructions.
Task 2: Connecting Secret Server to the New Database
-
Restart your Secret Server website in IIS.
-
Log on Secret Server as a local admin.
-
Navigate to
https://<your_SS_URL>/Setup/Database. The Database Configuration page appears: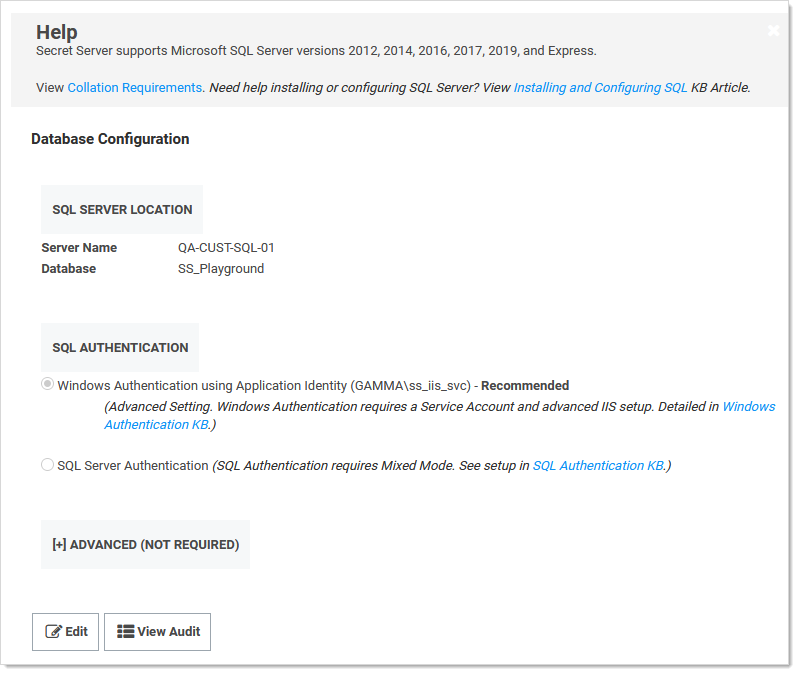 The setting here are stored in
C:\inetpub\wwwroot\Secretserver\database.config. You can back that file up to revert or simply return to this page to reset the connection again. See the Privilege Manager documentation if you need to change its configuration too. -
Click the Edit button. The page becomes editable.
-
Type your new SQL Server location (server name) and database.
-
Click the Save Database Connection Settings button, and the site will connect to the new database.
-
Your site is now pointing the new database.