AWS Key Management Services
Task 1: Setting up the Encryption Key and IAM User in AWS
-
Log into the AWS Console website.
-
Under Services, search for IAM (Identity and Access Management). This is where you will configure both your encryption key and an IAM user that Secret Server uses to access the encryption key.
-
Click the Users button on the left menu.
-
Click the Add User button.
-
Type a name (such as SecretServerCloud) in the User Name text box.
-
Click to select the Programmatic Access checkbox in the Access Type section.
-
Click the Next: Permissions button, the Permissions page appears. On the Permissions page, no special permissions are needed.
-
Select the Next: Tags button. The Tags page appears.
-
Click the Next: Review button, the Review page appears.
-
Select the Create User button. A Success page appears confirming the user was created.
-
Both the access key ID and the secret access key appear (click the Show link).
-
Click the Download .csv button to save the credentials.
Be sure to save both the access key ID and the secret access key! If you lose them, you can never view the secret access key again. Even after you enter them in SSC, you cannot retrieve the secret access key. -
Once the download completes, click the Close button.
-
Under Services, search for Key Management Service.
-
Select the Customer managed keys link in the left-hand menu.
-
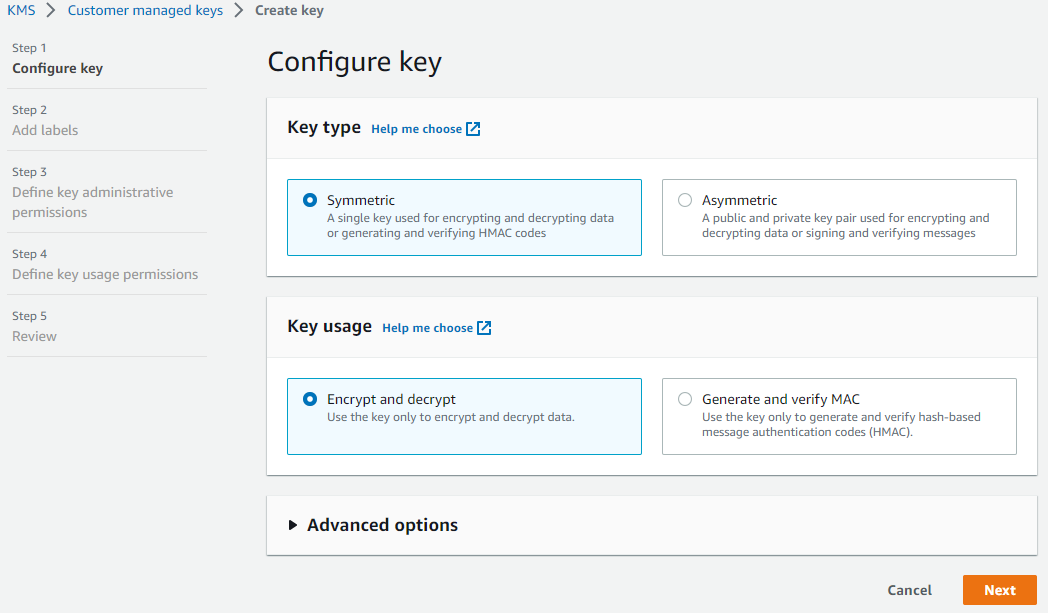
Click the Create Key button. The Configure Key page, the first page of the Create Key wizard, appears:
-
Ensure the Key type selection button is set to Symmetric.
-
Ensure the Key usage selection button is set to Encrypt and decrypt.
-
Click the Next button. The Add Labels page appears:

-
Type
SecretServerCloudin the Alias text box. -
(Optional) Type a description in the Description text box.
-
(Optional) Click the Add tag button to add KMS tags.
-
(Optional) Click the Learn More link for any of the settings to access more information.
-
Select the Next button. The Define Key Administrative Permissions page appears:
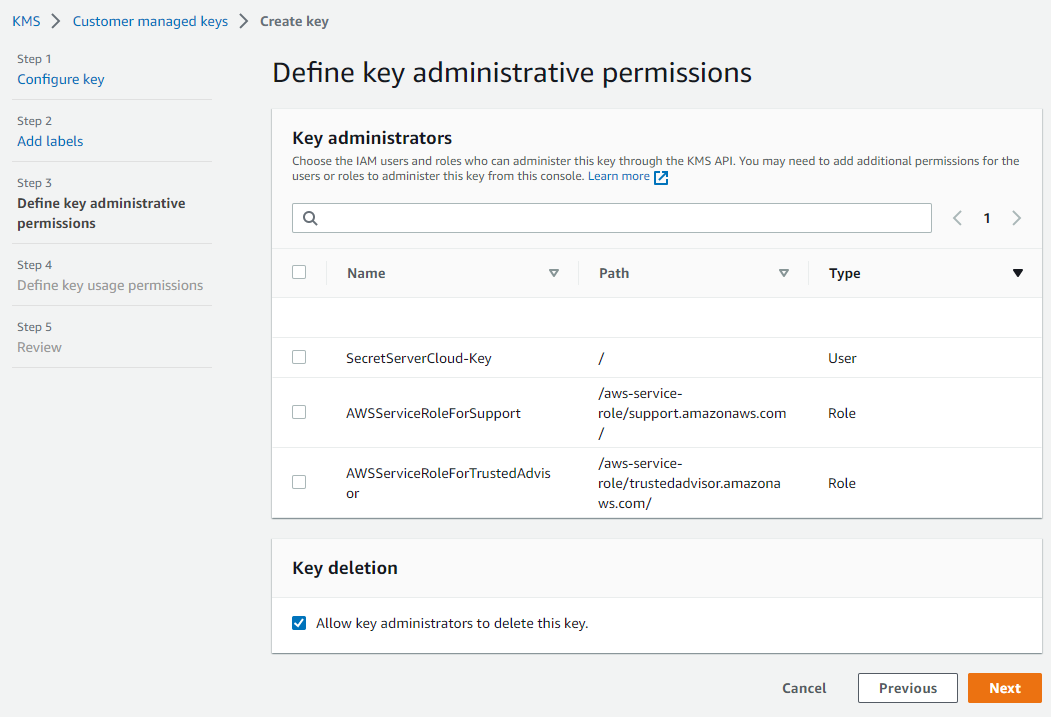
Leave the page as is.
-
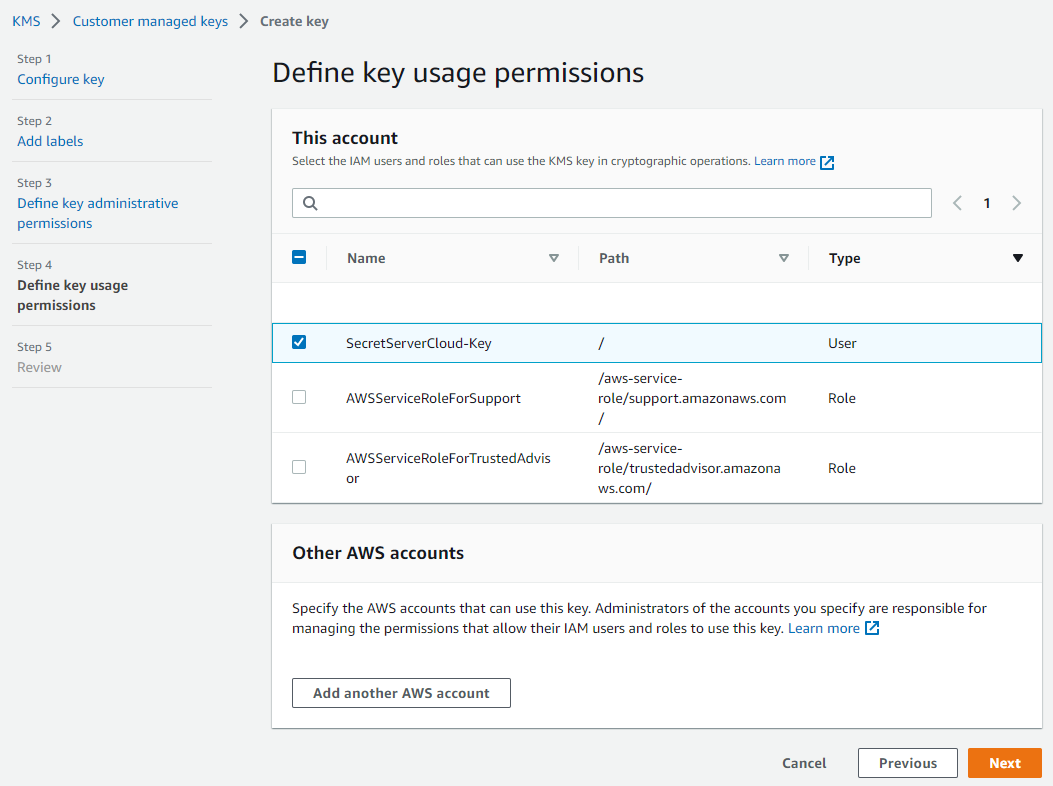
Click the Next button. The Define Key Usage Permissions page appears:
-
Select the checkbox next to the SecretServerCloud-Key name in the table to give that user access to the key.
Do not give access to the user you created earlier for SSC. It is unnecessary for Secret Server to have administrative access to the key. -
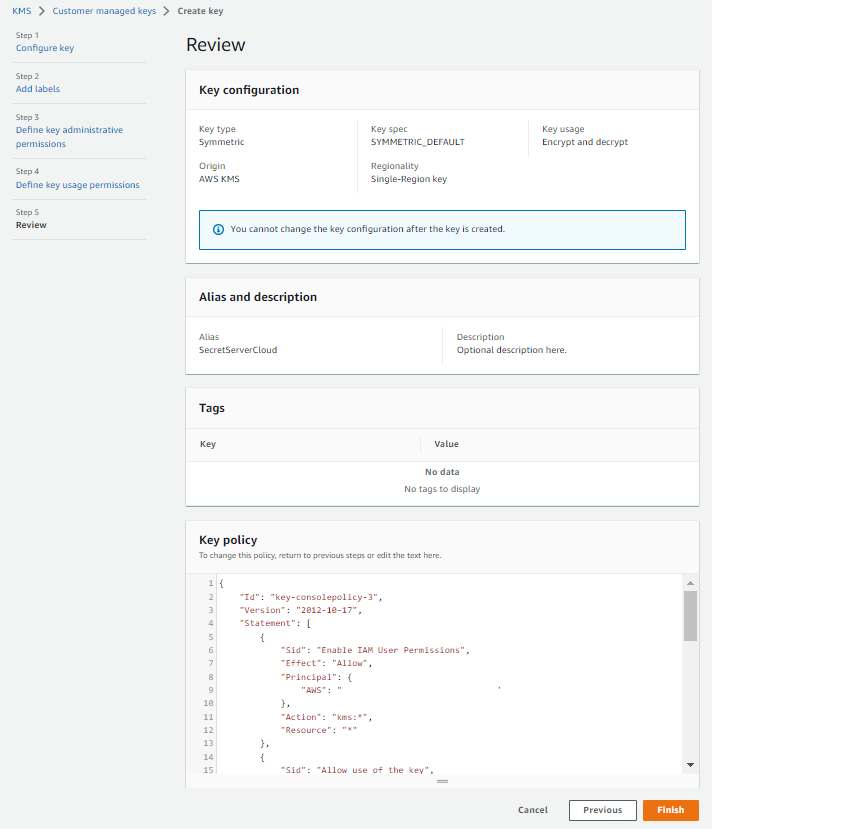
Click the Next button. The Review page appears:
-
Ensure the settings are as desired.
-
Click the Finish button. The new key appears in your Encryption Keys list.
-
Select the new key in the list. The Summary section on the key’s page appears.
-
Copy and save the contents of the read-only ARN text box. You will need it later.
AWS supports automatically rotating this key every year. You can change that setting on this page in the Key Rotation section (select the Rotate this Key every year checkbox). Once rotated, the key management settings in Secret Server do not require further changes, and your existing secrets can still be accessed by the old encryption settings.
Only new secrets, however, will be created under the new version of the encryption key, and you must perform a secret key rotation inside SSC if you want to update all secrets to use the new version of the AWS key. Search for Secret Key Rotation and click the Rotate Secret Keys button to perform the operation.
Task 2: Adding Encryption Key and User Details in Secret Server
-
Log into SSC.
-
Search for Key Management. The Key Management page appears on the Configuration tab.
-
Click the Edit button. The page becomes editable.
-
From the Key Management Type dropdown list, select Amazon KMS. New fields appear.
-
Type the AWS key details that you saved earlier in the remaining three text boxes.
-
Select the checkbox signaling that Maintenance Mode will be enabled and a Secret Key Rotation will be triggered.
-
Click the Save button.
Task 3: Secret Key Rotation
Once you save your changes, your new settings are validated and a secret key rotation is triggered. You can now view the progress of the rotation:
-
Search for Secret Key Rotation.
-
Click the Rotate Secret Keys button to perform the operation.