Secret Template List Fields
Overview
Introduction
With secret template list fields, administrators can create new lists that can be shared by multiple secrets. Clicking on an existing list goes to the details page for that list where the user can set the list's name, description, and the options available in the list.
You can also group list options by category, which make using very large lists easier. For instance, a list of machines might have the machines categorized by function, such as "Web Server" or "Database Server." You could also use categories for locations, such as "London," "New York," or "Tokyo."
List categories are displayed on the secret and on the launcher dialog, with the options sorted alphabetically within categories. Categories are also sorted alphabetically. Options can be duplicated in multiple categories and will show up in each one. In addition to manually adding categories and options, you can also upload a file containing the list options.
In general, there are two types of list fields:
-
Allow Lists: These lists display a searchable dropdown of the server names or IPs entered in the list for the user to select from. Only entries from this list are allowed to be used.
-
Deny Lists: With deny lists, a user can type in any server name or IP address, and Secret Server then compares these entries with a list of blocked entities.
Comma-Delimited Lists
There are two types of list filtering in Secret Server: the above mentioned list filtering, as well as the ability to assign a text or notes field on the secret as a comma-delimited list of server names. The former has the benefit of being shared between secrets, but the latter is useful as a one-off on a single secret. A comma-delimited list can be either an allow or a deny list.
Adding a New List Field
Task 1: Create the List
-
Search for Categorized Lists. The Lists page appears.
-
Select the Create List button. The Create List popup appears.
-
Type the name in the Name text box.
-
(Optional) Type a description in the Description text box.
-
Click the Save button. The List detail page for the new list appears.
-
Select the List Optionstab.
-
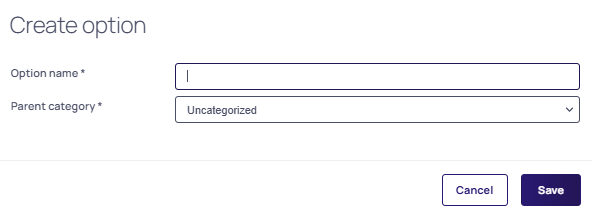
If you want to create a list with no categories, choose Create Option from the dropdown.
-
In the Parent Category field choose Uncategorized and Save:
-
If you want to create categories from a comma-delimited list:
-
Select the expand arrow next to the Create Option button.
-
Choose Add from File.
-
Choose a Category Separator, either a comma or a semi-colon.
-
Upload a
.csvfile. (Each imported option value is subject to the same 4,000-character limit.)The Import file can only be a
.csvfile and should be in the format of "option,category" with one pair per line. If no separator is found the entire row is considered to be the option: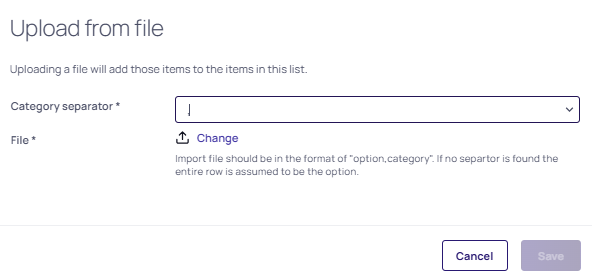
-
-
To create a category, select Create Category from the Create Option dropdown. The Create Category popup appears.
-
Type in the Category name and click Save. The category name now appears in the category dropdown list. For this example, Manhattan was entered.
-
Add another category the same way.
-
Click Create Option. The Create Option popup appears.
-
Type the name for the Option in the Option Name text box. Each option value can be up to 4,000 characters long (raised from 500 characters in Secret Server 12.0).
-
From the Parent Category dropdown, select the category you just created, e.g. Manhattan.
-
Click Save. The new option appears in the list with the option name you gave as the Value.
-
Repeat the process for the other category you created. You now have a new categorized list available for secrets (via a secret template with the list).
If you ever want to view past changes to a list or category, click the Audit tab for the list.
Editing Using the Side Menu
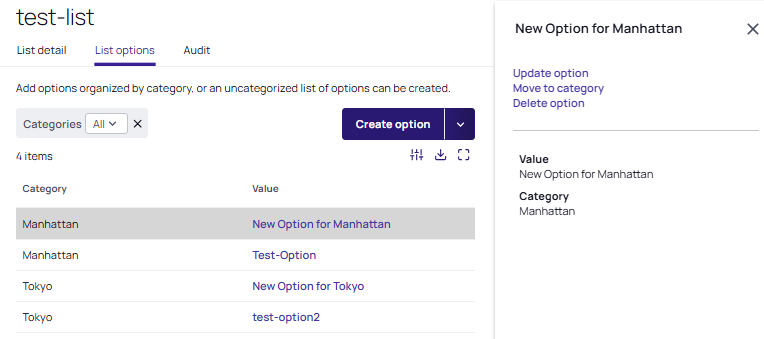
After creating an option it is possible to edit it in the List options tab:
-
Click on one of the options you created.
-
A sidebar appears where you can:
-
Update Option: Rename the option.
-
Move to Category: Move the option to another category in the same list.
-
Delete Option: Remove the option from the category list.
-
Task 2: Create a Template Using the List
-
Search for Secret Templates. The Secret Templates page appears.
-
Select Create/Import Template. The Create Template pop up appears.
-
Leave the option button set to New.
-
Type in a name in the Template Name text box.
-
Click Save. The General tab page for that new template appears.
-
Select the Fields tab.
-
Click Add Field. The Add Field popup appears.
-
Type a name in the Name text box for the first (and currently only) field.
-
The Field Slug Name automatically updates to match the name.
-
(Optionally) add a description for the field.
-
In the Data Type dropdown list, select List.
-
Select Save. The new field appears in the table.
-
-
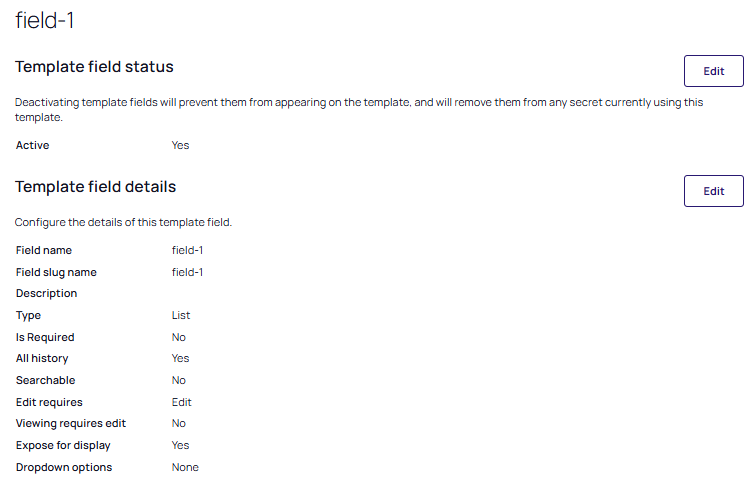
Select the field you just created. Its configuration page appears.
-
(Optional) Click the Edit button in the Template Field Details section to further customize the field:
Task 3: Create a Secret Based on the Template
-
Select Secrets from the main menu.
-
Click the Create secret button. The Create new secret popup appears.
-
In the Choose a secret template list, select the secret template you created in Task 2.
-
The Create New Secret popup updates to reflect your chosen template.
Note that one of the dropdown lists is labeled with the same name as the list field you created earlier. -
Give the secret a name.
-
For the list field you created, from the dropdown, select the name of the list of categories you created.
-
Leave the Site set to Default.
-
Select Save. The secret Overview tab loads automatically. Note that there is a new tab called List Fields.