Remote Password Changing for Windows Account (PowerShell)
With Remote Password Changing (RPC), secrets can automatically change remote account passwords on a schedule, upon check-in, or explicit user request. The complexity requirements for the password are user-configurable.
Windows PowerShell is Microsoft's console. It provides a command-line shell and a scripting language built on .NET, allowing administrators to automate system management tasks and integrate with various services. PowerShell scripts and modules can be run locally or remotely (called WinRM), making it a flexible tool for managing accounts, systems, and applications. Windows Account (Powershell) performs heartbeat and RPC by running PowerShell remotely using WinRM.
Windows Account (PowerShell) secrets require a privileged takeover secret to operate, and to perform heartbeats and RPC. See the Password Changer List for a complete list of available password changers.
Prerequisites
Make sure you have the following set up:
-
PowerShell installed and properly configured on the Windows machine hosting Secret Server.
-
WinRM (Windows Remote Management) enabled and set up correctly.
-
Admin user credentials to access Secret Server.
-
Heartbeat monitoring and Remote Password Changing enabled in Secret Server.
-
A Distributed Engine from which to make the connection.
Configuration for Remote Password Changing
When a password is changed manually or by RPC, a Heartbeat is queued to determine if the credentials in the secret are valid. The heartbeat status shows Pending while the process executes. When the heartbeat completes the status will change to either Success or Failure. Success means the credentials in the secret are valid.
Task 1: Installing the DE
-
Log into Secret Server.
-
Install a Distributed Engine (DE) onto a site.
Task 2: Creating a Windows Account (PowerShell) Secret for RPC
-
Navigate to All secrets.
-
Select the Create secret button. The Create new secret popup appears.
-
Search for the Windows Account (PowerShell) secret template.
This will function as the secret which will be tested for heartbeat or changed by RPC. -
The popup refreshes automatically to reflect the following fields:
-
Secret name: give the secret an appropriate name.
-
Machine: The (URL) host name of the Windows machine this secret resides on.
-
Username: The username of the windows local account.
-
Password: The password of the windows local account.
-
Site: Select the site that has the Distributed Engine you setup earlier. It must have network access to the necessary Windows hosts.
-
Auto Change Enabled: When enabled, this secret will be set to expire on a schedule and change the password. After creation view the RPC tab for details.
-
Click Create Secret to save your changes.
-
-
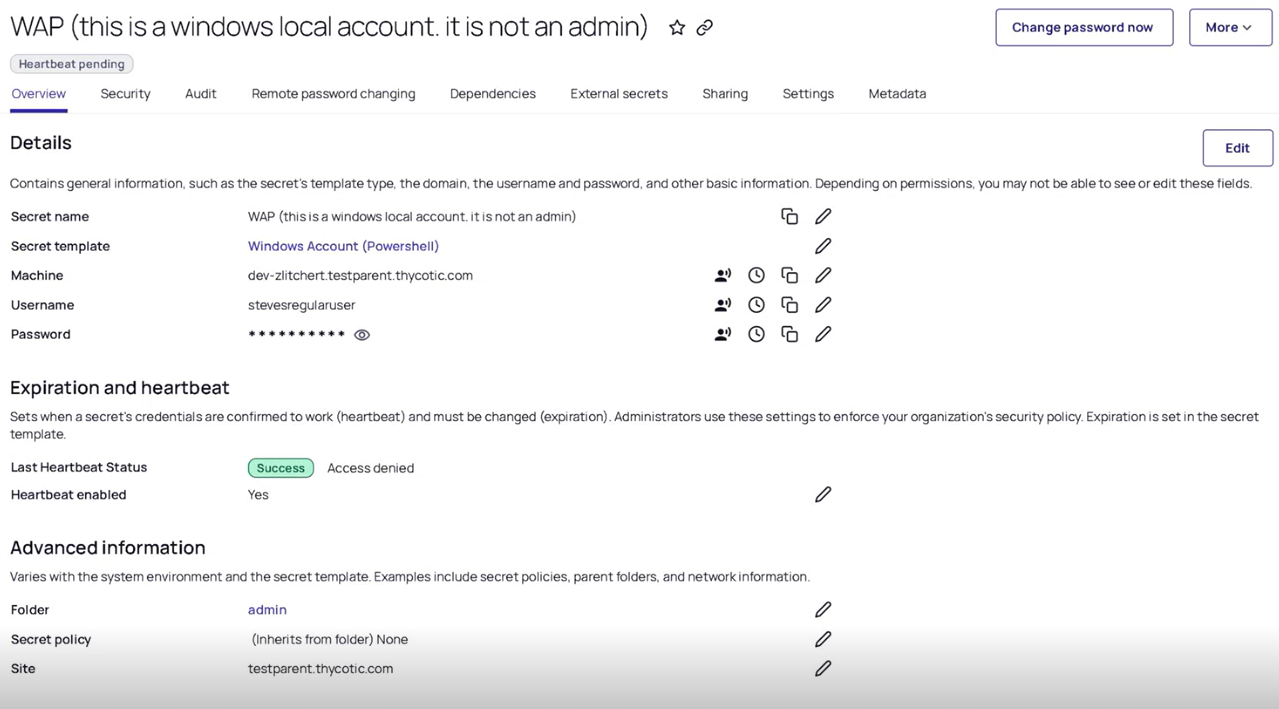
The secret you just created loads automatically, landing on the Overview tab.
-
You will see a warning below the name of the secret, at the top: A Windows Account (PowerShell) takeover secret is required to change or verify the password on this account.
Task 3: Creating the Takeover Secret
-
Navigate to All secrets.
-
Select the Create secret button. The Create new secret popup appears.
-
Search for the Windows Account (PowerShell) takeover secret template.
The takeover secret contains the credentials of an administrative user. This account's privilege will be used to change or verify the password on the (main) secret created in Task 2.
-
The popup refreshes automatically to reflect the following fields:
-
Secret name: give the secret an appropriate name.
-
Endpoint: The WinRM endpoint on the target machine whose password will be managed (for example,
https://hostname:5986/wsman). The Distributed Engine connects to this endpoint to execute the password change script. This is not the address of the Distributed Engine or the Secret Server web server.HTTP vs HTTPS: Usehttps://hostname:5986/wsmanif the target machine or the Distributed Engine is not domain-joined. Usehttp://hostname:5985/wsmanif both the target machine and the Distributed Engine are domain-joined (Kerberos authentication secures the connection without requiring HTTPS). For WinRM configuration prerequisites and certificate requirements, see Configuring CredSSP for WinRM with PowerShell. -
Username: The username of the privileged account.
-
Password: The password of the privileged account.
-
Site: Set to the site which has the Distributed Engine with network access to the WinRM host.
-
Click Create Secret to save your changes.
-
-
Your secret automatically loads on the Overview tab.
This secret cannot perform heartbeats.
Task 4: Performing Heartbeats and RPC
-
Access the main secret you created in Task 2, the Windows Account (PowerShell) secret.
-
Select the Remote Password Changing tab. The previous warning still appears.
-
For the RPC / Autochange section, select Edit.
-
For Change password using set Privileged account credentials.
-
Click no secret selected.
-
Select the Windows Account (PowerShell) takeover secret created in task 3.
This causes the heartbeat and remote password change to run as the privileged credentials in the takeover secret. -
Select Save. The heartbeat will run automatically.
-
On the Overview tab, the Last Heartbeat Status becomes Pending again until the heartbeat completes.
-
You can skip the wait time by navigating to Settings > Heartbeat Log.
-
Select Run heartbeat Now to launch the process immediately.
-
-
You can now also perform RPC by selecting Change Password Now from the main secret. The takeover secret will be used.
-
You can skip the wait time by navigating to Settings > Password Change Log.
-
Select Run RPC Now to launch the process immediately.
When RPC is complete a banner will briefly appear at the bottom of the page indicating success or failure. If you miss it the result can be seen in the password change log list.
-
Once the RPC completes a Heartbeat is performed. Success indicates the password has changed and the new password has been validated.
-
Procedure: Enable CredSSP Between Machine A (Client) and Machine B (Server)
This procedure configures CredSSP authentication between two Windows machines to allow secure credential delegation for remote PowerShell commands.
-
Machine A = Client.
-
Machine B = Server.
Step 1: Configure Machine A (Client)
-
Create a power user on Machine A:
Copy#configuration on Machine A (client):
#create power user on client
net user poweruser "Your strong passphrase" /add
net localgroup Administrators poweruser /add -
Validate connectivity to Machine B:
Copyping MachineB.fqdn.com -
Enable CredSSP on Machine A:
CopyEnable-WSManCredSSP -Role Server -Force
Enable-WSManCredSSP -Role Client -DelegateComputer MachineB.fqdn.com
Step 2: Configure Machine B (Server)
-
Create a power user on Machine B:
Copy#Machine B is the server.
#configuration on Machine B (server):
net user poweruser "Your strong passphrase" /add
net localgroup Administrators poweruser /add -
Validate connectivity to Machine A:
Copyping MachineA.fqdn.com -
Enable WinRM and CredSSP:
Copywinrm quickconfig
Enable-WSManCredSSP -Role Server -Force
Step 3: Test CredSSP Access
Run the following test script from Machine A:
# to test
$scriptblock = {
Write-Host Success
}
$credentialUsername = "poweruser"
$credentialPasswordPlainText = "Your strong passphrase"
$securePassword = ConvertTo-SecureString -String $credentialPasswordPlainText -AsPlainText -Force
$creds = New-Object System.Management.Automation.PSCredential($credentialUsername, $securePassword)
Invoke-Command machineb.fqdn.com -Credential $creds -ScriptBlock $scriptblock -Authentication CredSSP
# you should see "success"
You should see the message: Success, indicating that CredSSP authentication and remote execution are functioning correctly.