Discovery Network View
Overview
The discovery network view allows users to view the results of completed discovery after defining the discovery sources. This view is crucial for managing the discovered items and provides information about each item.
To filter items, users can select the type: computers, computer accounts, public keys, service accounts, or directory accounts. The network view tree and advanced filters can be used to view the organizational structure.
By selecting any row, users can open a preview pane that displays a summary of the item. The preview panel also allows expanding to see items discovered on that specific item. For example, expanding a computer will reveal all local computer accounts. Users can initiate a rescan of certain items like computers by clicking the scan button. Additionally, a link is provided to access a full details view of the computer.
Viewing the details of an item provides more information about related items. In the case of a computer, there is an option to connect to the computer if it is managed or has an associated secret.
All items are interlinked with their respective details. For instance, while viewing a computer, users can access information about all the services and check if any service is running as a directory account. The directory account is also linked, allowing users to view all computers with services running under that directory account.
Procedures
-
Click the Administration button on the main menu. The All Settings page appears.
-
Click the Discovery link in the Core Actions section. The Discovery page appears on the Discovery Sources tab.
-
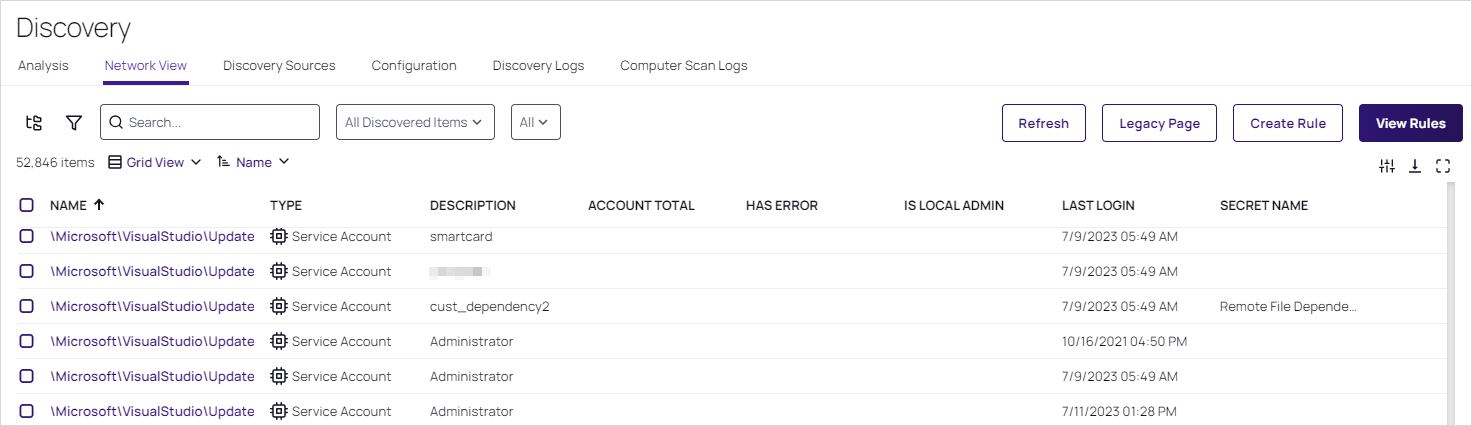
Click the Network View tab. A graphical summary of your discovery activity appears:
-
Filtering by network view source: By default, all types or sources are displayed. To filter that, click the folder icon on the top-left of the page. The Network View panel appears. Drill down in the tree to choose what source you want to limit the view to.
If you close the panel, the view stays in effect—you must click All Sources to clear the view. -
Filters panel: Click the funnel icon at the top-left of the page. The Filters panel appears. You can filter by:
-
Item type: Click to select one of the Item Type selection buttons: computers, computer accounts, public keys, service accounts, or directory accounts.
-
Management status: Click to select one of the Managed selection buttons.
-
Created date: Click the left side of the calendar box to enter or select the start date. Click the right side of the calendar box to enter or select the end date.
-
Last polled date: Click the left side of the calendar box to enter or select the start date. Click the right side of the calendar box to enter or select the end date.
-
Lasted reached date: Click the left side of the calendar box to enter or select the start date. Click the right side of the calendar box to enter or select the end date.
-
Scan Template: Click to select one of the scan template selection buttons. Scan templates are secret templates that define the criteria needed for discovering a given type of asset, such as an account type or host range.
-
-
Grid or card view: Click the Card/Grid View dropdown to toggle between views.
-
Sorting: Click the sorting dropdown (on the left) to choose what to sort the list or cards by. Click the same choice again to toggle between ascending and descending. Alternatively, in grid view, you can click the column heading to do the same thing. The dropdown provides sorting in card view and allows you to sort on hidden columns.
-
Hiding and ordering displayed columns: Click the displayed columns icon on the top far right of the page. The Displayed Columns panel appears. Click any of the checkboxes to hide or display a column. Drag the icon on the left to change the display order of the columns. Click the Save button when you are done.
-
Creating Rules: As mentioned above, rules define criteria that run against already discovered accounts and dependencies. As newly discovered accounts are found, rules can automatically take them over, manage them, or send alert notifications. To create a rule:
-
Click the Create Rule button. A Create Rule dialog box appears.
-
Click the Rule Type dropdown list to select a type:
-
Accounts: Automatically create secrets or send emails when local accounts or public keys that match the rule criteria are discovered.
-
Dependencies: Automatically add a dependency to existing secrets. No Secrets are created.
-
-
(optional) Type a text string that appears inside the computer's name in the Computer Name Contains text box (account rules only).
-
(optional) Type a text string that appears inside the account's name in the Account Name Contains text box (account rules only).
-
(optional) Type a text string that appears inside the operating system's name in the Operating System Contains text box (account rules only).
-
Click to select the Manage Accounts check box to indicate that secrets will be created and the service and accounts will be managed by the vault.
-
Click the Create Rule button.
-
-
Viewing existing rules: Click the View Rules button.