Enabling Specific OU Domain Discovery
-
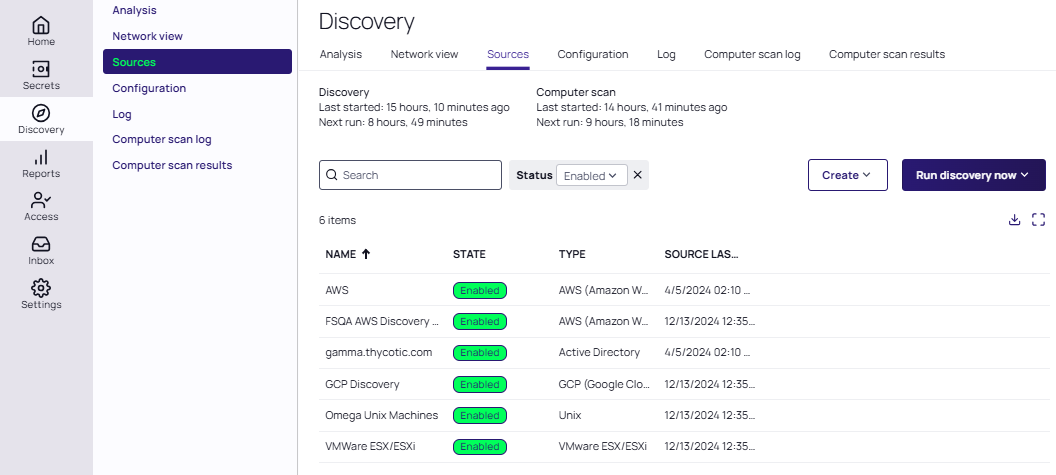
In the left-hand menu select Discovery > Sources. The Discovery Sources tab appears:
-
Select one of the discovery sources listed which you want to configure. The Discovery Source page and tab for that source appears, with all its details. These include a brief description, the Discovery source name, Fully Qualified Domain Name, Friendly Name, State, Discovery secret type, Discovery Site, Discover Specific OU, Machine resolution type, and if Use LDAPS has been selected.
-
Click the Edit link next to the discovery source name. The page becomes editable.
-
Click to select the Discover Specific OU check box:
 When Discover Specific OU is enabled, unmapped secrets are not added.
 -
Click the Save button. The Domain Scope tab appears.
-
Select the Domain Scope tab.
-
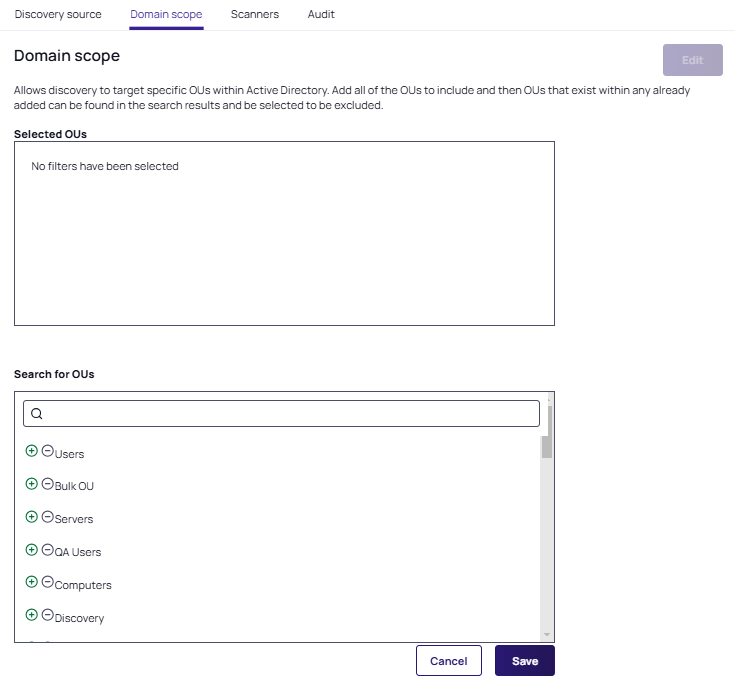
Click the Edit link next to Domain Scope. The page becomes editable:
-
In Search for OUs type the name of the desired OUs. Matching OUs appear.
-
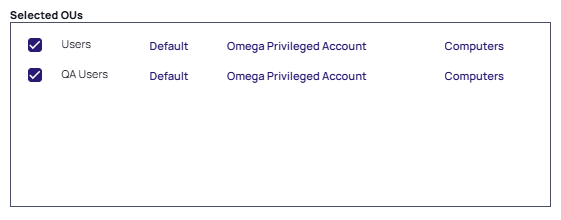
Click the circled plus button to add an OU. Upon addition, OUs appear automatically in the Selected OUs box above the search list. Clicking the checkbox next to Selected OUs removes them:
-
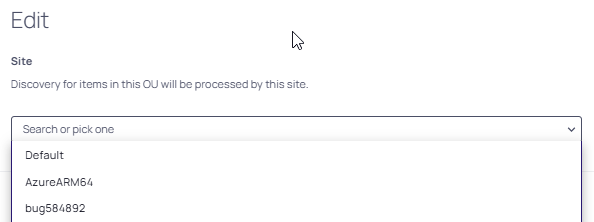
Click the site link (e.g. Default, shown above) to edit the site (distributed engines) included. A popup appears with a dropdown allowing you to choose what type of site will process the Discovery for items in this OU:
 Please be advised that if a privileged account is set under specific OUs, that the account will override any accounts set on the individual Discovery Scanners (Service, Scheduled Task, Local User, etc)
 -
Click the credential secret link (e.g. Omega Privileged Account) to edit the secret that should be used when scanning items within this OU.
-
Click the scan target link (e.g. Computers) to specify what filter should be applied after the items are discovered within this OU.
If Computers is specified for all OUs no filtering will be applied with User scanners configured. -
Repeat the previous steps for any additional OUs.
-
Click the Save button.