Downloading and Installing a Distributed Engine
-
Search for and navigate to Sites and Engines. The Distributed Engine page loads.
-
Click Add Engine. The Download Engine popup appears.
-
For Processor architecture, select the bit value for your machine, either 64 or 32.
-
For Preconfigured Site, select Default.
-
Click Download Now to save and download your engine
.zipfile.Note the location of the download, which defaults to Downloads on Windows.
-
Open the download directory on your machine and extract the
Thycotic.DistributedEngine.Service.Default.x64 zipfile. -
Open the unzipped folder and run
setup.exe. -
Open Services on the App Server and right-click the Thycotic Distributed Engine.
Use a service account with the least amount of privileges or level of access. -
Switch back to your browser and reload the Distributed Engine page.
-
Expand the Default site by clicking the half-arrow next to it.
-
Hover over the engine that is now showing and click the three-dot menu on the far right.
-
Select Activate, then click OK in the pop-up.
Green circled checkmarks will appear for Connection Status and Activation Status, indicating that your engine is now installed.
Running a Distributed Engine as a Service Account
If you are running a distributed engine as a service account:
-
Select Properties and click the Log On tab.
-
Click This account and click Browse.
-
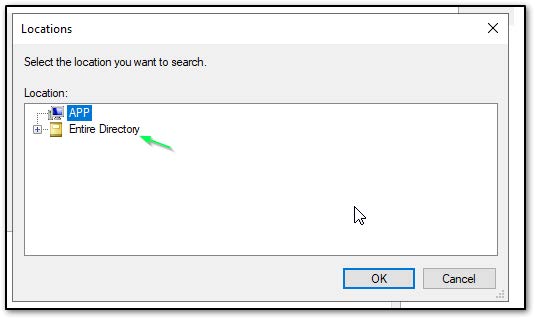
Click Locations and select Entire Directory:
-
Type the Service Account you would like to run in the Enter the object text box, check Names, and then click OK.
-
Switch back to your browser and reload the Distributed Engine page.
-
Type the password for the Administrator, and click OK.
Facilitating Auto Upgrades of Your Distributed Engine
We have seen issues getting engines auto-upgraded when the service is running as a domain account instead of the built-in account. From our research and testing, the important things to have in order to use an AD service account and to have successful, hands-free upgrades are the following:
-
The service account should be in the local Administrators group (so the account can start/stop the service).
-
The service account needs full Windows permissions to the DE installation directory.
-
After setting the service account as the DE login account, the service must be restarted to have the login identity change take effect.
After changing the service account, the DE will show up as a Pending engine. The old engine with the local login identity should be deactivated and removed from the Site, with the new engine/identity instance added back to the Site upon activation.