Creating New Workflows
For release dates, end-of-support timelines, and upgrade guidance, see the Secret Server Product Lifecycle page.
Task 1: Access the Workflow Designer
-
Go to Admin > Workflows. The Workflows page appears:

-
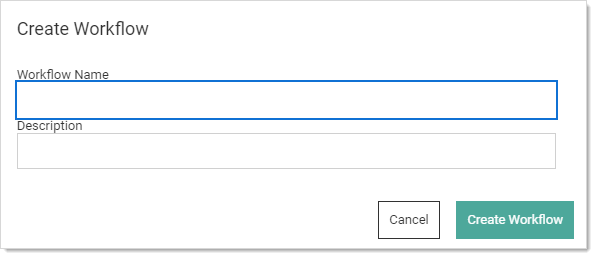
Click the Create Workflow button. The Create Workflow popup appears:
-
Type the workflow's name and description (optional) in their text boxes. Once you type the name, the Create Workflow button becomes enabled.
-
Click the Create Workflow button. The Edit page for the new workflow appears on the Designer tab.
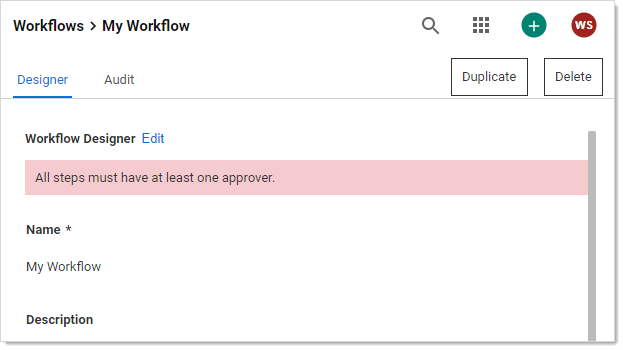
A new workflow has only one empty step by default.
Task 2: Set up the First Step
-
Click the Edit link next to the Workflow Designer heading. The page becomes editable.
-
(Optional) Type a name for the first step in the Step 1Name text box, such as "Line Managers."
-
Click the Add Groups / Users dropdown list to select the domain where you want to get your approvers from.
-
Type the name of the user or group you desire as an approver in the unlabeled search box to the right. Options appear in the dropdown.
-
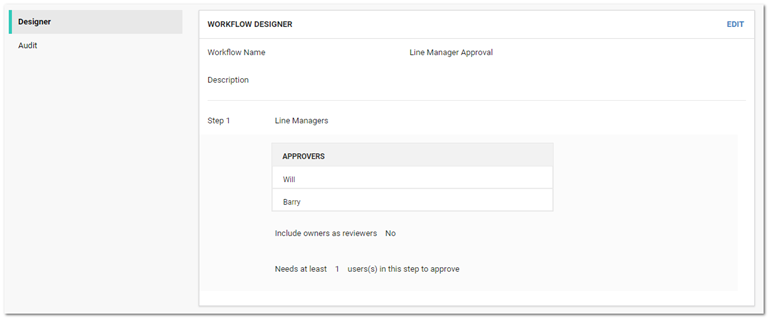
Click the desired user or group. It appears in the Approvers table:

-
Repeat as desired.
-
(Optional) To automatically include the owner of the secret the template is assigned to, click to select the Include owners as reviewers check box.
-
If you wish to have multiple approvers required on the step, type the minimum required in the Number of approvers required text box. Otherwise, leave it set to 1.
-
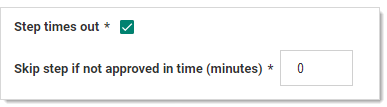
If you want the step to time out, click to select the Step Times out check box. Another text box appears:
Note:
- Timeout minutes must be a positive integer set to 1 or greater.
- If a step is set to time out and then all following steps are deleted, the step will no longer time out because the last step in a workflow is not allowed to time out.
- Multiple steps can time out, so cascading timeouts are possible. That is, step one times out to step two and step two times out to step three.
-
Replace the 0 in the Skip step if not approved… text box with the number of minutes for the desired timeout.
-
Click the If approved dropdown list to select what to do next:
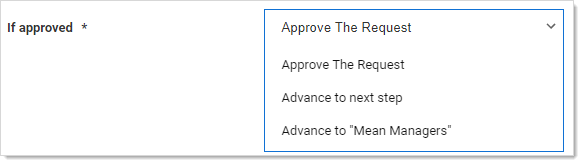
You can:
- Approve the request
- Advance to the next step in a linear fashion
- Jump to another already defined step that is presented as an option in the list box.
Task 3: (Optional) Add More Steps
-
Click the Insert a Step button. A new step appears below the first two.
-
Repeat the process as for earlier steps. Keep adding steps as needed.
-
Click the Save button to create the access-request workflow. The template exits editable mode:
-
Click the Workflows bread crumb link on the top of the page to return to the table.