Assigning Workflows to Secret Policies
For release dates, end-of-support timelines, and upgrade guidance, see the Secret Server Product Lifecycle page.
-
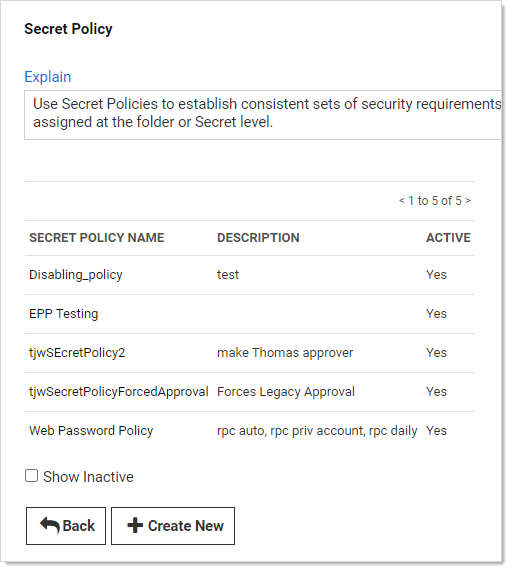
Click Admin > Secret Policy. The Secret Policy page appears:
-
For this instruction, we are going to create a new policy.
-
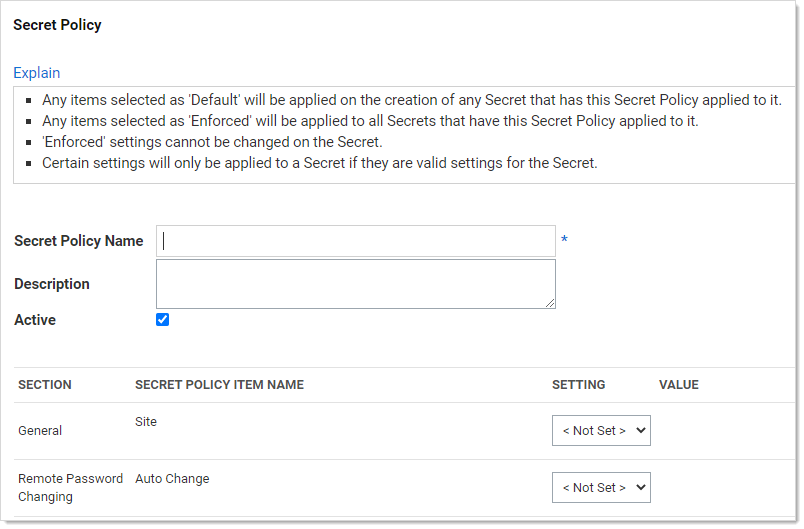
Click the + Create New button. Another Secret Policy page appears:
-
Type the new policy name in the Secret Policy Name text box.
-
Scroll down the page to the Security Settings section of the unlabeled table.
-
Click the Enable Requires Approval for Access list and select Enforced.
-
Click to select the check box next to the list. The Assign Approvers popup page appears:

-
Click the Cancel button. The Request Access Approvers setting become enabled:
You cannot set approvers and use a workflow at the same time. The intent of the next few instructions is avoid attempting to do so, which causes an error.
-
Click the Request Access Approvers list and select Not Set.
-
Click the Request Access Workflow list and select Enforced. A new list appears alongside:

-
Click the new unlabeled list and select the access template workflow to associate with the policy.
-
Click the Save button at the bottom of the page. The policy is now available for assignment to secrets and folders, just like any other policy.