Creating and Implementing an Ultra VNC Custom Connection Launcher
For release dates, end-of-support timelines, and upgrade guidance, see the Secret Server Product Lifecycle page.
Follow the steps below to create an Ultra Virtual Network Computing (VNC) custom connection launcher using Secret Server on a Windows machine.
Create an Ultra VNC Custom Connection Launcher
-
Navigate to Admin > Secret Templates,
-
Select theLaunchers tab, and click Create.
-
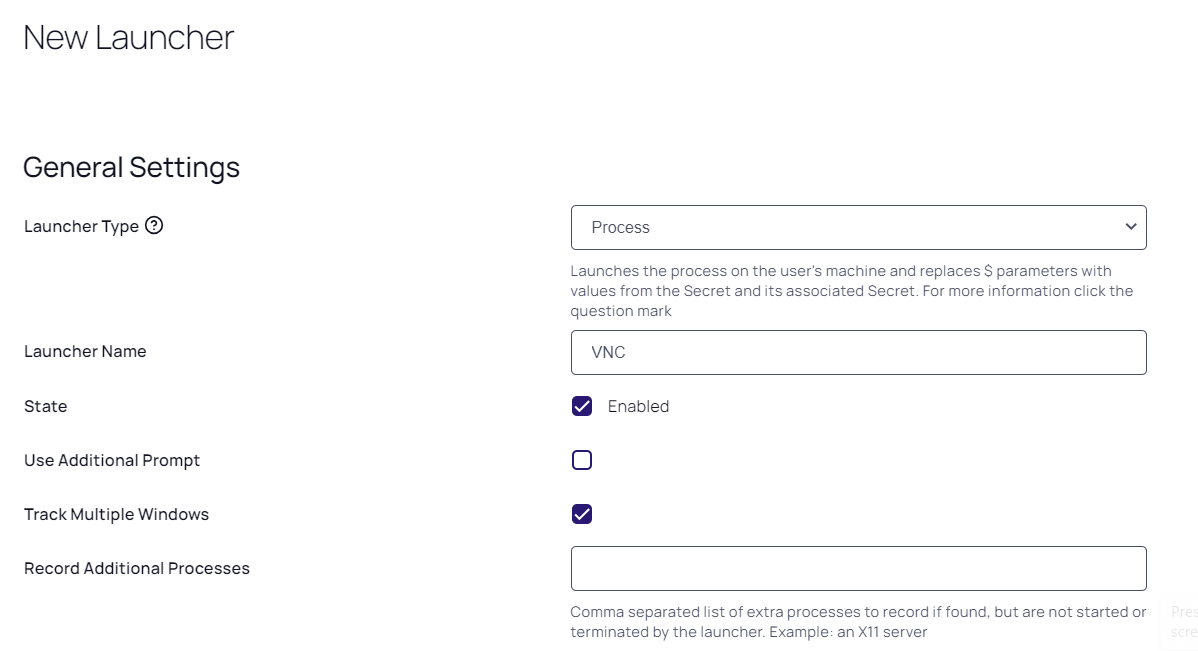
On the New Launcher page, select Launcher Type:
Process -
Enter a Launcher Name of your choice.
-
Process Name:
C:\Program Files (x86)\UltraVNC\vncviewer.exeProcess Arguments:
$USERNAME $PASSWORD $HOSTParameters:
/user $USERNAME /password $PASSWORD -connect $HOSTYou may need to change the Process Arguments if the names of these fields in your Secret Template are something other than "Username" "Password" and "Machine"
Assign the Launcher to a Template
Assign the new launcher to an appropriate existing template. To build a new template specifically for VNC connections, see Creating or Editing Secret Templates)
- Navigate to Administration > Secret Templates.
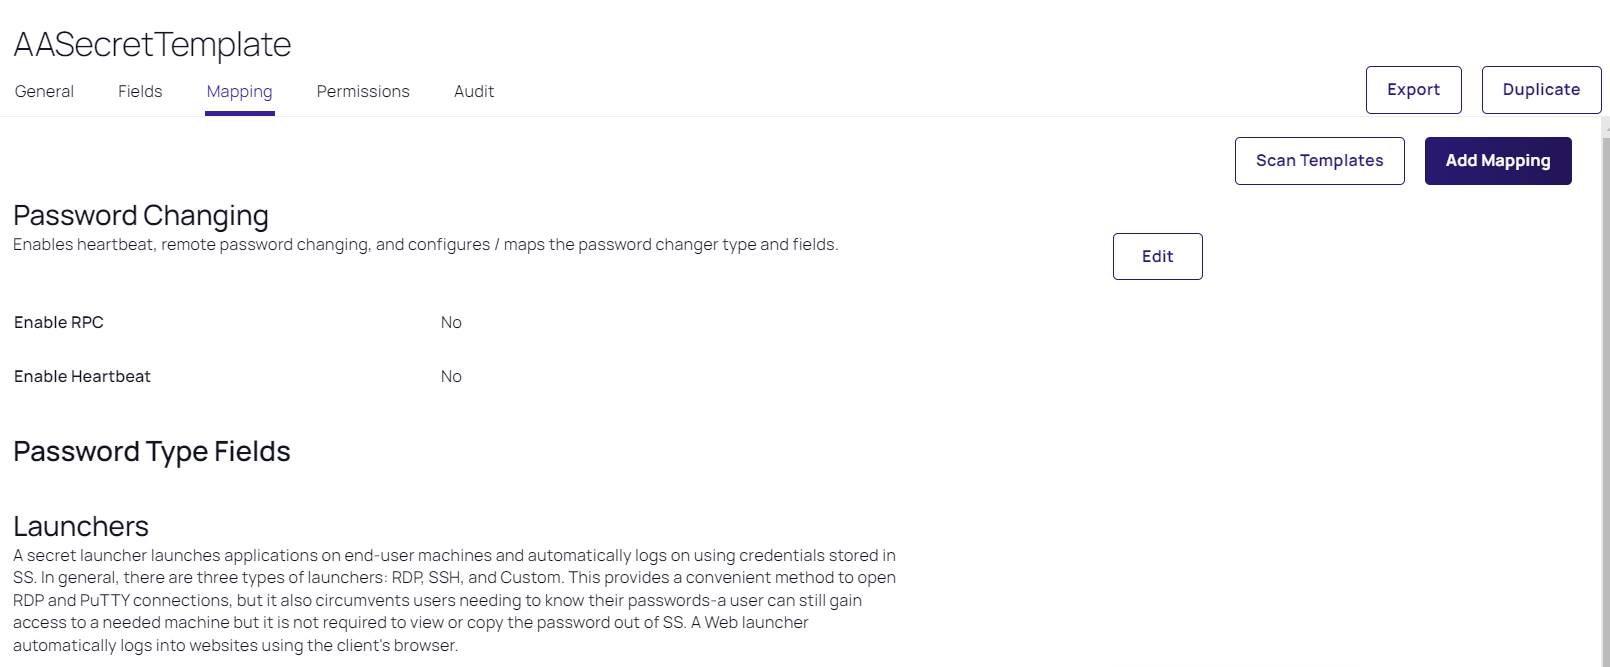
- Click the link for the desired template. The template's page appears.
- Under the Mapping tab, click the Add Mapping button.
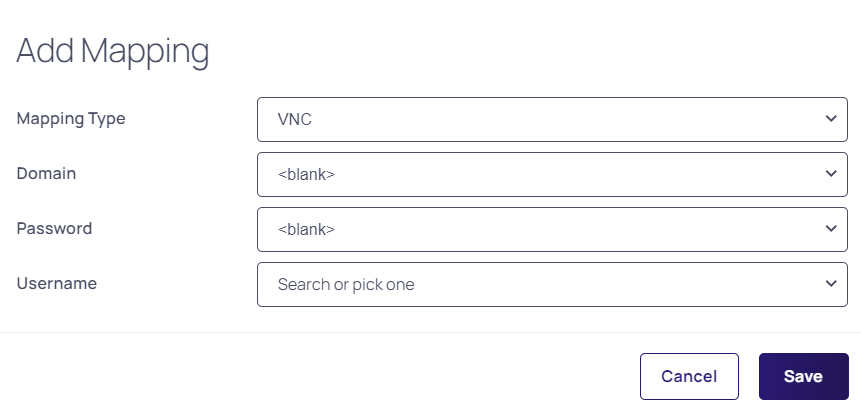
4. In the Add Mappimg popup, select the Mapping Type - VNC launcher that you just created.
5. Select the related Domain.
6. Map the Password and Username fields accordingly.
7. Click Save.