Creating or Editing Secret Templates
For release dates, end-of-support timelines, and upgrade guidance, see the Secret Server Product Lifecycle page.
You can view the latest version of the Secret Server documentation here.
Editing Secret Templates
-
Select Admin > Secret Templates. The Secret Templates page appears:

-
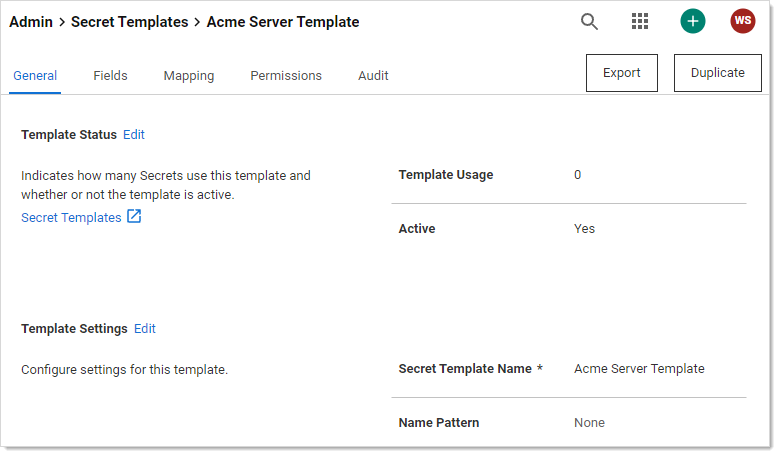
Click the template name in the Secret Templates column. That template's page appears:
-
Click the desired tab for the configuration you want to change. See the Creating or Importing a New Template section for details.
Creating or Importing a New Template
Task 1: Creating the Template
- Select Admin > Secret Templates. The Secret Templates page appears:
-
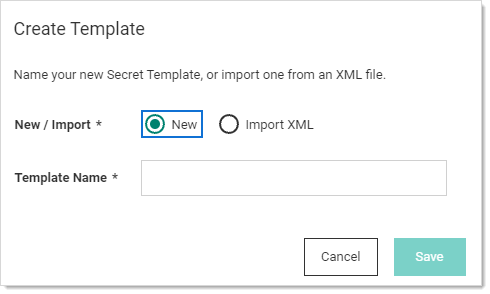
Click the Create Template button. The Create Template pop-up page appears:
-
If importing the template, click to select the Import XML selection button.
-
Type the name of the new template in the Template Name text box.
-
Click the Save button. The new template's setup page on the General tab appears:
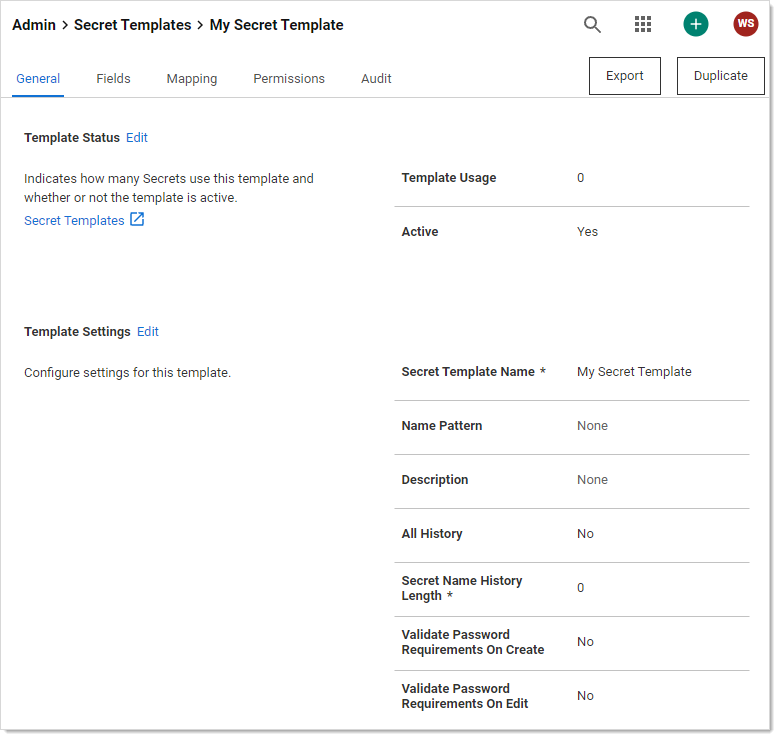
The page provides all the options for configuring a secret template, as well as which text-entry fields appear on any secret created from that template.
Task 2: Adding General Settings and Setting an Expiration or One-Time Password
-
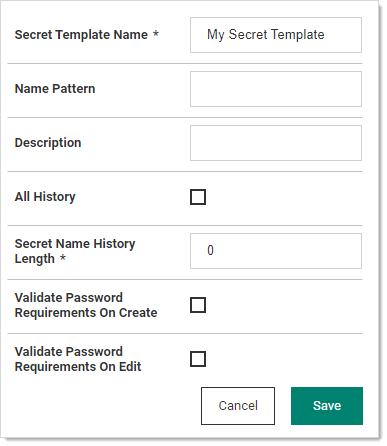
On the General tab, click the Edit link in the Template Settings section. The section becomes editable:
-
Edit the setting as desired. They include:
- Secret Template Name text box.
- Name Pattern text box. See Template Naming Patterns.
- Description: An optional description for the template.
- All History check box: If this check box is enabled, Secret Server keeps all entries for viewing. This feature creates a record of every name used when a new secret is created.
- Secret name History Length text box: If All History is disabled, Secret Server keeps this number of entries for viewing.
- Validate Password Requirements on Create? check box: Ensure requirements are met on secret creation.
- Validate Password Requirements on Edit? check box: Ensure requirements are met when editing secret.
-
Click the Save button.
-
Click the Edit link for the Template Expiration section:
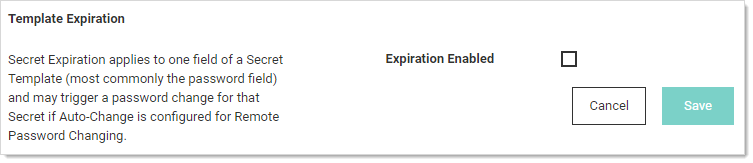
Secret expiration applies to one field of a secret template (most commonly the password field) and may trigger a password change for that secret if auto-change is enabled for RPC.
-
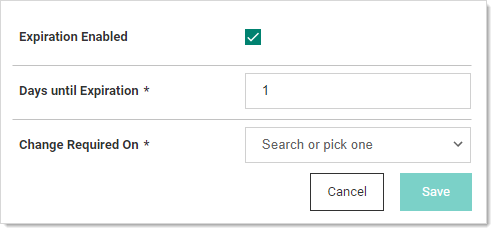
Click to select the Expiration Enabled? check box. New controls appear:
-
Type the days till expiration in the Days until Expiration text box.
-
Click the Change Required On dropdown list to select the field to choose the field the expiration is applied to.
-
Click the Save button.
-
Secret Server begins providing alerts if the secret text-entry field is not changed within the specified expiration requirements.
-
Click the Edit link for the One Time Password section if you want the secret to have a one-time password that the user must change:

-
Click to select the One Time Password Enabled check box. Additional controls appear:

-
Type or select the options.
-
Click the Save button.
Task 3: Defining Fields for the Template
Click the Fields tab to add template fields as desired. See Secret Template Fields.
Task 4: Mapping Launchers and RPC Type
-
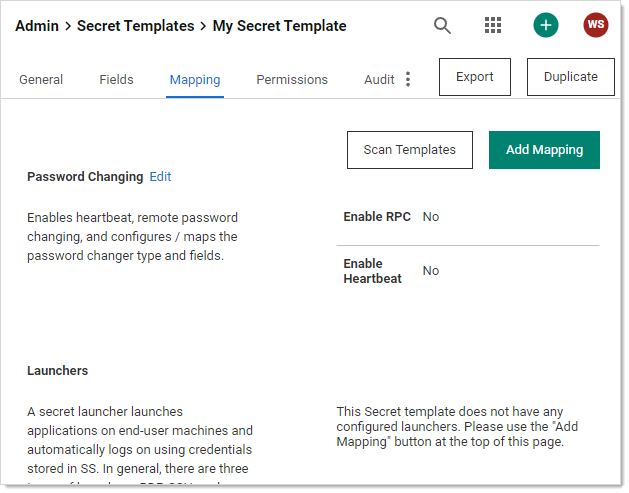
Click the Mapping tab to configure launchers and RPC:
-
Click the Edit link in the Password Changing section to enable RPC on secrets based on this template. This enables heartbeat, RPC, and configures the password changer type and fields. For details, see Remote Password Changing.
-
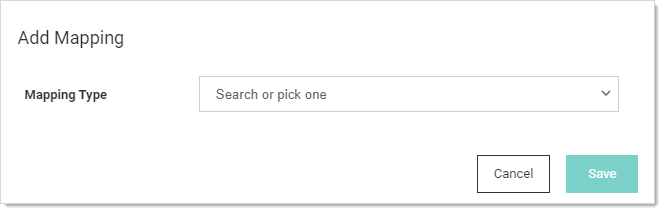
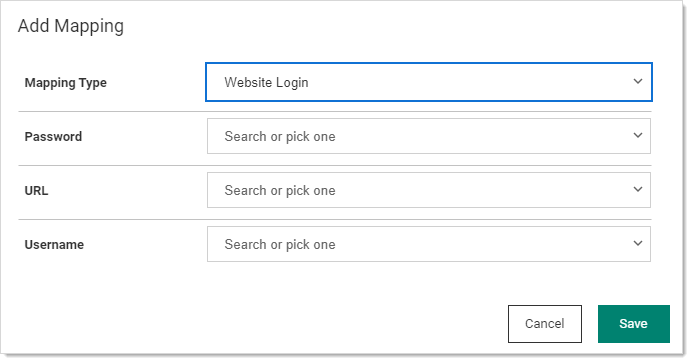
Click the Add Mapping button to add a secret launcher or extended mapping. The Add Mapping popup appears:
-
Click the Mapping Type combination list to search for or select a mapping type:
Launchers:
- Batch Launcher
- Custom PowerShell Launcher
- IBM iSeries Launcher
- Notepad
- PowerShell Launcher
- PuTTY
- PuTTY With Port Prompt
- Remote Desktop
- Secure CRT (Proxied)
- Secure CRT Proxied Process
- Secure CRT Proxied with Van Dyke File Path
- SQL Server Launcher
- Sybase iSQL Launcher
- Ultra VNC
Website Logins:
-
OATH Secret Key
-
Regex List
-
Remote Server SSH Key for Validation
-
SSH Private Key
-
Username and Password
-
z/OS Launcher
The popup changes to accommodate your choice. For example, for a Web server:
 A secret launcher launches applications on other machines and automatically logs on using credentials stored in Secret Server. In general, there are three types of launchers: RDP, SSH, and Custom. In addition to user convenience, launchers can circumvent users needing to know their passwords—a user can still gain access to a needed machine but it is not required to view or copy the password out of Secret Server. A Web launcher automatically logs into websites using the client's browser.
 -
Click to select or type to search the desired dropdown lists.
-
Click the Save button.
Task 5: Adding Permissions
-
Click the Permissions tab:
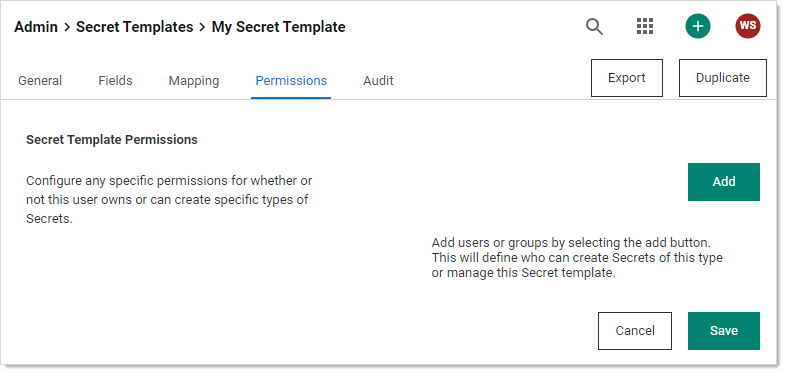
This defines who can create secrets of this type or manage this secret template.
-
Click the Add button. The Users popup appears:
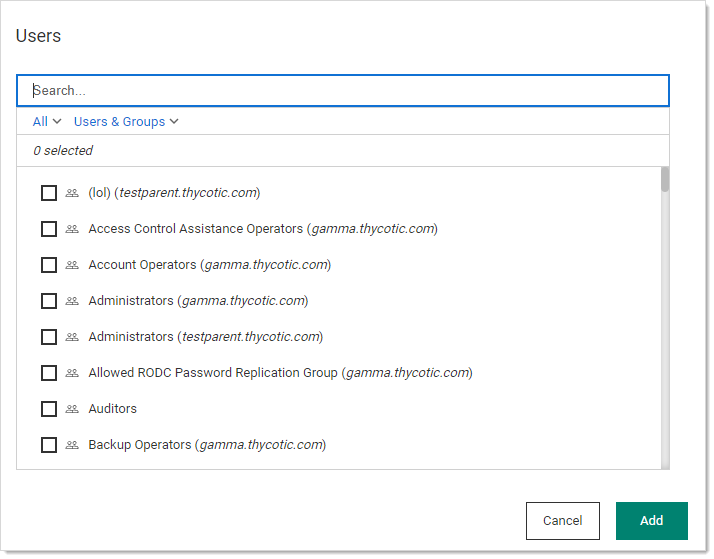
-
Type the name of the user or group you want to add in the Search text box. Note that the groups are by domain.
-
Click to select the user or group's check box for those you desire.
-
Click the Add button. The selected users or groups appear on the Permissions tab:
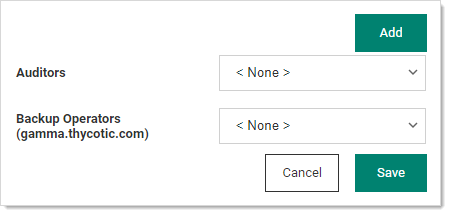
-
Click the dropdown list next to each to define if the user or group has the Template Create Secret or Template Owner permission. More than one owner is allowed.
-
Click the Save button the users or groups now appear in a small table, along with their roles (permissions).
-
To remove a user or group:
- Click the Edit link for the Secret Template Permissions section. The table of users and groups disappears, and the dropdown lists reappear.
- Click the dropdown list for the user or group you want to delete and select <None>.
- Click the Save button
Task 6: Viewing the Template's Audit Trail
-
Click the Audit tab to view activity on the secret template:
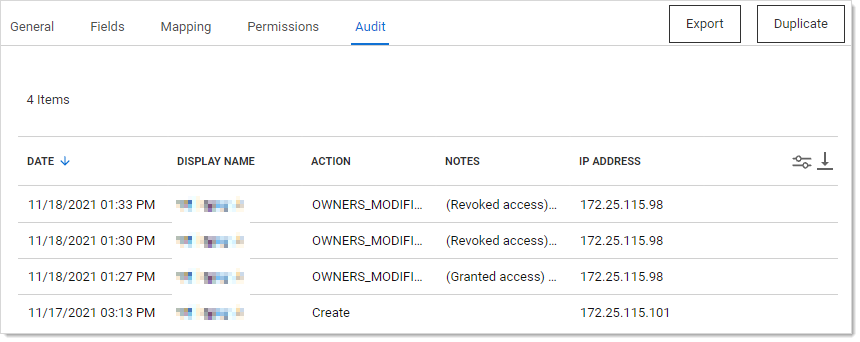
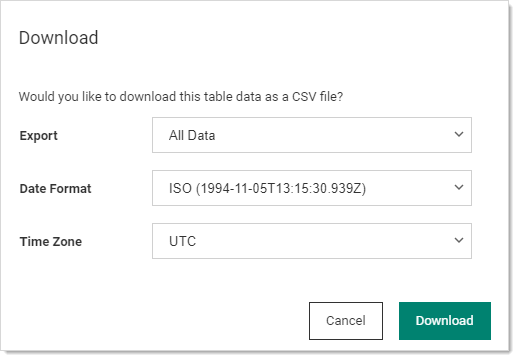
You cannot drill down on the entries, but you can define what columns to see by clicking the slider icon on the right. You can also click the download icon to download a text file version of the table:
Settings for Specific Template Types
Oracle Account as SYS
Settings for an Oracle Account secret template to work with Oracle connecting as SYS in SysDBA:
-
Set Oracle Account as the type.
-
Set Oracle Account (AS SYS) as the password type.
-
Create a secret based on the new template to test the template.
SQL Windows Authentication Account Secret Template and Launcher
Settings for an Active Directory template that is specifically for SQL:
-
Set Active Directory as the type.
-
If necessary, create a field called Server.
-
Add the following parameters for Windows settings (see Creating Custom Launchers):
- Name: SQL Server Launcher - Windows Authentication
- Active: Yes
- Process Arguments: -E -S $Server ($Server should match the field name you created or observed earlier)
- Run Process as Secret Credentials: Yes
- Load User Profile: Yes
- Use Operating System Shell: No
- Use Additional Prompt (in General Settings): No