Creating Discovery Rules
Introduction
Secret Server discovery rules in play a pivotal role in automating the process of finding, importing, and managing passwords, API keys, and other credentials throughout the IT environment.
Discovery rules offer several advantages:
-
Automated Discovery: Discovery rules simplify identifying potential secrets across various platforms and environments, ensuring that no sensitive credentials remain unmanaged or unprotected.
-
Policy Enforcement and Risk Reduction: Discovery rules help enforce consistent security policies across an IT environment. This consistency is crucial for minimizing security breaches and ensuring compliance with regulatory standards.
-
Efficient Secret Management: Discovery rules reduce the administrative burden on IT teams by automating secret candidate discovery and importation .
-
Dynamic Adaptation: Discovery rules help to flexibly adapt to IT environments, which are constantly changing with the addition of devices and applications.
There are two general types of discovery rules:
-
Discovery account rules automatically create secrets or send emails when local accounts that match the rule criteria are discovered.
-
Discovery dependency rules automatically add discovered dependencies to existing secrets when rule criteria are met—no secrets are created.
Creating Local Account Rules
Discovery account rules are search queries against the accounts found by discovery (and visible in the discovery network view). When these rules are created and run, accounts that match rules can be automatically imported as secrets. When matches are found, email notifications can also be sent out. The rule order determines the rule application order. Drag rules to reorder them. Rules can specify a combination of the domain or OU, the computer name and the account name.
To create a rule:
-
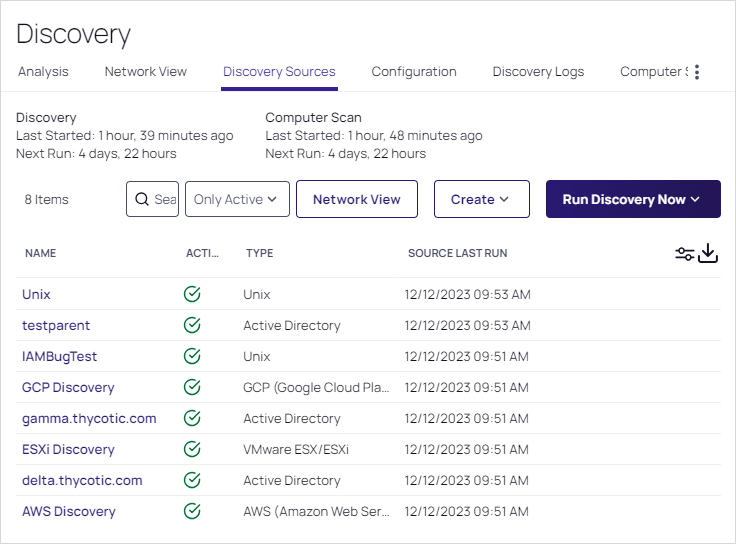
Click Administration > Configuration > General > Discovery. The Discovery Sources tab of the Discovery page appears:

-
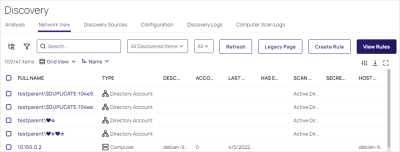
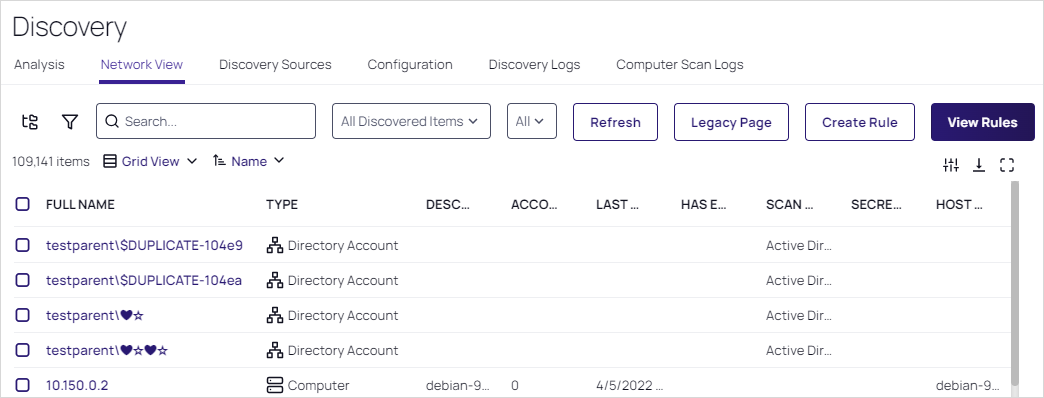
Click the Network View tab:
-
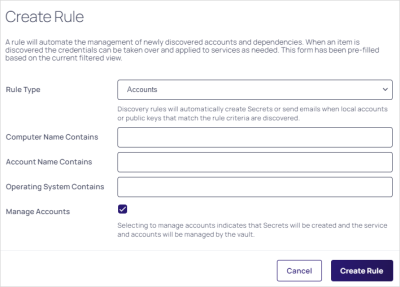
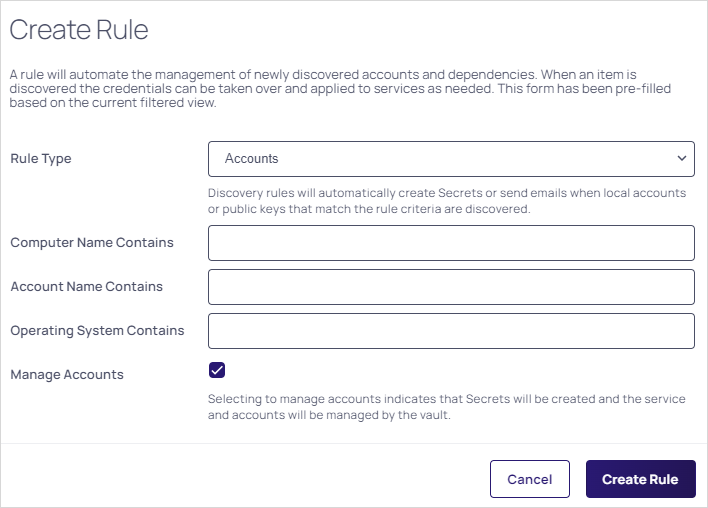
Click the Create Rule button. The Create Rule popup appears:
-
Click the Rule Type dropdown list and select Accounts.
-
(Optional) Type in text strings for the following if you want to limit the scope of the rule:
-
Computer name
-
Account name
-
Operating System
We typed
Del,Admin, andWindows. Discovery rules automatically create secrets or send emails when local accounts or public keys that match the rule criteria are discovered. -
-
Click to select the Manage Accounts check box if you want secrets to be created and the service and accounts to be managed by Secret Server.
-
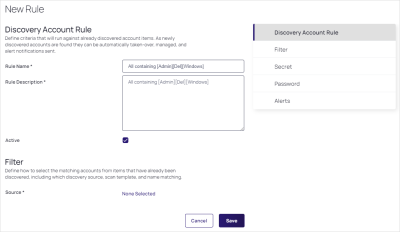
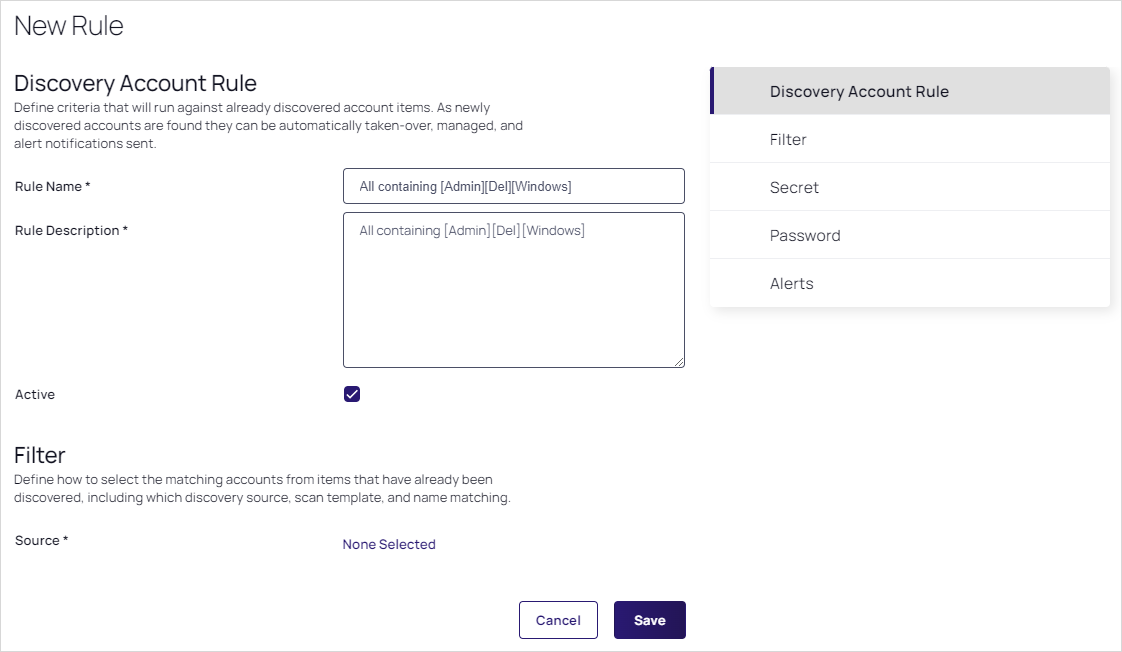
Click the Create Rule button. A New Rule page appears with the values you typed:
-
Type the name of the new rule in the Rule Name text box if you want to change the suggested name.
-
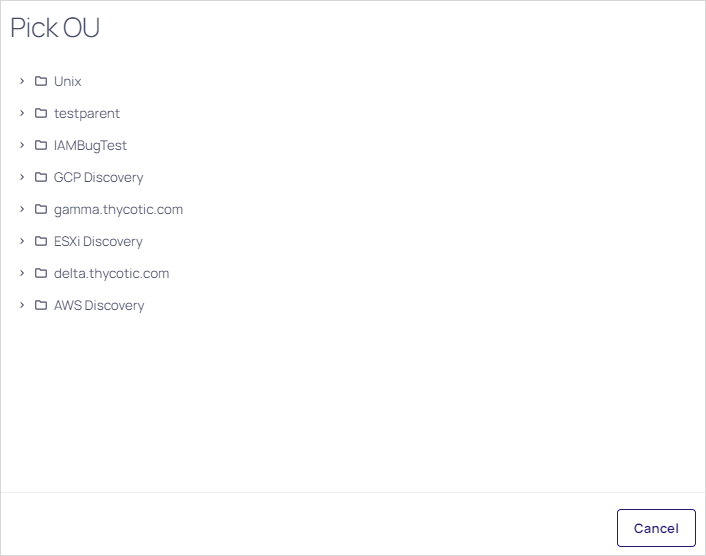
Click the None Selected link in the Filter section to choose a discovery source. The Pick OU popup appears:

-
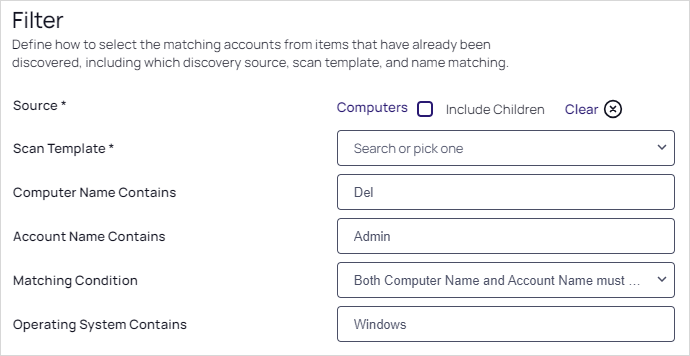
Navigate to and select the OU of your choice. Your choice appears as the source, and additional controls appear:

-
Click to select the Include Children check box if you want to include any child OUs in the scan.
-
Click the Scan Template dropdown list to select an output template.
-
Click the Matching Condition dropdown list to pick which of the filtering parameters must match.
-
Note that the completion checklist updates with a check mark to show that you completed the Filter section.
-
Scroll down to the Secret section:
-
Click to select the Create Secrets check box to enable the section.
-
Click the Secret Template dropdown list to select the secret template the new secret will originate from.
-
Click the Folder link to select a folder for the new secret to belong to.
You may not use personal folders for this purpose. -
Type the naming convention for the new secret in the Secret Name text box. We automatically suggest a naming convention based on the hostname and username.
-
Click the New Secret Permissions dropdown list to select whether you want secrets to copy (standalone) or inherit (change with the folder) the permissions from the folder.
-
Click the Site dropdown list to select the Secret Server local installation or a distributed engine to run the rule from.
-
Note that the completion checklist updates with a check mark to show that you completed the Secret section.
-
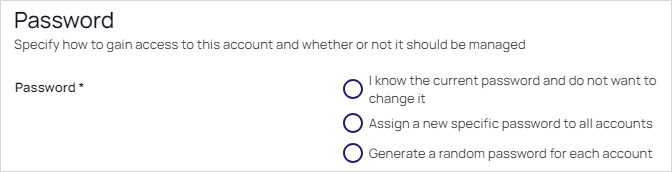
Scroll down to the Password section:
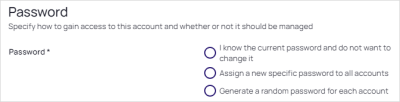 Remote password changing must be enabled to change the password.
 -
Click to select the I know the current password… selection button if you do not want Secret Server to change the account password when the secret is created. Complete the following:
-
Type the password in the Current Password text box.
-
Leave the Password Changing dropdown list set to Use privileged account.
-
Click the No Secret Selected link to choose a secret for the privileged account for ongoing use.
-
-
Click to select the Assign a new specific password… selection button if you want all the new secrets to have the same password, which you can later change. Complete the following:
This option will change the password on the remote machine for any newly discovered accounts.-
(Optional) Type a value in the Take-over Threshold text box. If the number of accounts that will be taken over exceeds the maximum threshold, the import is canceled and the subscribed users below are notified by email.
-
Type the new password in the New Password text box.
-
Click the Password Type dropdown list to select the desired type.
-
Either click the No Secret Selected link to choose a secret for the privileged account for the initial takeover.
Or if you want to have a set of secrets that can be tried till one works, click the (Switch to Multiple Reset Secrets) link and then click the Add Secret button to choose the secret. The name of the secret appears. Repeat as needed. -
Leave the Password Changing dropdown list set to Use privileged account.
-
Click the Add Secret button to choose a secret or secrets for the privileged account for ongoing use.
-
-
Click to select the Generate a random password… selection button if you want to have Secret Server create a strong password for the secret.
This option will change the password on the remote machine for any newly discovered accounts.-
(Optional) Type a value in the Take-over Threshold text box. If the number of accounts that will be taken over exceeds the maximum threshold, the import is canceled and the subscribed users below are notified by email.
-
Click the Password Type dropdown list to select the desired type.
-
Click the Add Secret button to choose a secret or secrets for the privileged account for the initial takeover.
-
Leave the Password Changing dropdown list set to Use privileged account.
-
Click the Add Secret button to choose a secret or secrets for the privileged account for ongoing use.
-
-
Note that the completion checklist updates with a check mark to show that you completed the Password section.
-
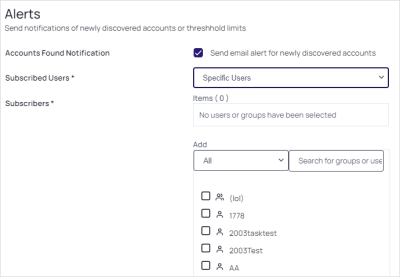
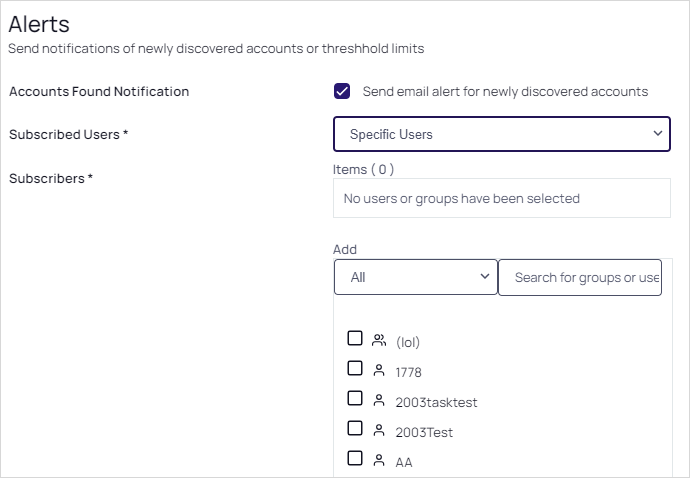
Scroll down to the Alerts section:

-
Click to select the Send email alert… check box to enable the Subscribed Users control.
-
Click the Subscribed Users dropdown list to select one of the following:
-
Discovery Administrators if you only want to notify admins.
-
Specific Users if you want to define a list of people to notify.
-
-
If you chose Specific Users, new controls appear:
-
In the Add section, select or search for users and groups. As you click each one you desire, it appears in the Items text box.
-
Note that the completion checklist updates with a check mark to show that you completed the Alerts section.
-
Click the Save button at the bottom of the page

Creating Dependency Rules
Dependency rules automatically add dependencies (Windows services, schedule tasks, application pools) to existing secrets. You can receive email notifications of linkages by adding an event subscription in the Event Subscriptions page. Rules can specify a combination of the domain or OU.
To create a rule:
-
Click Administration > Configuration > General > Discovery. The Discovery Sources tab of the Discovery page appears:
-
Click the Network View tab:
-
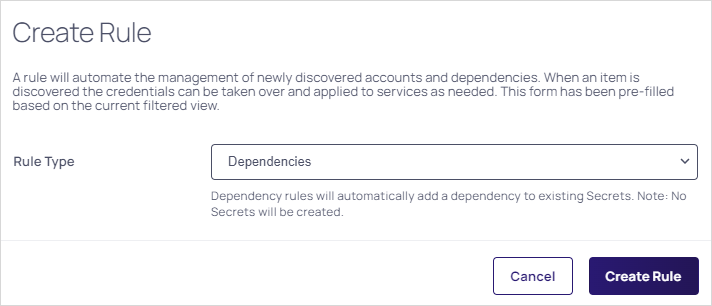
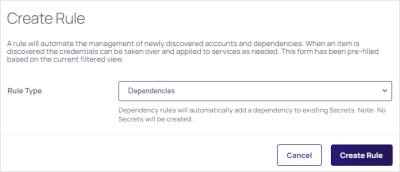
Click the Create Rule button. The Create Rule popup appears:
-
Click the Rule Type dropdown list and select Dependencies.
-
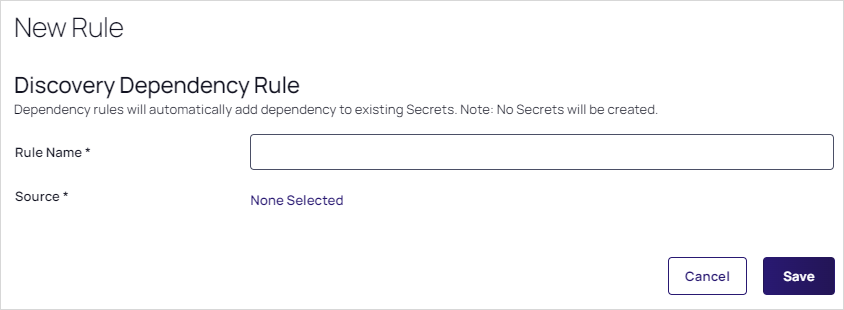
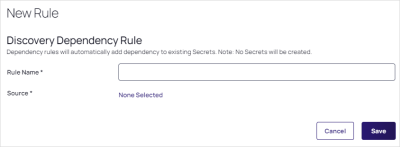
Click the Create Rule button. The New Rule page appears:
-
Type the name of the new rule in the Rule Name text box.
-
Click the None Selected link to choose a discovery source. The Pick OU popup appears:
-
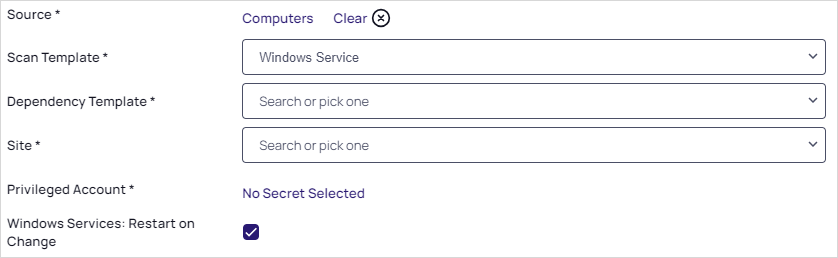
Navigate to and select the OU of your choice. Your choice appears as the source, and a Scan Template control appears:

-
Click the Scan Template dropdown list to select an output template.
-
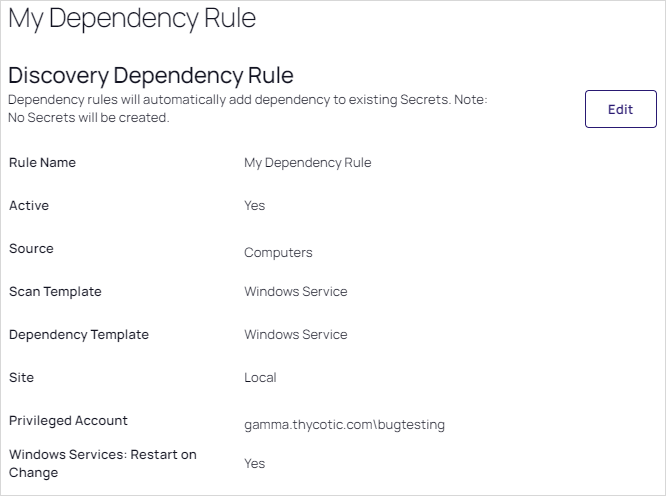
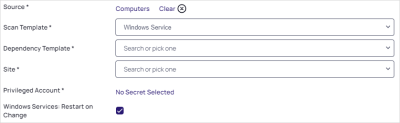
Click the Dependency Template dropdown list to select a dependency template. For this instruction, we chose Windows Service. Several new controls appear:
-
Click the Dependency Template dropdown to select the desired template. Once again, we chose Windows Service.
-
Click the Site dropdown list to select the local installation or a distributed engine to run the rule from. We chose Local.
-
Click the Privileged Account link to choose a secret for the scanning account. The chosen secret appears as a link.
-
Click to select the Windows Services: Restart on Change check box if you want the services restarted after discovery.
-
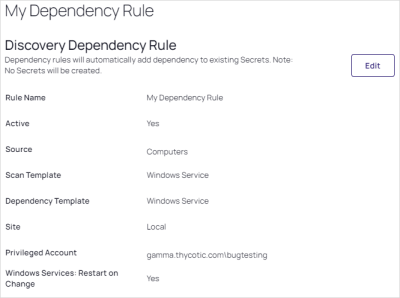
Click the Save button. The page for your new rule appears: