Deny Zoom Application
With your monitoring policies properly set up, anything you do on your Mac test machine will be discovered by Privilege Manager. For this example we will create a policy that blocks the Zoom application.
File Inventory
Open the Zoom application on a macOS test workstation. When the application is opened, Privilege Manager discovers it as an Application Action from Event Discovery Testing Computers Audit Policy (macOS).
-
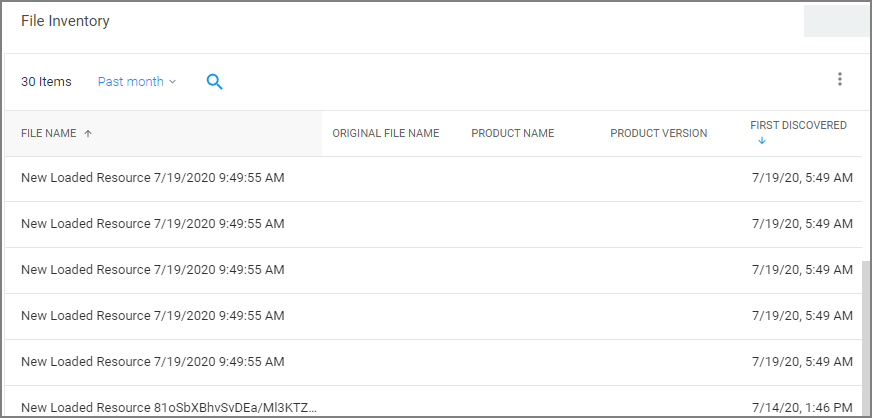
In the Privilege ManagerConsole, navigate to File Inventory.
-
Verify new items have been registered by your Event Discovery Testing Computers (macOS) policy. These may be listed as New Loaded Resources.
-
Select a New Loaded Resource link.
-
On the loaded Resource Explorer page, click Discover Now. It still may take time to properly load details about these new events, usually indicated by a Discovery Status of New.

Clicking Discover Now creates and executes a Manual client-side resource discovery task. If you click the status link the task page opens (not shown in this example sequence).
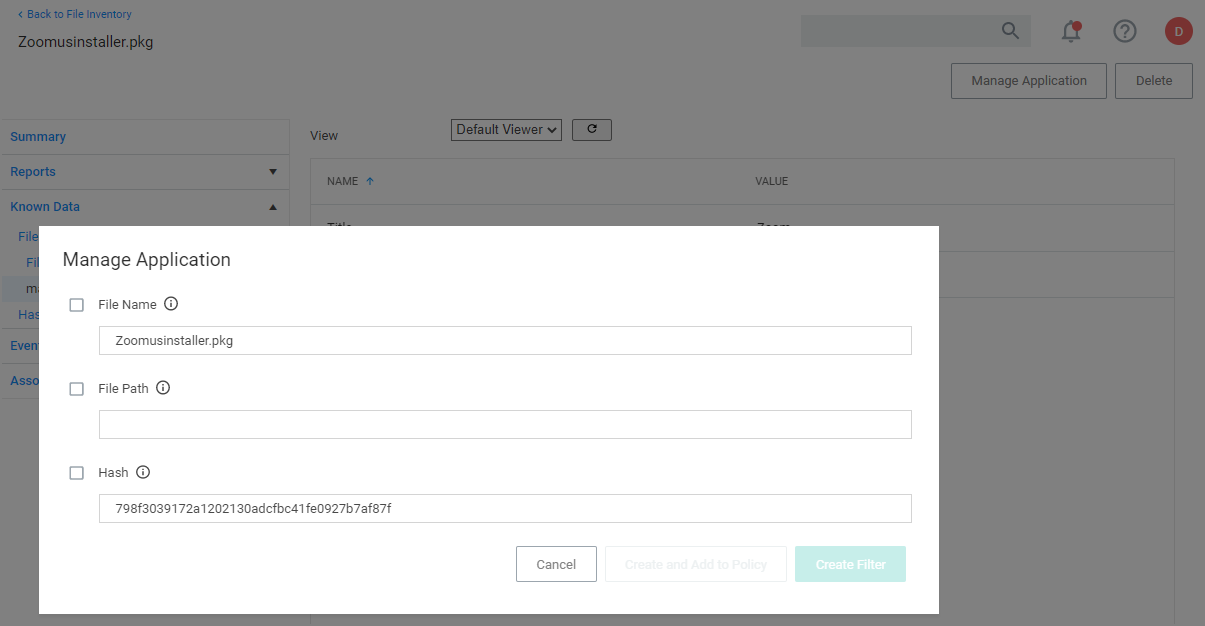
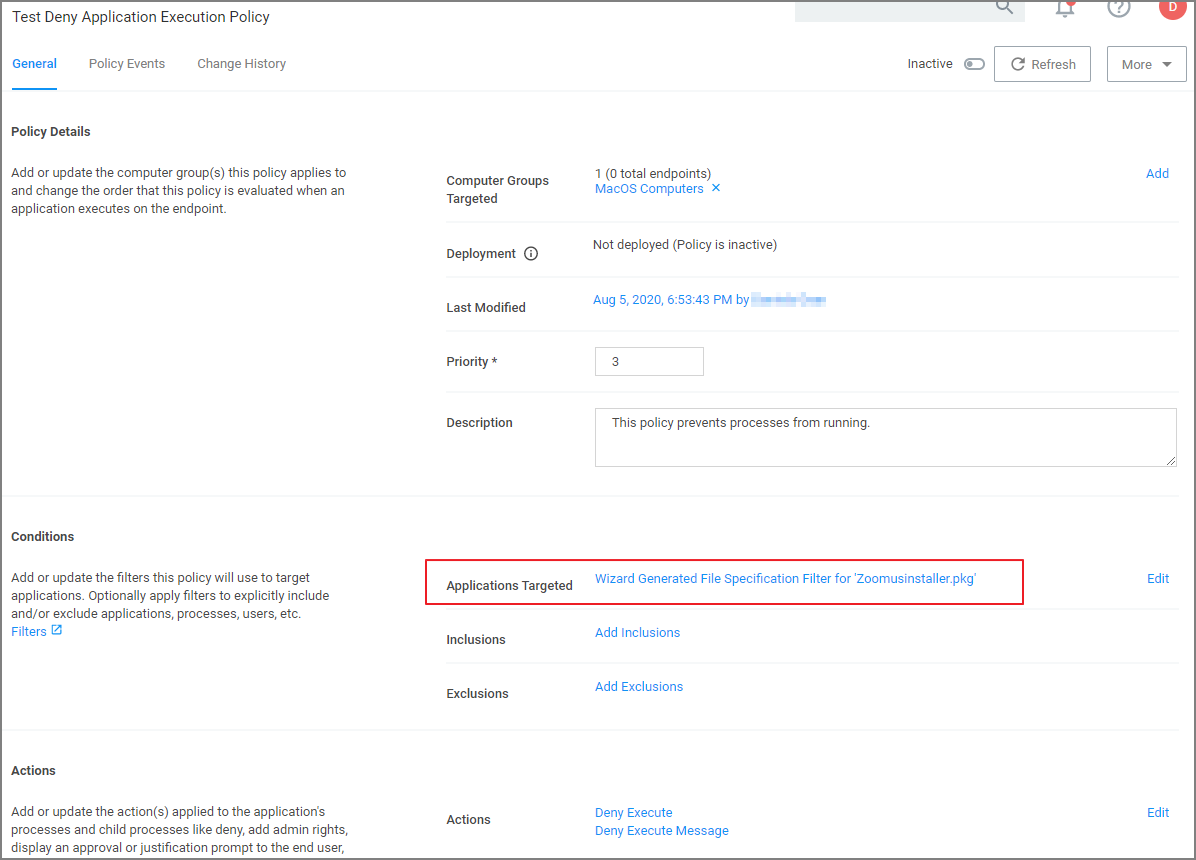
On the Resource Explorer page of a fully discovered resource, you can click Manage Application to select the option you want to use, which is to either
- create a filter, or
- create and add to a policy.
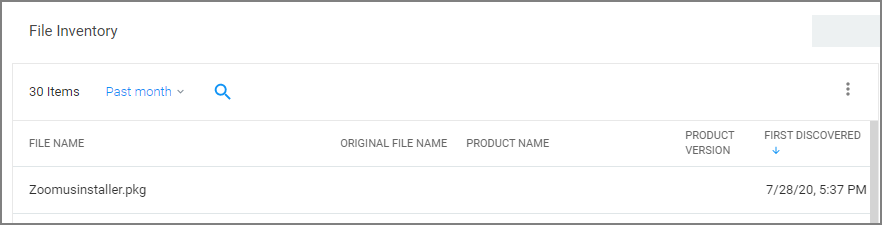
When a resource is fully discovered it is displayed with full name on the discovery events page:
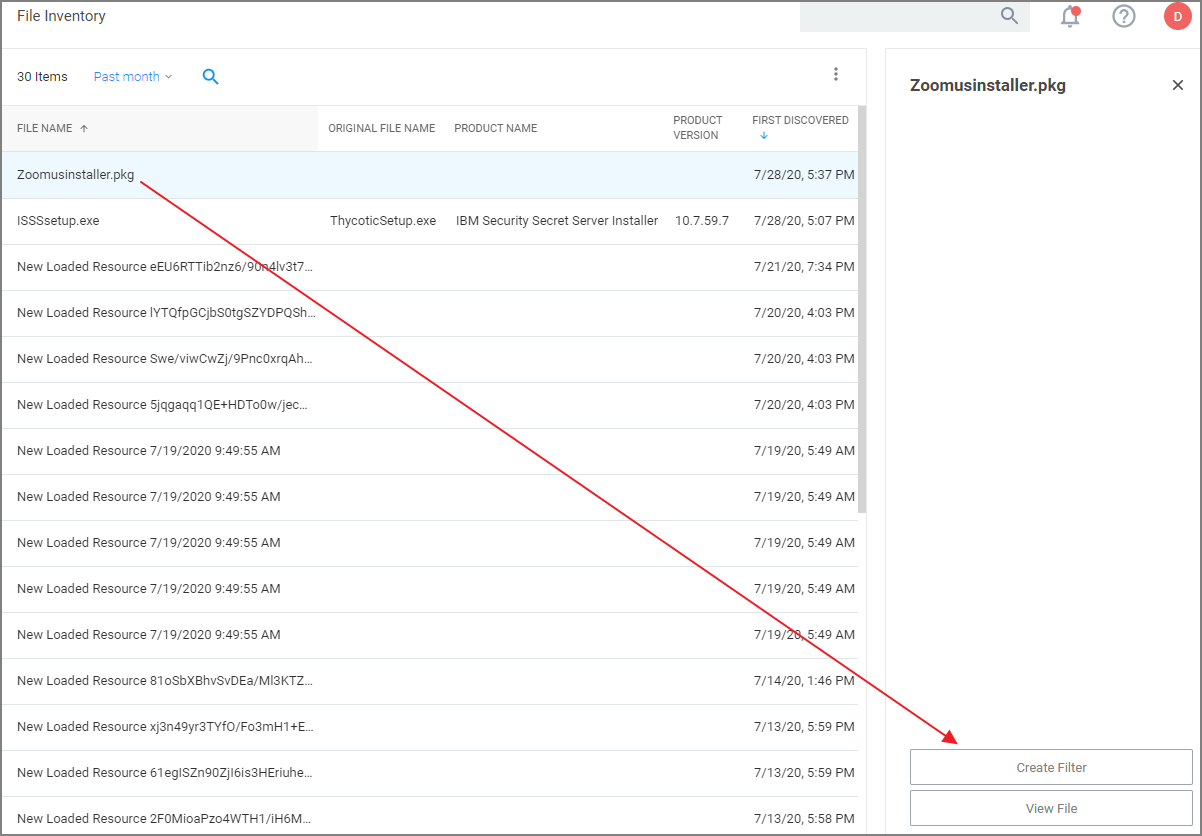
From the File Inventory page you can also use the View File or Create Filter options to create specific filters for the discovered applications and assign those to existing policies.
Assign to Policy
Once the resources have been fully discovered, the fastest way to either create a new policy or add to an existing one is via the Assign to Policy link on the Events page.
-
Click Create Filter.
-
The Manage Application page opens for the selected resource.

-
Click Create and Add To Policy.
-
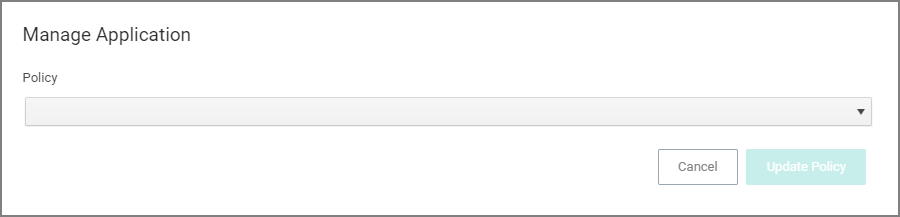
On the Manage Application page select your existing deny application execution policy from the drop-down and click Update Policy.
-
Set the Inactive switch to Active.
Updating the Workstation
On the macOS workstation:
-
Open System Preferences | Privilege Manager.
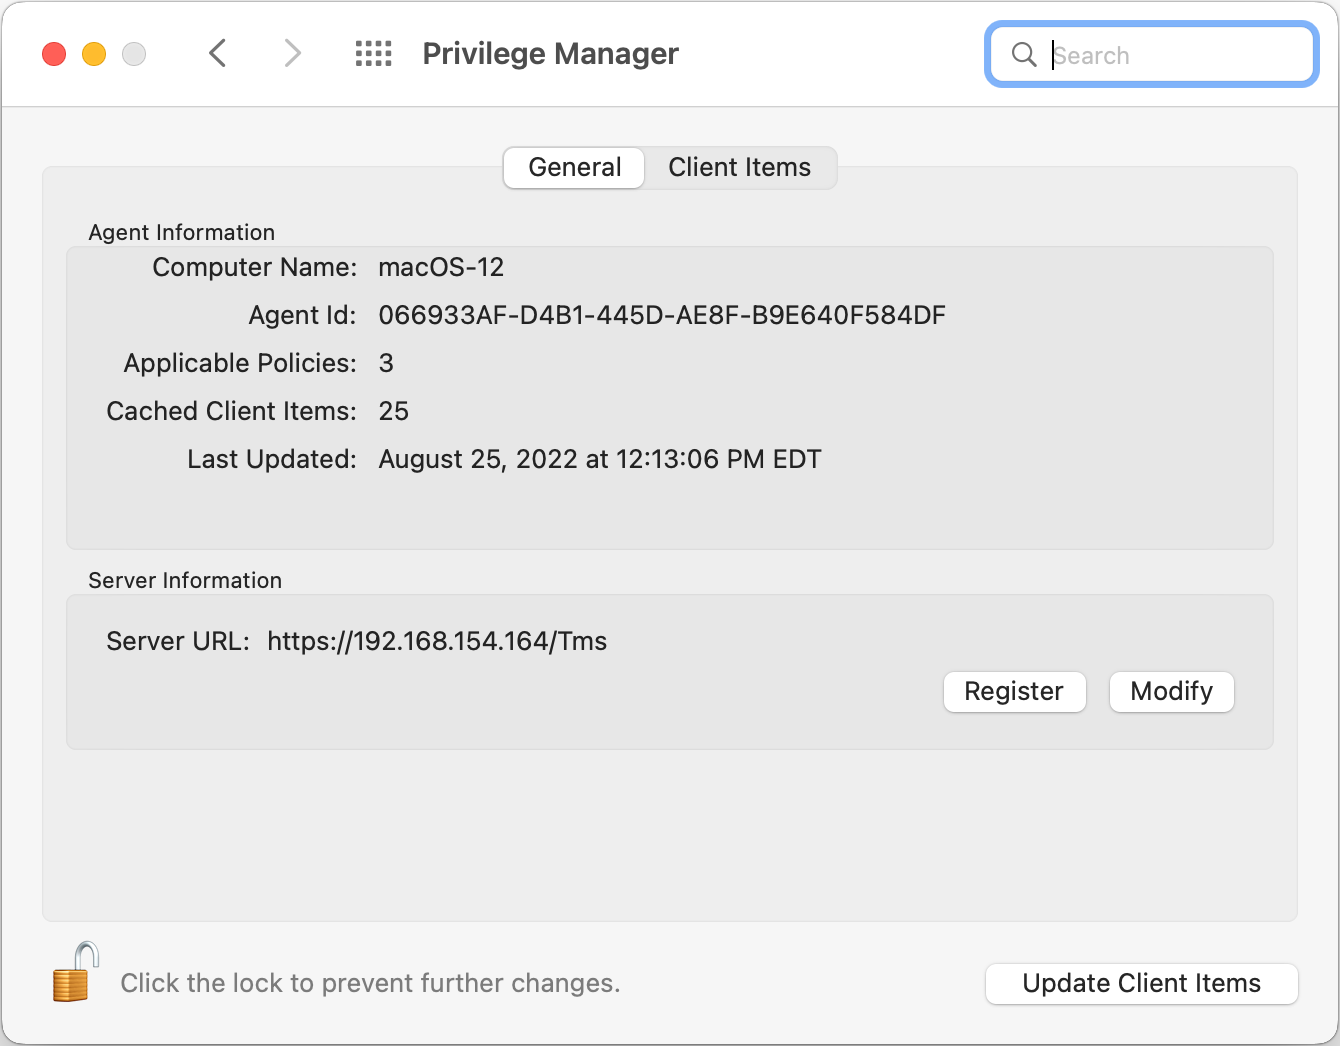
-
Click Update Client Items.
Policy Verification
Once this Deny policy is updated on your workstation, when you click Zoom, you will see a message like this:
