Network Share Applications
Many organizations put trusted installers on a network share that employees can use. Those installers can be elevated automatically from the shared network location by assigning an elevation policy to the network share location.
There are different options to elevate rights to launch applications from a network share location.
- One option is to create a file specification filter setting the path for the network share location. Then use that filter in a policy to apply administrative rights to all application launches from that path.
- The other option is to download the Application Control - UNC Elevation Policy Template via Config Feeds and customize the template.
Applying Administrator Rights to a Network Share
Creating the Filter
- In the Privilege Manager Console navigate to Admin | Filters.
- On the Filter page, click Create Filter.
- On the New Filter page, select the platform. This can be either Both Windows / macOS, Windows, or macOS. For this example, select Windows.
- From the Filter Type drop-down select File Specification Filter. This also allows you to link in hashes or signatures.
- Enter the name and a description for the filter, for example "network share" and "filter to elevate applications installed from network share".
- Click Create.
- Add the Path that points to your Fileshare folder, click Save Changes. Use the same UNC path format for both macOS and Windows endpoints.
Creating the New Policy
- Navigate to Computer Groups | Windows Computers.
- Select Application Policies.
- Click Create Policy.
- In the policy wizard select Controlling, click Next Step.
- In the policy wizard select Elevate, click Next Step.
- In the policy wizard select Run Silently, click Next Step.
- In the policy wizard select Installer Packages, click Next Step.
- In the policy wizard select Existing Filter.
- Search and add the network share path filter previously created.
- Click Update.
- Click Next Step.
- Name your policy and enter a description.
- Click Create.
- Set the Inactive switch to Active.
Using the UNC Elevation Policy Template
Use the UNC Elevation Policy Template to create a customized policy that lets you scan a network share and automatically elevates launches of MSI and EXE files from that share.
-
Navigate to Admin | Config Feeds.
-
Expand Privilege Manager Product Configuration Feeds.
-
Expand Application Control Solution.
-
Locate the Application Control - UNC Elevation Policy Template and click the Install link. The template is installed.
-
Navigate to Admin | Folders.
-
In the folder tree open Privilege Manager Solutions | Application Control | Policies | macOS or Windows policies | Privilege Management.
-
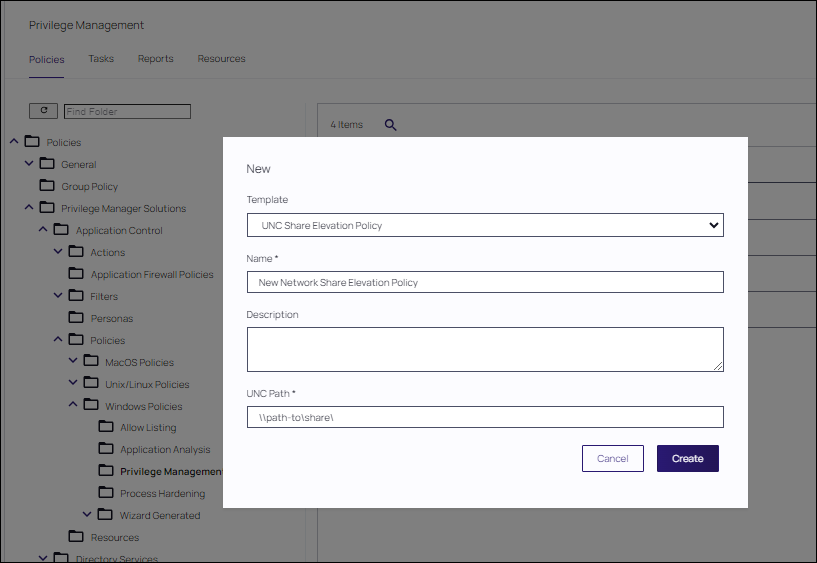
Click Create.
-
From the template drop-down select UNC Share Elevation Policy.
-
Enter a name and description.
-
Enter the UNC Path to the network share. Use the same UNC path format for both macOS and Windows endpoints.
-
Click Create.
-
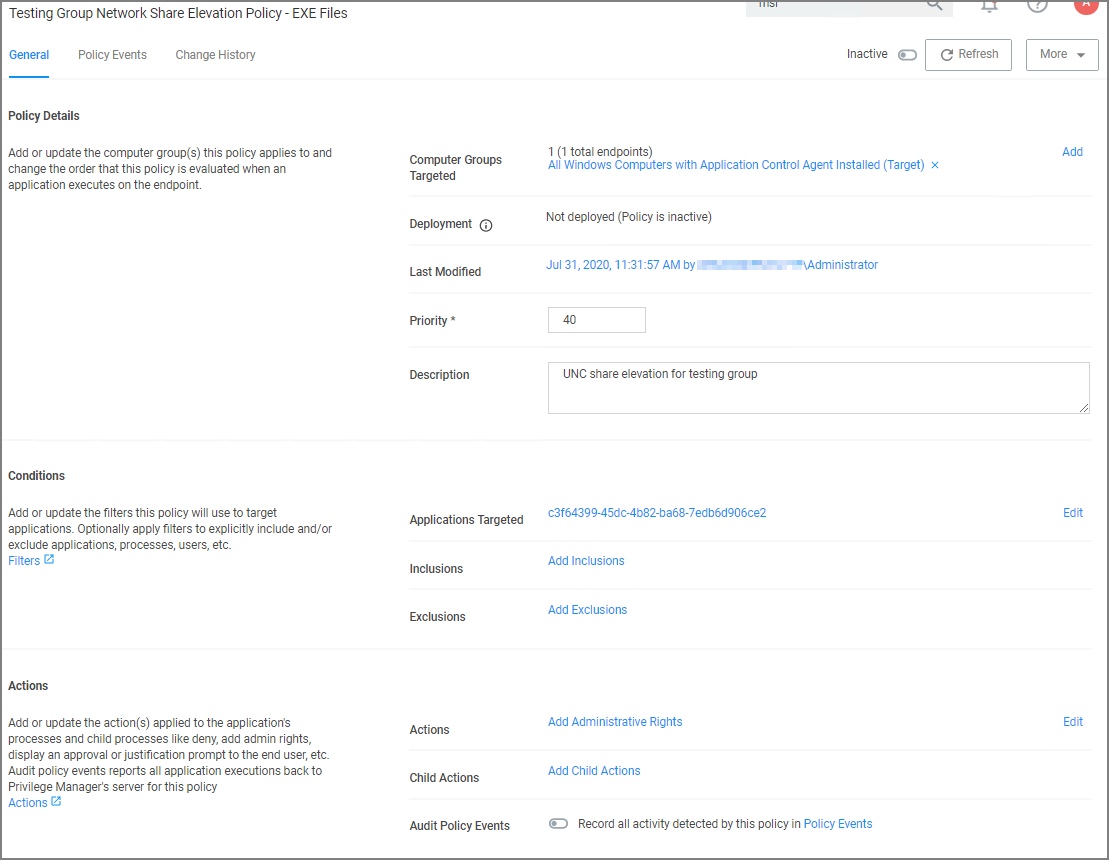
The Policy is created, but needs some attention. Confirm that this is an elevation policy and click Set as Elevate.
-
Change the priority based on how this policy needs to interact with other policies for your organization, click Save Changes.
-
Set the Inactive switch to Active.