Best Practice: Using a Secondary File Filter
Using File Inventory
As a best practice you create an elevate policy with a priority of X (for example 85) to elevate or allow specific scripts or files to run. Then you add a policy with a priority of X+1 to deny any other execution of the command processor, PowerShell, or Microsoft installer files. For this example .msi is used.
-
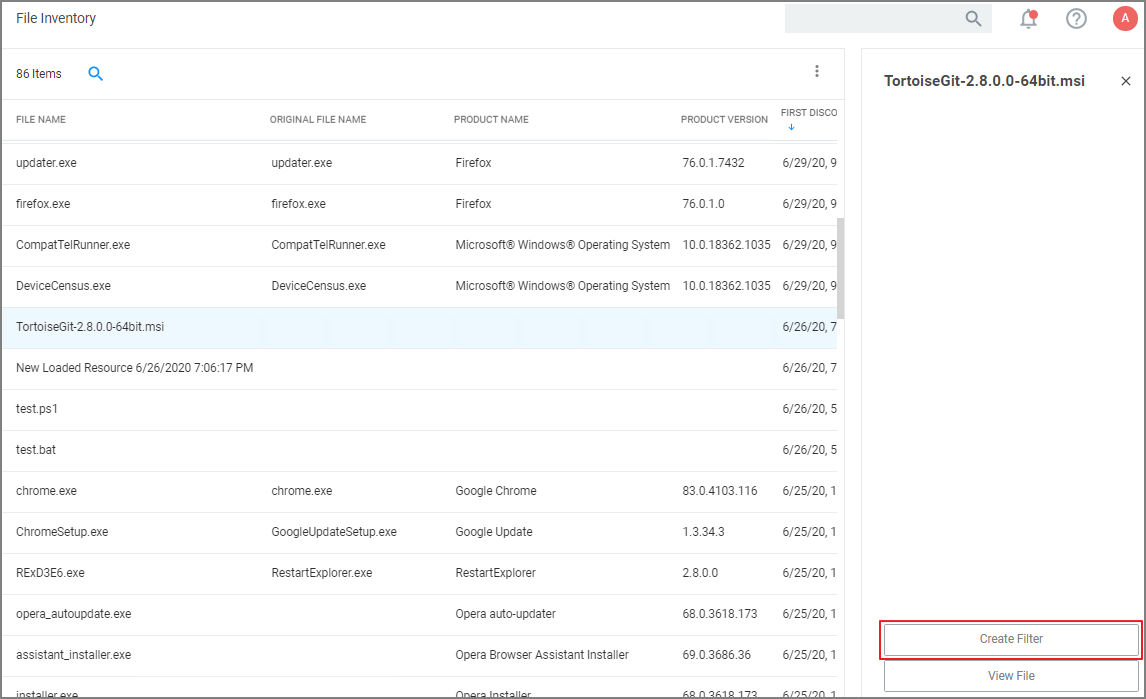
In the Privilege Manager Console under Computer Groups navigate to File Inventory.
-
From the list of discovered resources, we are selecting our example TortoiseGit.
-
Click Create Filter.
-
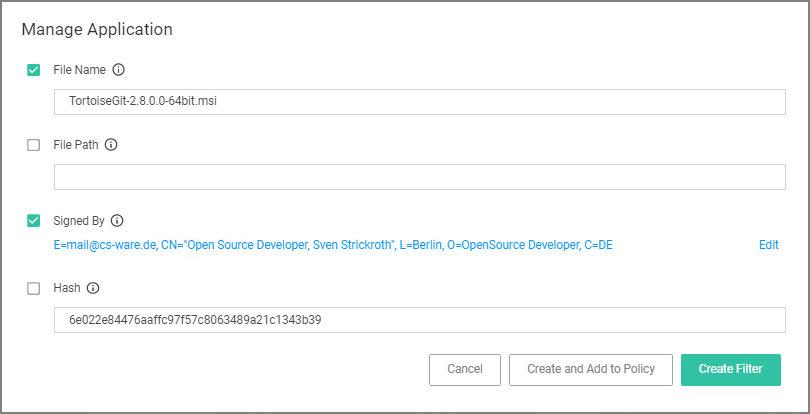
On the Manage Application page, check the File Name and Signed By checkboxes.
-
Click Create Filter.
-
Navigate to Computer Groups | Windows Computers.
-
Select Application Policies.
-
Click Create Policy.
-
In the policy wizard select Controlling, click Next Step.
-
In the policy wizard select Allow, click Next Step.
-
In the policy wizard select Specific Applications, click Next Step.
-
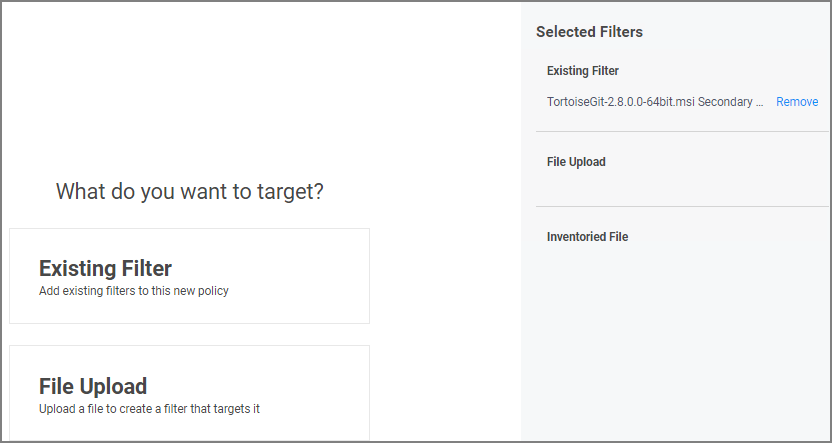
In the policy wizard select Existing Filter, click Next Step.
- Search for and add the secondary file filter created from the file inventory above.
- Click Update.
-
On the policy wizard page that now lists the existing filter, click Next Step.
-
Name the policy and click Create Policy.
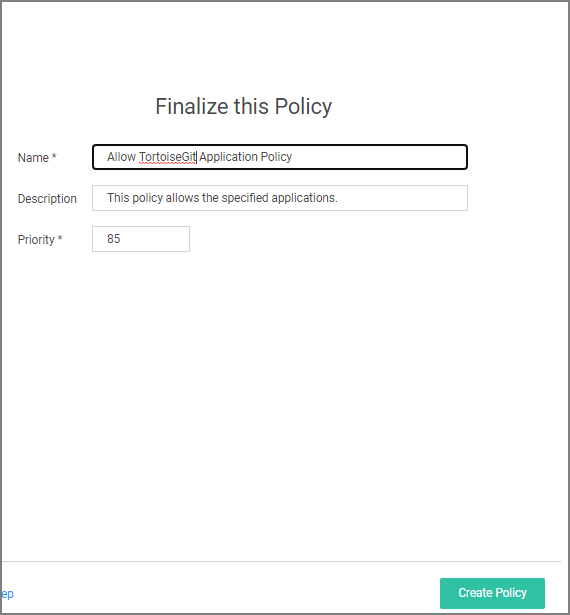
The policy wizard added based on the selected filter the application target to allow the TortoiseGit application.
