Filters
In Privilege Manager, using a robust filtering system is the key to creating accurate and effective Policies.
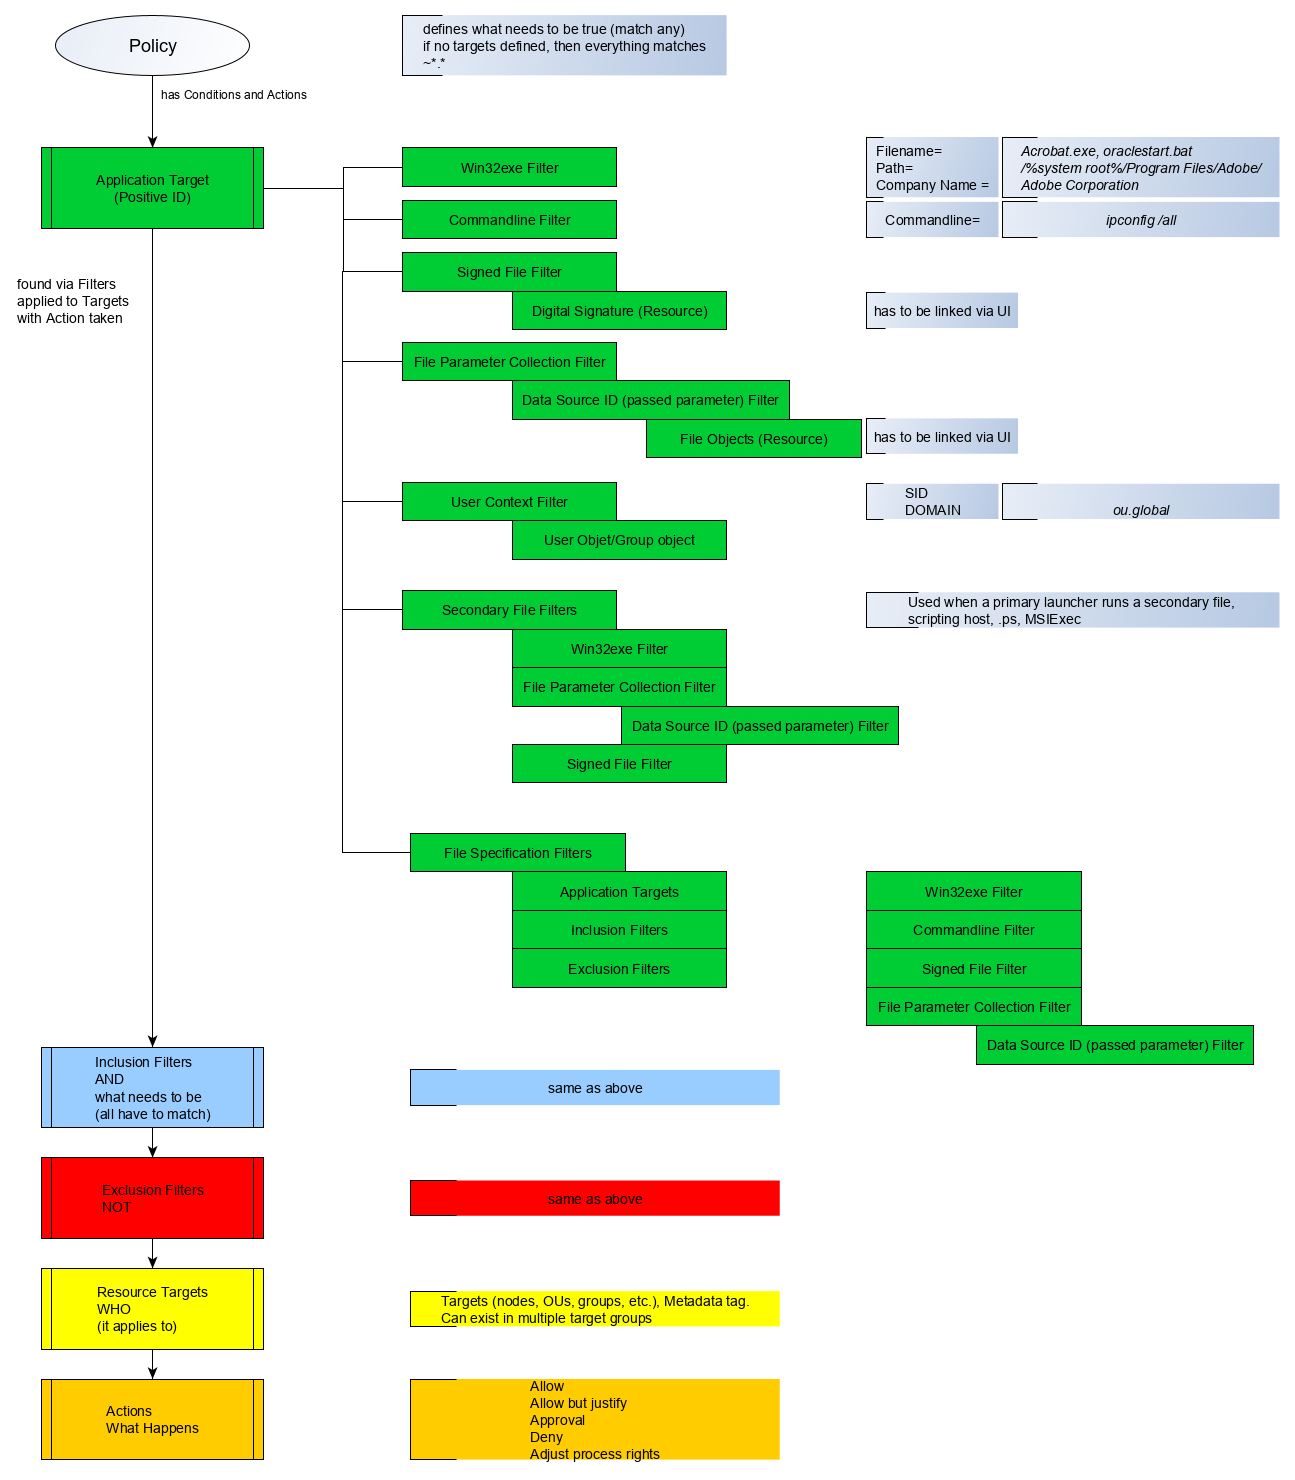
A filter is made up of specific criteria that Privilege Manager uses to target important file data (or Events) that occur across your environment. You can think of Filters as the core identifiers in your Privilege Manager system. They are used to identify various levels of activity across your organization's computers, including processes (applications) that are launched on computers, who is executing an application, or the state of the computer that the process is being executed on.
An Event in Privilege Manager is any piece of file data or executable on a computer that is targeted by a policy.
There are different methods for Filter-creation and usage, but if you take the time to familiarize yourself with our out-of-the-box filters they can help make your policy-creation process easy. This article will provide details and descriptions for Windows Filters in Privilege Manager and how you can begin using out-of-the-box Filters, or create your own.
Types of Filters
We recommend leveraging Privilege Manager's out-of-the-box filters to get your policies up and running fast! For a complete list of out-of-the-box filters according to category type, review our Filters' Catalog for Privilege Manager here.
You can search your full list of available filters by navigating to Admin | Filters in Privilege Manager. If you already know what you want to target, simply try typing keywords in the search bar to check whether a filter exists that fits your target goal.
If using the default filters provided with Privilege Manager, always verify existing targeting information.
Review the Filters Catalog for Privilege Manager for details about all out-of-the-box filters shipped with the product.
Create A Copy - How to Use Filter Templates
Out-of-the-Box filters are designed to be used as templates, meaning when you open these filters you will see a Duplicate option rather than the option to immediately Edit. These filter templates are protected to provide a jumping off point whenever creating new filters. They are formed by specific criteria that you can tailor according to your specific use case after copying.
Keep in mind that every filter in Privilege Manager - whether or not it is a template - can be leveraged by the Copying feature.
Creating a New Filter Manually
The following a basic steps to create a filter. Based on platform and type the end result shown in this example can be different.
-
In the Privilege Manager console, navigate to Admin | Filters.
-
Click Create Filter.
-
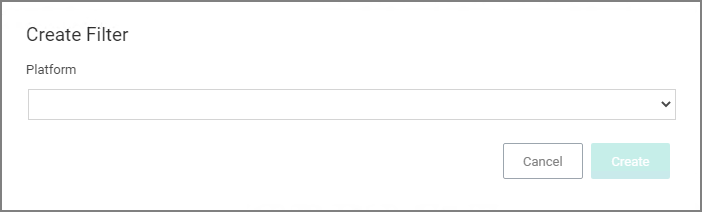
On the Create Filter modal,
-
select a Platform from the drop-down.
Options here are:
- Windows
- macOS
- Unix/Linux
-
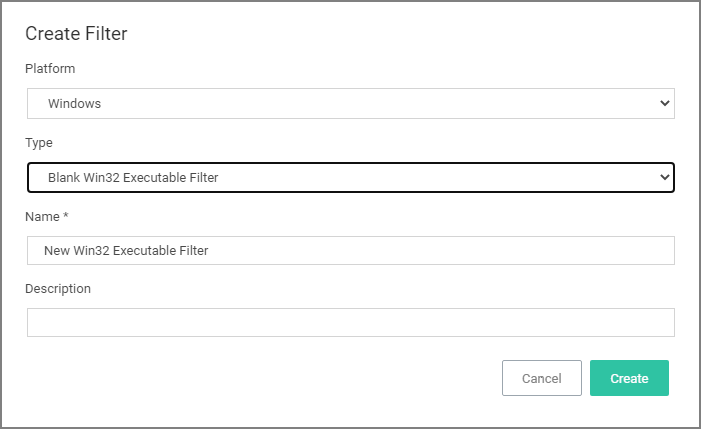
select the Type from the drop-down.

The Type depends on the platform selection.
-
enter a Name and Description.
-
-
Click Create.
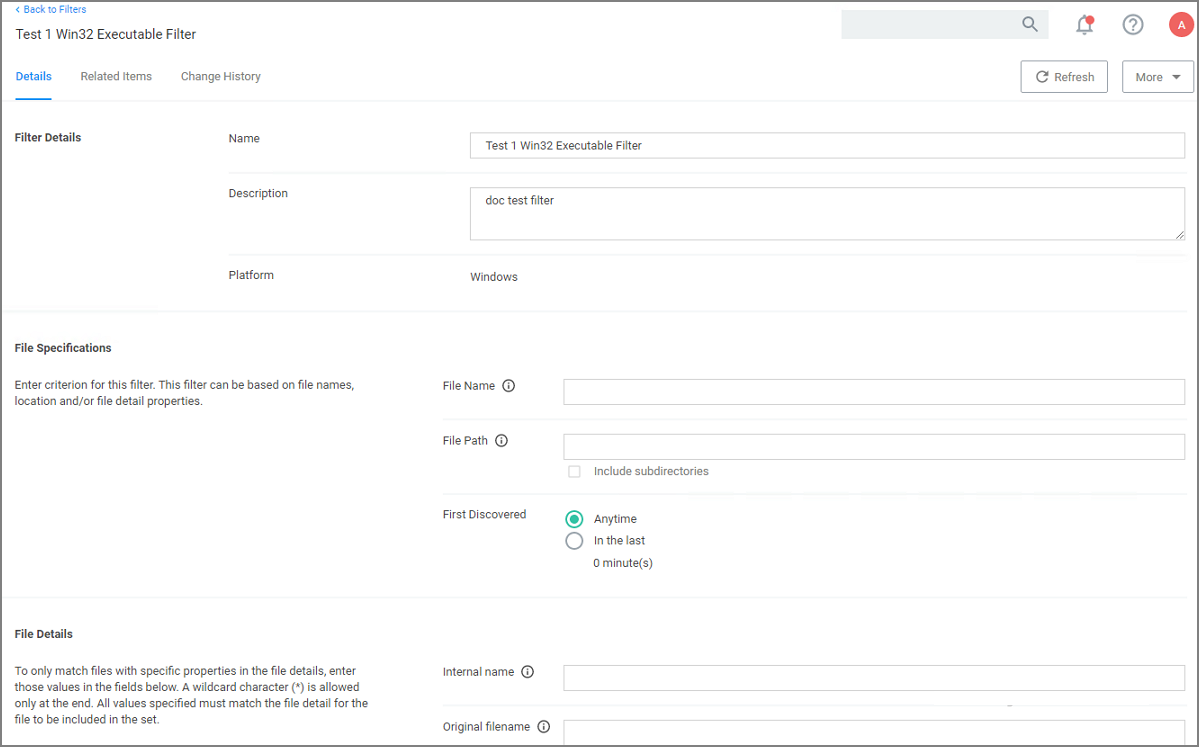
Once the filter is created, the new filter page open and information under the Details, File Specifications, and File Details sections can be edited. The Save and Cancel buttons appear once you make the first change on the page.
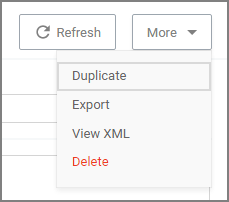
More Options Menu for Filters
The More options menu offers users entry points to duplicate, export, view xml, and delete filters that are already on the system.
Creating New Filters using Event Discovery
One way to begin creating new Filters that identify specific files or applications on your network is to set up a Learning Mode Policy and use the events pulled in by Privilege Manager from actions performed on a test machine. Refer to Event Discovery for more information on setting up a Learning Mode Policy.
-
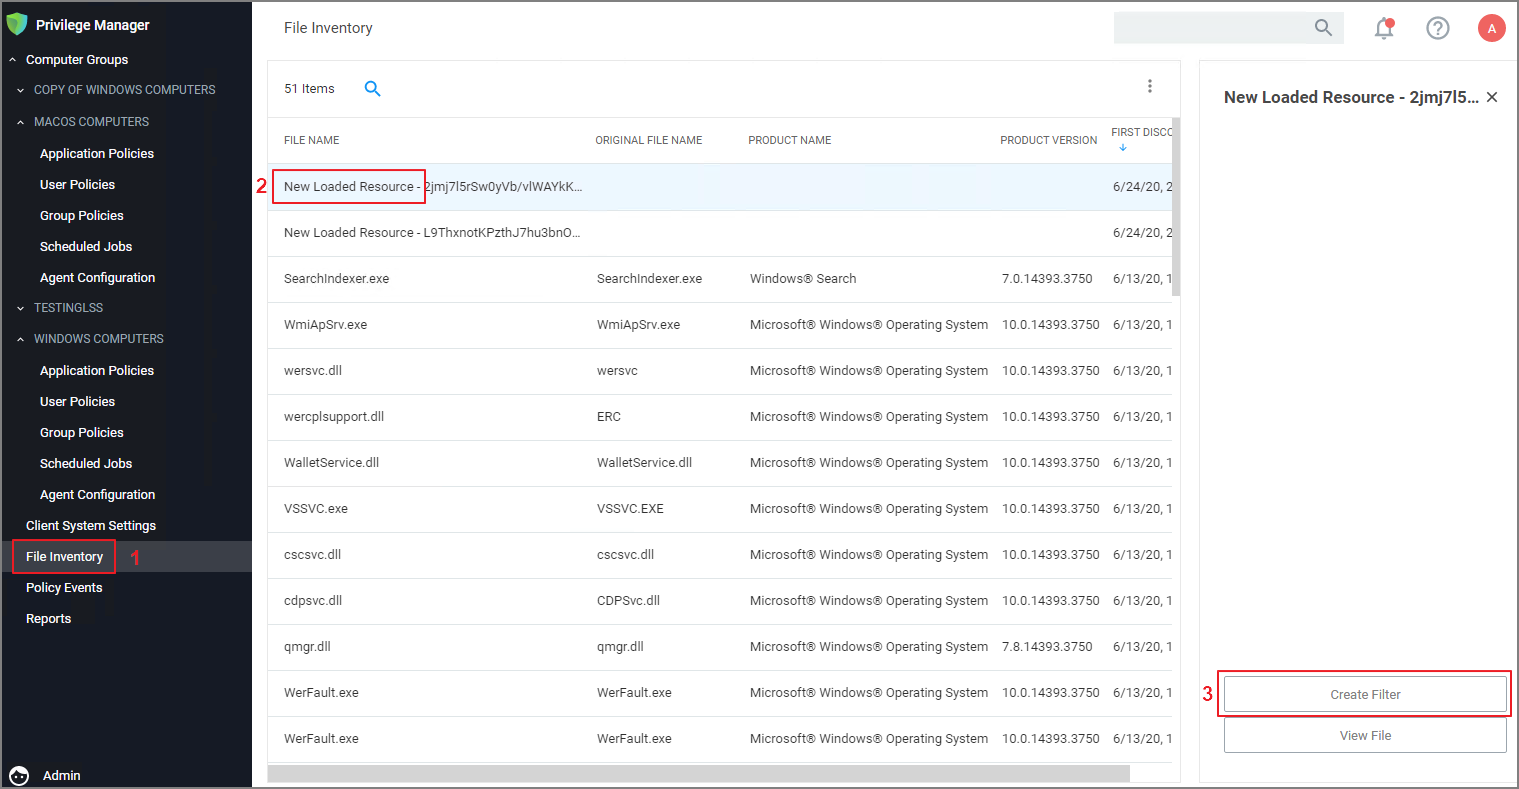
In Privilege Manager, navigate to File Inventory.
-
Select a recognized event.
-
Click Create Filter.
This brings you to the Manage Application modal with the known identifiers needed for targeting this specific event auto-populated, for this example chrome.exe.
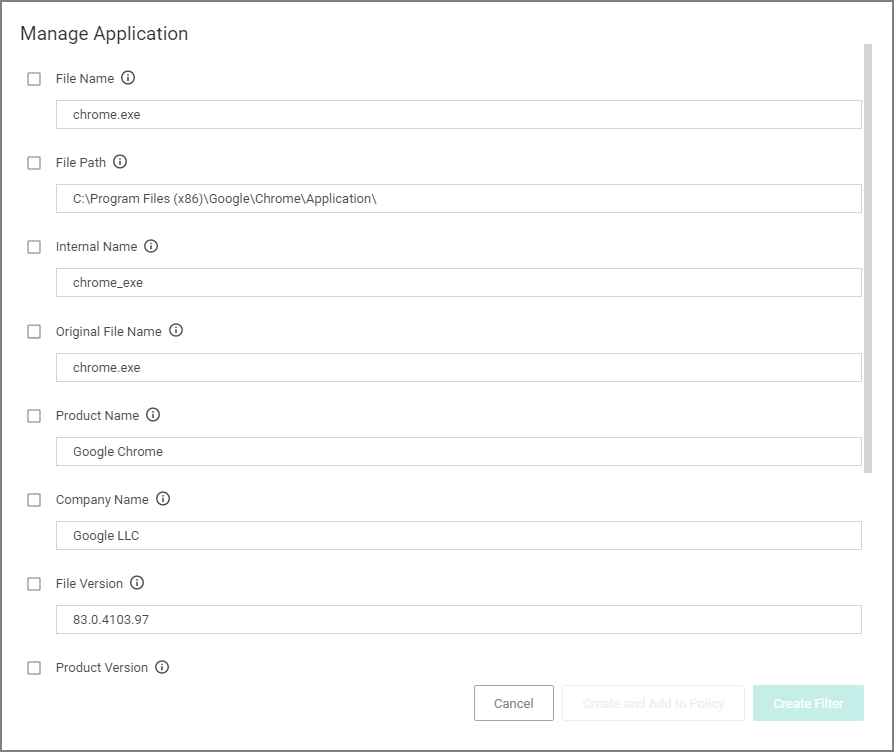
The modal has options to Create and Add to Policy or to just Create Filter.
If you are NOT directed to such a dialog, this means Privilege Manager doesn't have enough information to target this event yet. In these cases you may need to create Filters manually.
The dialog reveals the available list of building blocks, attributes, or criteria used for creating a filter. In other words, the following list of criteria are possible data fields that Privilege Manager can look and sift through for on any given event that your policies target for Windows machines. Note that criteria can vary depending on the type of filter you are creating:
- File Name
- Path
- Internal Name
- Original File Name
- File Version
- Product Name
- Product Version
- Company Name
- File Signature (File must be signed by)
You can choose which criteria to use by checking or un-checking any of the available check boxes on the dialog. If you are new to the filter creation process, we recommend experimenting with these different identifiers in your test environment to ensure that you are using a comprehensive list of identifiers in your filter, enough to target the application or file intended but not too specific that variations to your target will fall through the filter's criteria hooks.