Synchronizing Jamf Computer Groups
To import computer groups from the Jamf Server, the Synchronize Jamf Computer Groups task must run. This task also imports related computer resources.
1. First, create the foreign collections for the sync. Navigate to Admin | Resources and open the Resource Filters tab.
1. In the folder tree under Resource Filters open Collections | Jamf Connector.
1. Click Create.
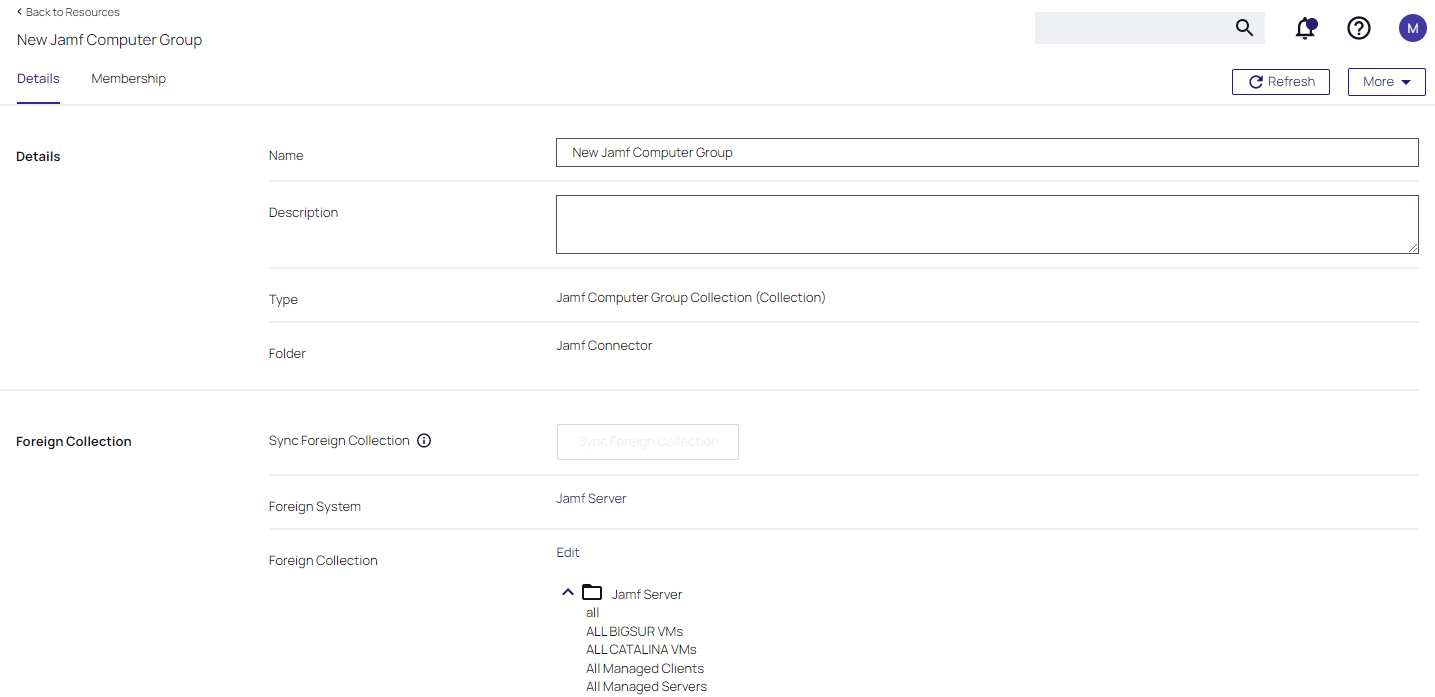
1. Enter a Name and Description, and specify the Jamf system to connect to.
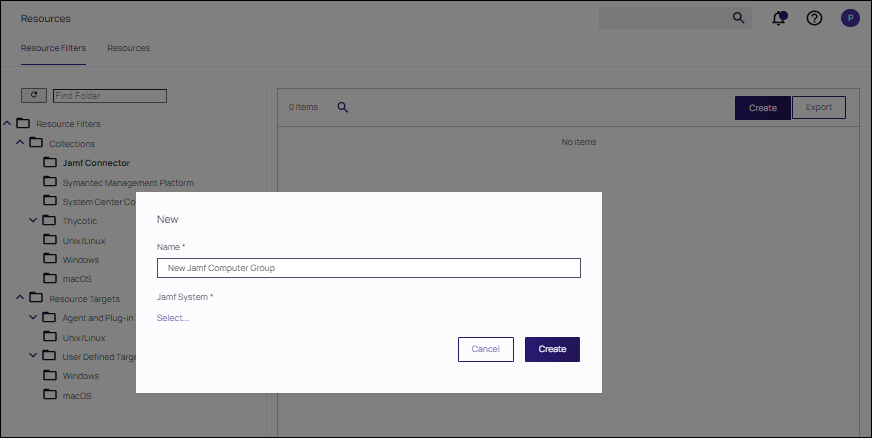
1. Click the Select link.
1. At the Select Resource dialog, enter a resource name in the Search text field. This field can remain blank if you want to search for all available resources. Click Search and select a resource.
1. Click Create.
1. Next to the Foreign Collection field click Edit and select the Jamf Computer Group that should be referenced.
2. Navigate to Computer Groups and create a new Computer Group that references the Jamf Collection.
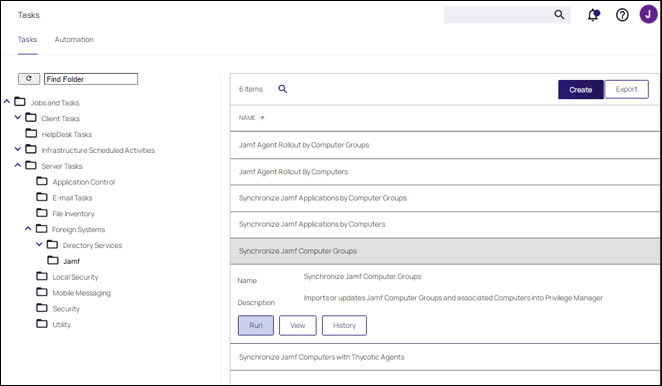
3. Navigate to Admin | Tasks.
4. On the Tasks tab, open the folder tree and select Server Tasks | Foreign Systems | Jamf.
5. Click Synchronize Jamf Computer Groups.
6. Click Run.

7. In the Jamf Collection ID field, select the collection created in step 4 or leave empty to sync all collections.
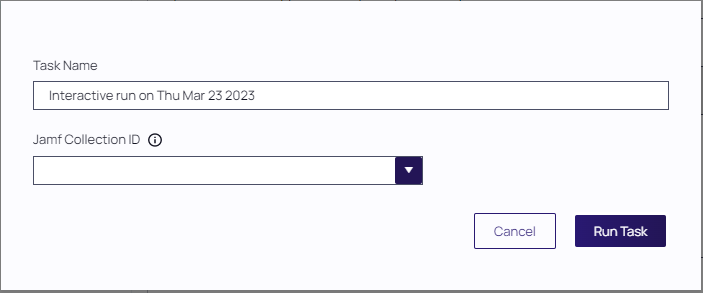
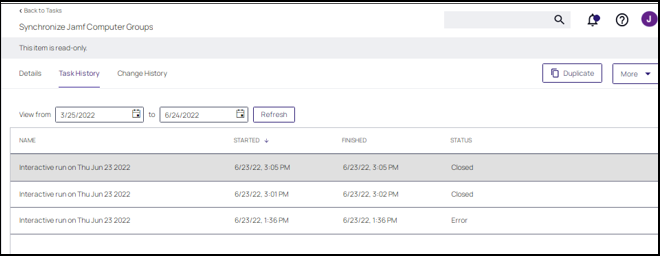
8. Click Run Task. The task executes and Privilege Manager records the task history.
Privilege Manager returns error codes if tasks fail for the following reasons:
-
Jamf connectivity loss
-
Invalid credential or URL
Example: Synchronize Jamf Computer Groups
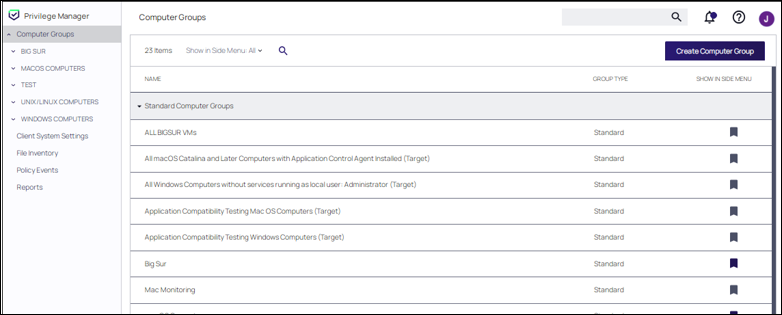
After running the Synchronize Jamf Computer Groups task, you can view the results in your Computer Groups.
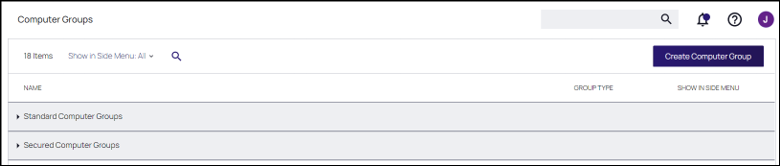
1. From the Privilege Manager left navigation pane, select Computer Groups.
1. Use the scroll bar to navigate the page, expanding the categories as needed. By default, this page displays groups in the Side Menu (or left navigation pane). The drop-down list box indicates In Side Menu. To view the computer groups you imported via the Jamf Connector, change In Side Menu to All or Not in Side Menu; otherwise, you might falsely believe the import failed.
Compare Jamf Server with Import
You can compare if the imported Computer Groups correctly reflect the data on your Jamf Server.
1. Access Jamf Pro and enter your login credentials.
1. Select Computers | Smart Computer Groups or Computers | Static Computer Groups.
All Computers Groups imported into Privilege Manager contain a static list of computers, derived from a Jamf Pro query.
An All BIGSUR VMs group, for example, results from a Jamf Pro query and provides a list of computers that do not originate from Privilege Manager.
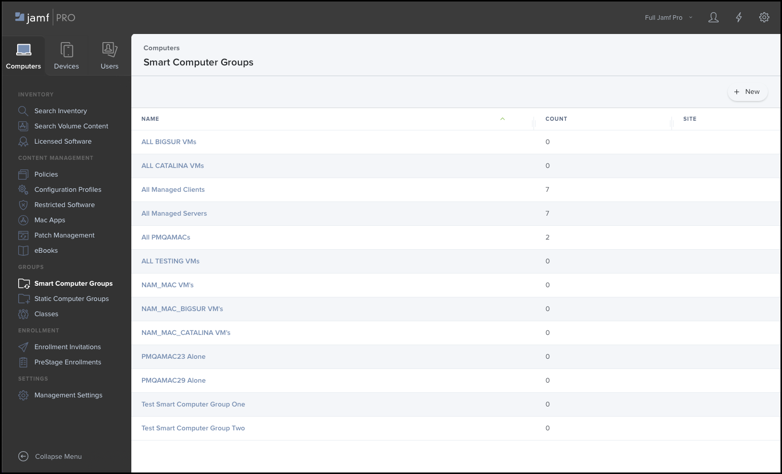
When you import this group into Privilege Manager, the group displays the list of computers that align with the query output above.
1. Run the task.
1. Enter the group name.
1. Choose your integrated Jamf instance, which populates the Jamf System ID field.

The results are visible in Task History.
You can also view ALL BIGSURVMs under Computer Groups | All.
The list updates in Privilege Manager when you run the Synchronize Jamf Computer Groups task manually or, alternatively, this list updates automatically when this task executes at a scheduled date/time.
Resources in Privilege Manager
Computers that do not have the Privilege Manager agent installed do not get created from the Jamf Computer Group Sync task.
To view existing computer resources in Privilege Manager:
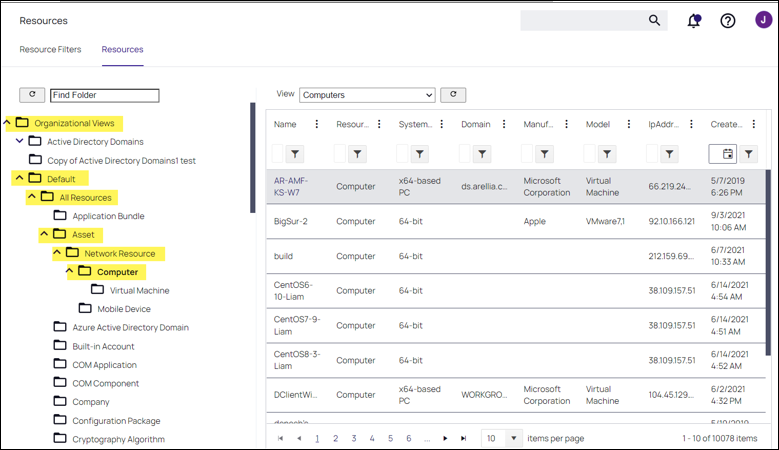
1. Navigate to Admin | Resources.
1. Select the Resources tab.
1. In the left navigation tree, select Organizational Views | Default | All Resources | Asset | Network Resource | Computer.
Select any of the synchronized computer resources (Computer folder) to view imported inventory details.