Integrating Privilege Manager and Secret Server
Supported Integrations
The integration with Secret Server provides the ability to use Secret Server in either of two ways: Authentication and Vaulting.
Authentication
When usingSecret Server for authentication, you can login to Privilege Manager with users that are created and managed in Secret Server.
The Secret Server and Privilege Manager integration for authentication purposes is not support in cloud instances. It is only supported for Privilege Manager on-premises.
Vaulting
Customers can choose to integrate with Secret Server. In Secret Server, Privilege Manager credentials are stored as secrets, and Privilege Manager uses the Secret Server REST API to communicate with Secret Server.
Secret Server vaults on the Delinea Platform cannot be used for integrations with Privilege Manager. You are not able to enter a Delinea Platform URL in the Secret Server foreign system configuration within Privilege Manager. You must use a Secret Server URL from an existing account on Secret Server, not the Delinea Platform.
Setup the Integration
Proper license types need to be set-up, as Secret Server Express (free) does not support the integration with Privilege Manager.
-
Navigate to Admin | Configuration.
-
If you do not have a Secret Server configured, click the Advanced tab. In the General section, locate the Secret Server Vault parameter and click Configure. Provide the required parameters and click Save Changes.
-
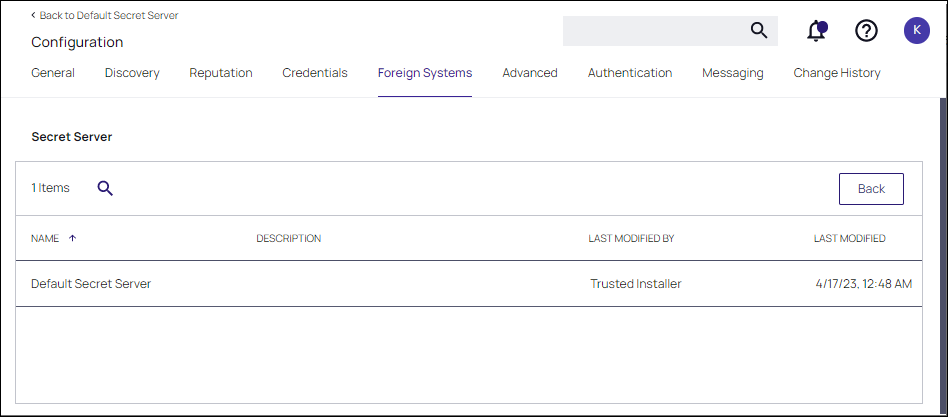
Click the Foreign Systems tab.
-
Select Secret Server from the list.
-
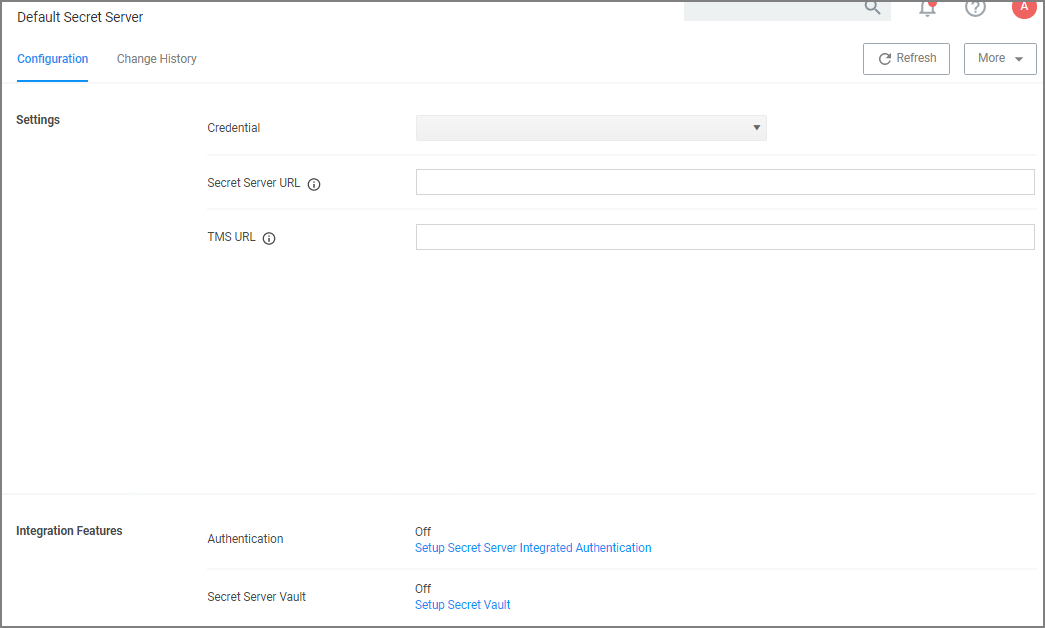
In the Name column, click on Default Secret Server.
-
Under Settings, update the following:
-
Credential: You must create a Secret Server account, then create a Delinea Platform user account with the same username.
Next, log in to the Delinea Platform as this user, which will map this platform user to the application account from Secret Server. From here, you can assign the user permissions in the platform.
The Delinea Platform user needs to have ALL of the following Secret Server permissions:
- Add Secret
- Administer Configuration
- Administer Folders
- Administer Licenses
- Assign Secret Policy
- Create Root Folders
- Deactivate Secret
- Edit Secret
- Own Secret
- View Secret
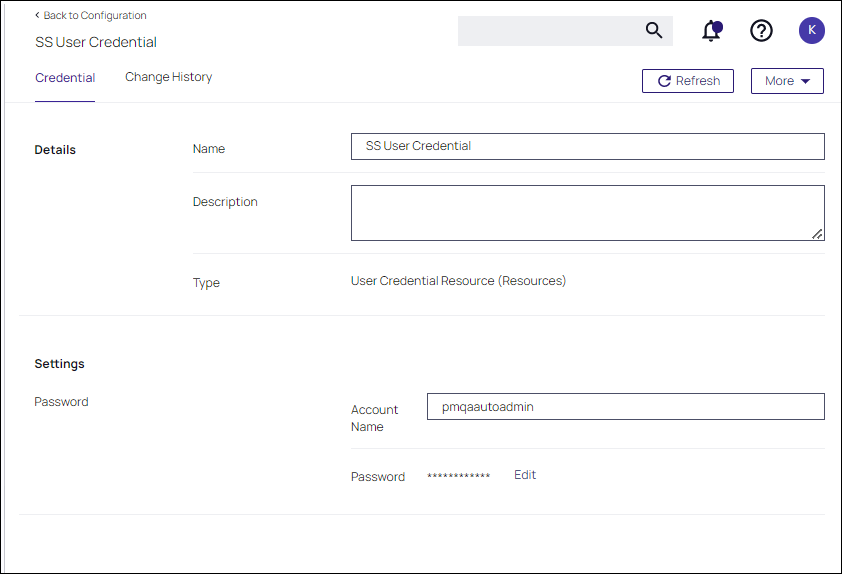
In your Privilege Manager instance, enter the credentials for that user at Admin | Configuration | Credentials. Create/edit the defaultSecret Server credential account to specify which account will be used by Privilege Manager to connect to Secret Server. Depending on your setup, this can be the Default User Credential in Privilege Manager.
-
Secret Server URL: This is the URL that end users use to access Secret Server. HTTPS is required. Also, the validation on this field reaches out to Secret Server using the URL provided. If it can't be reached, or if the Secret Server version is lower than v10.6, there will be a 404 not found validation error. The URL needs to be fully qualified ending with a /.
-
TMS URL: This is the URL to access TMS itself. It is the URL that end users use to access Privilege Manager, minus the
PrivilegeManager/part at the end of the path. This URL also needs to be well formed and fully qualified ending with a/.
-
-
Click Save.
Integrating with Secret Server for Privilege Manager Authentication
-
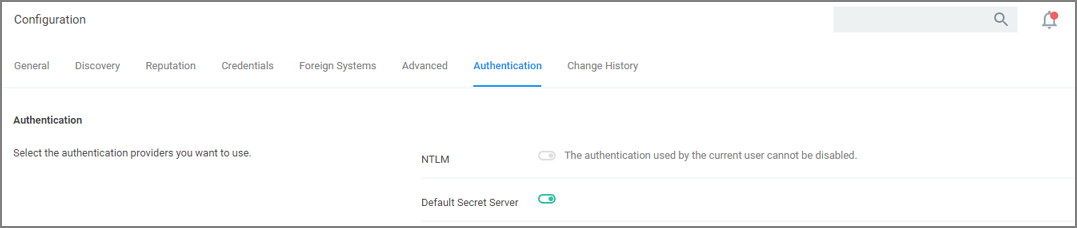
Scroll down to Integration Features | Authentication and enable Secret Server as the authentication provider by clicking the Setup SecretServer Integrated Authentication link.
-
Set the switch for Secret Server to enabled.
-
Click Save Changes.
After these steps the Secret Server Foreign System is ready for use.
Integrating with Secret Server to Store Secrets
This method of vaulting, allows passwords created in Privilege Manager (user credentials, rotating passwords for agents, etc.) to be stored and maintained in Secret Server as secrets.
Documentation for Secret Server can be found at https://docs.delinea.com/online-help/products/secrets/current.
-
In Secret Server, verify Web Services are enabled. Webservices can be enabled at the Administration > Configuration in the General tab.
Verify that under View Webservices the Enable Webservices option is reflecting Yes.
-
In your Privilege Manager instance, select your Secret Server instance on the Foreign System tab at Admin | Configuration.
-
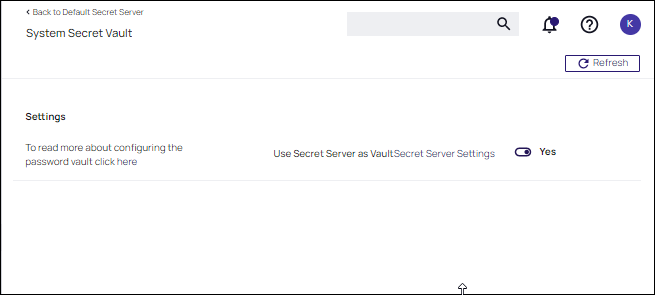
Scroll down to Integration Features | SecretServer Vault and setup Secret Server as the vault by clicking the Setup Secret Vault link.

-
Set Use Secret Server as Vault to Yes. You are prompted to backup the Secret Server database. Once confirmed, a task is automatically scheduled to start migrating the secrets.
Password Migration
After the vault and authentication set-up, all passwords are migrated from Privilege Manager to Secret Server. This migration process may take time.
Important Notes
The migration will create a root folder in Secret Server named Privilege Manager Secrets. Do NOT delete this folder. The folder, by default only has the sync account user as an owner, with no other permissions. The permissions on this folder can be modified to allow help desk users or administrators access to the Secrets. Do NOT remove the sync account user's permissions from the folder.
If desired, the folder can be moved or renamed within Secret Server.
Templates
There are two Templates that Privilege Manager uses to store Secrets in Secret Server. These templates must exist with the proper fields and be marked as active.
-
Password (Template Id: 2): The following fields need to exist on the template:
- Username
- Password
Do NOT mark any other fields in that template as required!
-
Windows Account (Template Id: 6003): The following fields need to exist on the template:
- Machine
- Username
- Password
Do NOT mark any other fields in that template as required!