Setting Up a Certificate for Internal Microsoft CA
This section describes how to create a machine certificate for use with a connector for Privilege Control for Servers. The connector requires a signed certificate and root of trust in order to communicate with the Delinea Platform. You install the certificate onto the computer where you have installed the Delinea Connector.
To create a computer certificate template with an exportable private key
Setting up and exporting a certificate for an internal Microsoft Certificate Authority is described in Microsoft documentation. See Active Directory Certificate Services documentation on the Microsoft Learn website.
To generate a computer certificate for the Delinea Connector:
-
In the server where you are going to create the certificate, open the
mmc.exeprogram. -
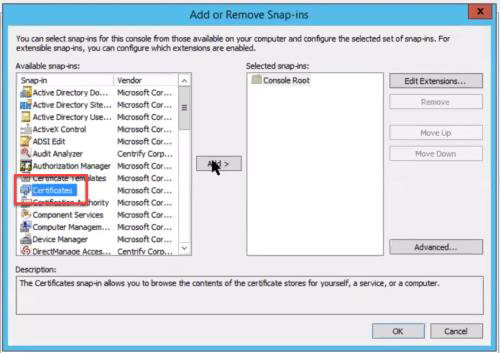
In the MMC program, select File > Add/Remove Snap-ins. Add the Certificates (Computer) snap-in. Click Add.
-
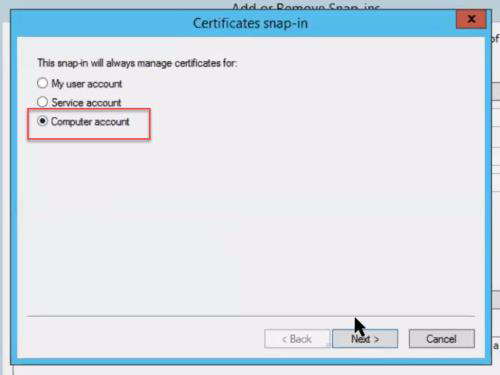
For the Certificates snap-in, choose Computer account. Click Next.
-
In Select computer, keep all the default values. Click Finish, then click OK.
-
Navigate back to the console. In Console Root, right-click Personal, then select All Tasks > Request New Certificate. Click Next on the Certificate Enrollment screen.
-
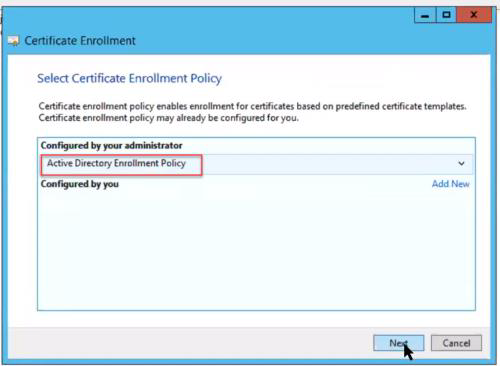
On the Select Certificate Enrollment Policy screen, ensure you have Active Directory Enrollment Policy. Click Next.
-
For Request Certificate, select Computer with Exportable Key and click the hyperlink directly below, More information is required to enroll for this certificate. Click here to configure settings.

-
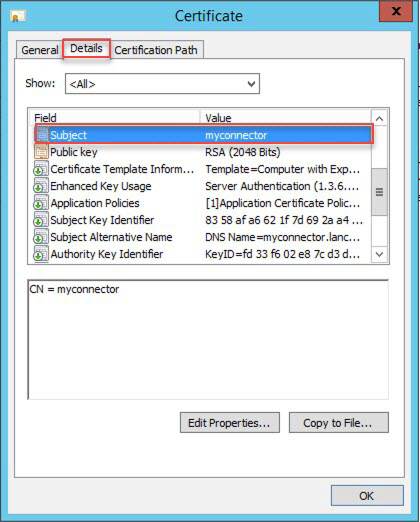
Press Add on both Subject name and Alternative name to move the set values to the right side. Click OK.

To obtain the Subject name and Alternative name, click the certificate details (subject name and subject alternative name).

To export the certificate with the private key
Export the certificate and install it on the computer where you have installed the connector.
-
Under Personal > Certificates, right click the [name of the server] Certificate and select Export.
-
Click Next.
-
On the Export Private Key screen, select Yes, export the private key . Click Next.
-
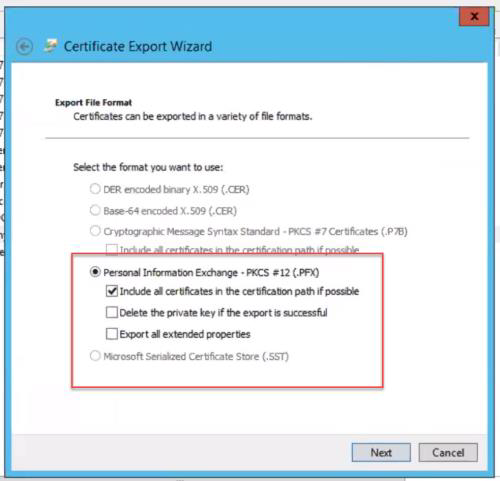
For Export File Format, keep the default value, Personal Information Exchange - PKCS # 12 (.PFX). Click Next.
-
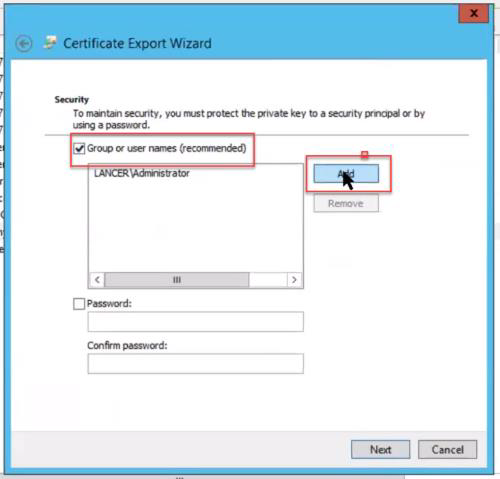
On the Security screen, select Group or user names (recommended). Click Add.
-
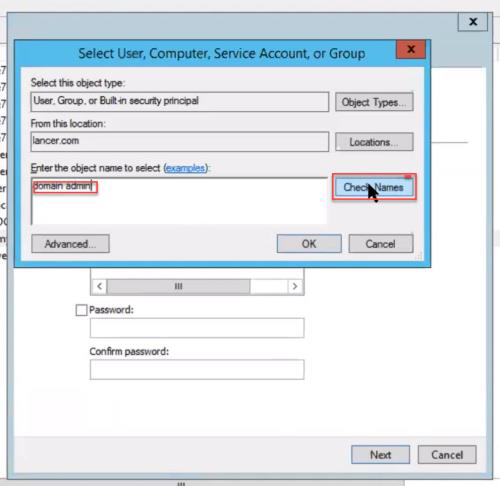
On the Select User, Computer, Service Account, or Group screen, in the field Enter the object name to select (examples), enter domain admin. Click Check Names.
-
Click OK, then click Next.
-
For File to Export, give a name to the file and click Save.
-
Click Next.
Make a note of this location, because you will need it during setup (for example,
c:\delinea\delinea.pfx). -
In the Completing the Certificate Export Wizard screen, click Finish.
-
A message dialog appears to say the export was successful. Click OK.