Okta
This documentation is a detailed guide for setting up single sign-on (SSO) through Okta, leveraging SAML 2.0 or OIDC.
The following procedures require copying and pasting information between Okta and the Delinea Platform. We recommend opening both applications before you begin, and keeping both open until you are finished.
You do not need to configure both OIDC and SAML applications for your integration. Depending on your organization's infrastructure and preferences, you can choose either OIDC or SAML.
Prerequisites
On the Delinea Platform, you need to be an Admin with federation privileges.
Build an Okta SAML Application
-
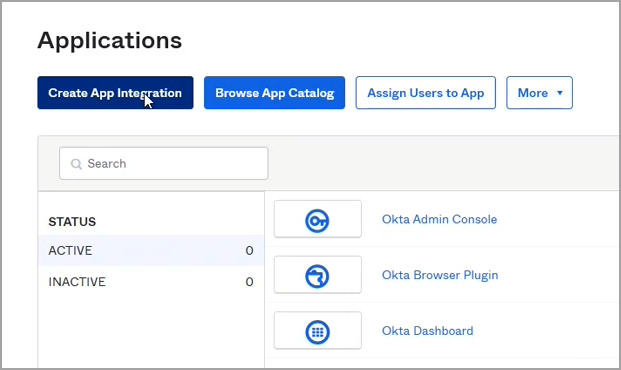
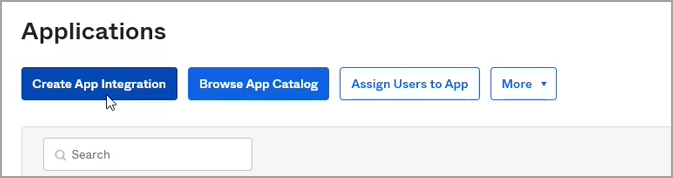
From the Okta left navigation menu, click Applications.
-
On the Applications page, click Create App Integration.
-
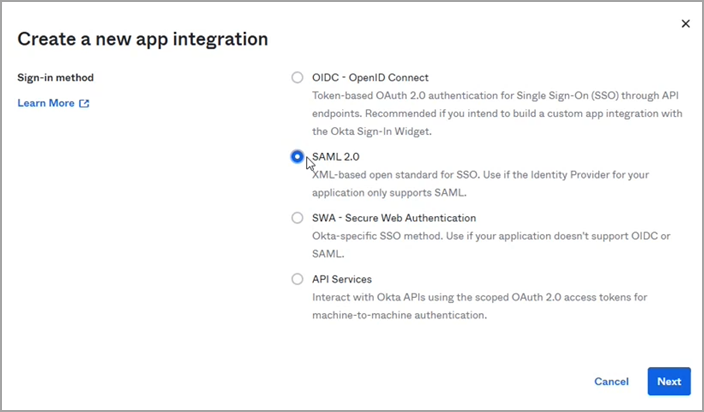
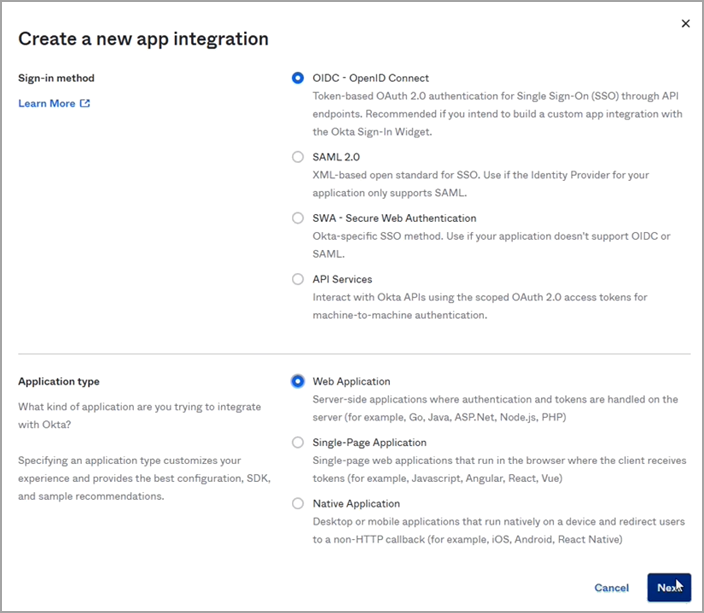
On the Create a new app integration page, select SAML 2.0.
-
Click Next.
-
On the Create SAML Integration page under General Settings, enter a name into the App name field, such as
Okta SAML.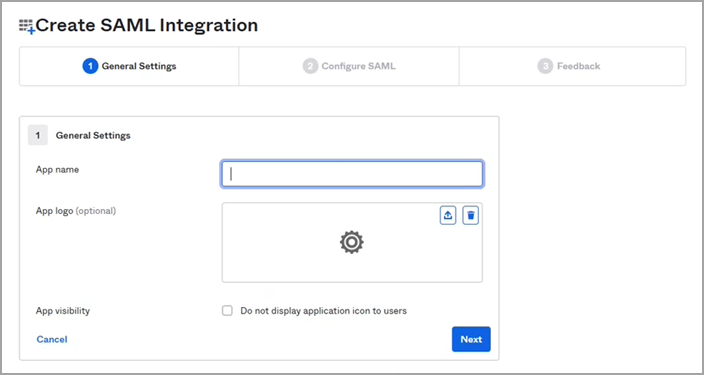
-
Click Next.
-
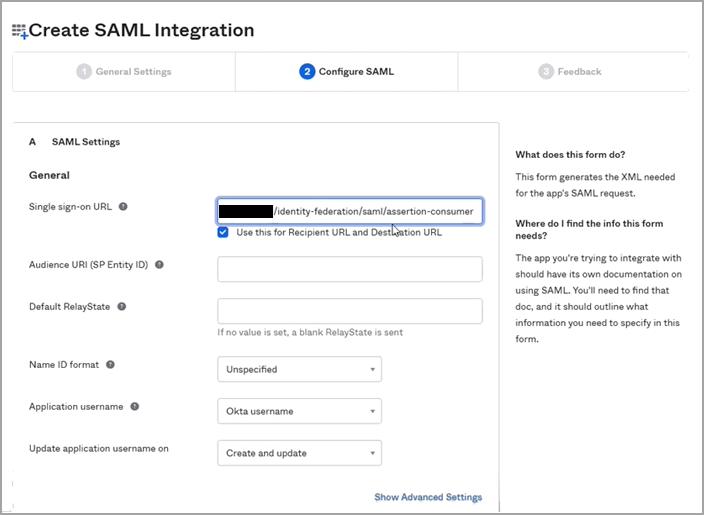
In the SAML Settings section next to Single sign-on URL, paste the following:
https://[HOST-NAME].delinea.app/identity-federation/saml/assertion-consumer -
Replace [HOST-NAME] with the host name you selected when you created your tenant.
-
Next to Audience URI (SP Entity ID), enter something intuitive, such as
Delinea_Federation. -
On the General tab, scroll to the SAML Settings section and click Edit. On the SAML Settings page, you should see one attribute already pre-configured.
-
Click Next to skip editing the name and icon.
-
Scroll down to the Attribute Statements section. Expand the Show legacy configuration section.
For the most up-to-date instructions, see the Okta documentation, How to Map an Attribute From Okta to an Application. -
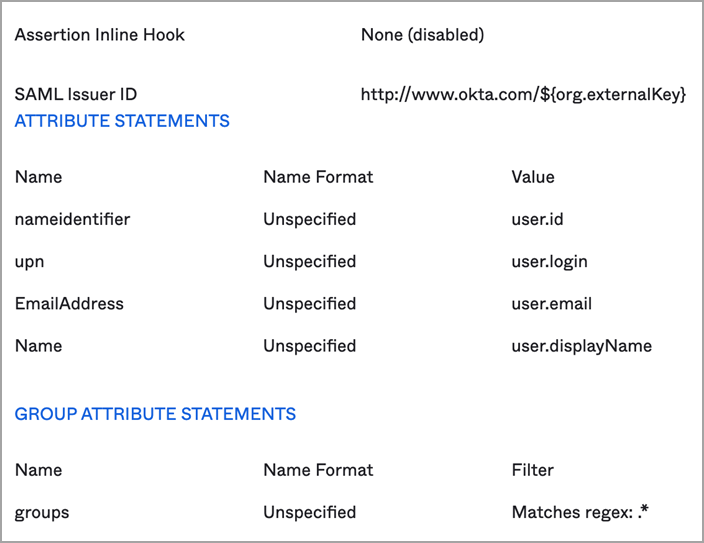
In the Profile attribute statements section, add EmailAddress, Name, nameidentifier, and upn attributes as shown:
Name Value EmailAddress user.email Name user.displayName nameidentifier user.id upn user.login -
Click Next.
-
On the Create SAML Integration page select, I'm an Okta customer adding an internal app with Okta
-
Click Finish
-
On your Okta new SAML application page, click the Assignments tab.
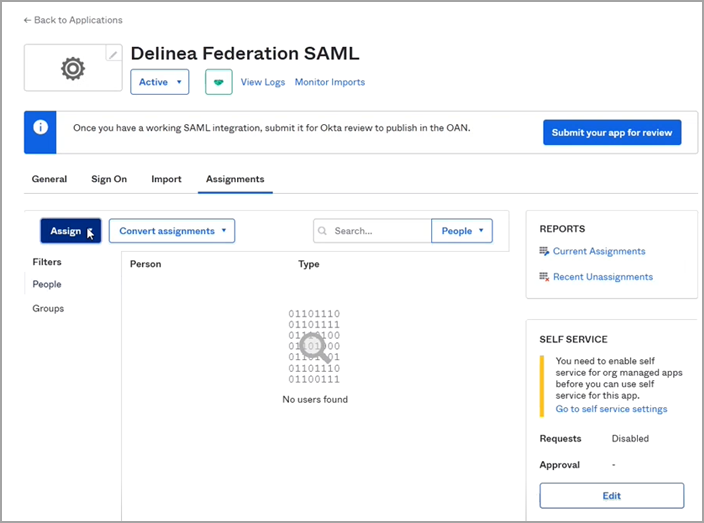
-
Click the Assign drop-down and select Assign to People or Assign to Groups.
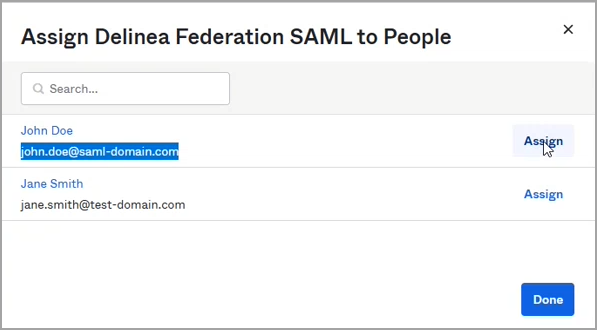
-
In the next dialog box, click Assign next to the user(s) or group(s) you wish to assign to the federation.
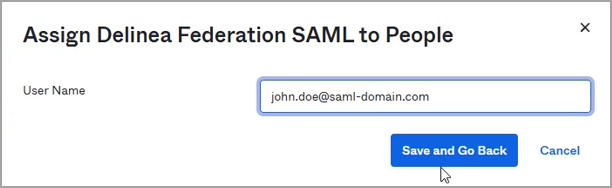
-
Click Save and Go Back.
-
Click Done.
-
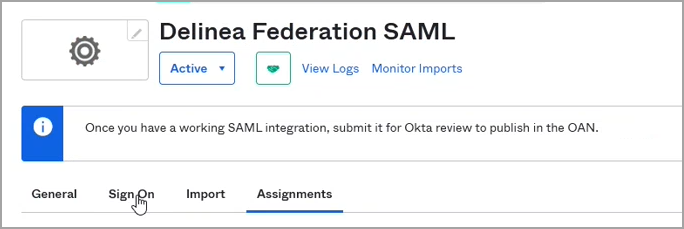
On your Okta new SAML application page, click the Sign-on tab.
-
Scroll down to SAML Signing Certificates.
-
Click the Actions drop-down next to the Active certificate and select Download certificate.
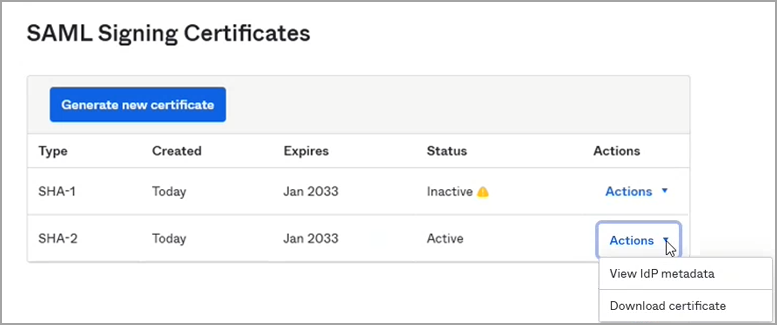
-
Click the Actions drop-down next to the Active certificate and select View IdP metadata.
-
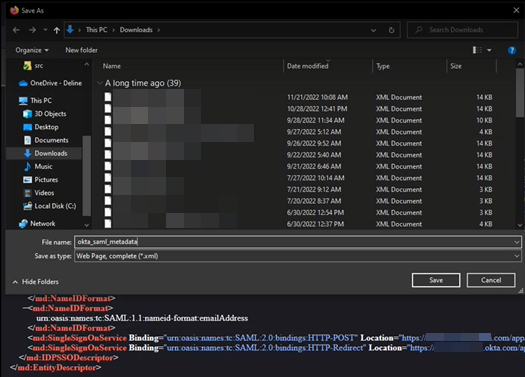
On the IdP metadata screen, right-click and choose Save page as... and select a name to save it as an xml file.
IdP Metadata is an XML-formatted document that contains configuration information necessary for Delinea Federation to authenticate against the identity provider and includes the required endpoint URLs, bindings, and certificates.
-
Navigate to View SAML setup instructions on the Sign On tab and download the X.509 certificate (okta.cert) as shown below.
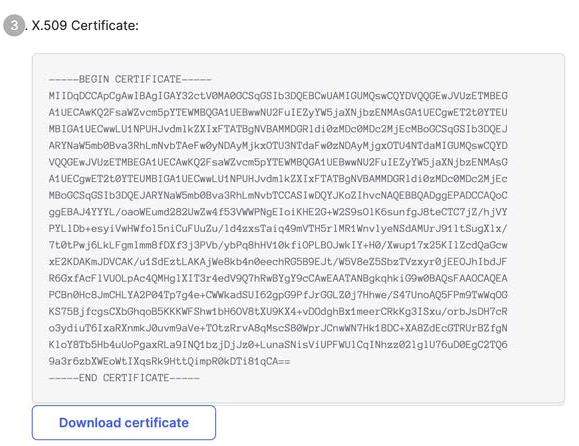
-
Change the file extension to .pem. This will be your IDP certificate to download from the platform interface.
Add the Provider to the Platform
-
Navigate to the Federation Providers page.
-
Click Add Provider.
-
Select SAML from the drop-down menu. The Add Provider page opens.
Settings
In the Settings section, the first fields are automatically populated when you select the SAML provider configuration file and click Apply.
-
SAML provider configuration: Click Select file.
-
Navigate to and select the federation metadata XML file you downloaded.
The word, Apply appears above the right end of the SAML provider configuration field. -
Click Apply. The words Uploaded successfully will appear next to SAML provider configuration, and the empty fields below will be auto-populated:
-
Name: Auto-generated from metadata
-
Protocol: SAML (auto-filled)
-
Status: Disabled
-
Entity ID [example: https://sts.windows.net/808444af-4011-40d5-9b0a-a9a5c95f88e9/]
-
IDP Certificate: Click Select File, then navigate to and select the Signing Certificate file you downloaded, to populate the following fields:
-
Signature
-
Algorithm
-
Thumbprint
-
Not valid before
-
Not valid after
-
Issuer
-
-
-
IDP Login URL: Paste in the Login URL from your Okta application by selecting the Sign on tab and copying the Sign On URL.
-
IDP Logout URL: Paste in the Logout URL from your Okta application.
-
Platform Callback URL: https://[HOST-NAME].delinea.app/identity-federation/saml/assertion-consumer
Copy the Platform Callback URL to paste into the Sign-in redirect URIs field in your new Okta application. -
Prompt: See Prompting for Re-authentication (OIDC only) under Federation Management.
-
Platform Logout URL: https://[HOST-NAME].delinea.app/identity-federation/saml/logout-consumer
-
Status: Select the box next to Enabled.
Advanced Settings
See Switching Federation Providers under Federation Management.
Attribute Mappings
See Attribute Mappings under Federation Management.
Group Mappings
-
Click the General tab.
-
Edit the SAML integration and click Next to configure the SAML settings.
-
Scroll down to Group Attribute Statements
-
Set the following:
- Name:
groups - Name format:
Unspecified - Filter:
Matches regex: .*
This procedure affects all groups assigned to this application. If you want to apply it to a specific group or groups, change the filter as appropriate. More information is available from the Okta website.
- Name:
-
Click Next and Save.
Also see Mapping Federated Groups under Federation Management.
User Mappings
See Mapping Federated Users under Federation Management.
Domains
-
Click Add Domain and enter the domain from the email addresses of the users you are including in this federation.
When all required fields are populated, click Add Provider.
Build an Okta OIDC Application
The following procedure requires copying and pasting information between Okta and the Delinea Platform. We recommend opening both applications before you begin, and keeping both open until you are finished.
-
From Okta, click Applications from the left navigation menu.
-
Click Create App Integration.
-
In the Create new app integration dialog, next to Sign-in method, select OIDC - OpenID Connect.
-
Next to Application Type, select Web Application.
-
Click Next.
-
In the next dialog, next to App integration name, enter a name, such as
Okta OIDC. -
In the Assignments section, select one of the three choices.
-
Click Save.
Add the Provider to the Platform
-
Navigate to the Federation Providers page.
-
Click Add Provider.
-
Select OIDC from the drop-down menu. The Add Provider page opens.
Settings
- Name: Enter a unique name.
- Status: Select the box next to Enabled.
- Endpoint URL: Paste in the Okta domain name copied from your Okta application page. You might need to add https:// to the beginning.
- Client ID: Paste in the Client ID copied from your Okta new OIDC application page.
- Client Secret: Paste in the Client Secret copied from your Okta new OIDC application page.
- Platform Callback URL: Copy the Callback URL. In your Okta new OIDC application, click Add URI and paste the copied callback URL into the Sign-in redirect URIs field.
Attribute Mappings
In the upn field, change the text to preferred_username.
Also see Attribute Mappings under Federation Management.
Group Mappings
From Your Okta Application
-
Log into the Okta Management site.
-
In the Admin Console, go to Applications > Applications.
-
Enter the name of the app integration in the Search field.
-
Click the Assignments tab.
-
Click Assign and select Assign to Groups.
-
Locate the group you want to assign the app integration to and click Assign.
-
Confirm the data is correct in the Assign <
application name> to Groups dialog. -
Click Save and go back. The Assigned button for the group is disabled to indicate the app integration is assigned to the group.
-
(Optional) Repeat to assign the app integration to additional groups.
-
Click Done.
From the Platform
- Click Add Group Mapping.
- Attribute: Enter groups (most other IdPs also use groups).
- Source Name: Add the name of the appropriate group from Okta.
- Group: Select a group from the pull-down menu (you can use the group attribute to map more than one group).
Also see Mapping Federated Groups under Federation Management.
User Mappings
See Mapping Federated Users under Federation Management.
Domains
-
Click Add Domain and enter the domain from the email addresses of the users you are including in this federation.
-
Optionally enable the Status of the provider.
-
When all required fields are populated, click Add Provider.