AD FS
This documentation is a detailed guide for setting up single sign-on (SSO) through Active Directory Federation Services (AD FS) leveraging SAML 2.0.
You do not need to configure both OIDC and SAML applications for your integration. Depending on your organization's infrastructure and preferences, you can choose either OIDC or SAML.
The following procedures require copying and pasting information between AD FS and the Delinea Platform. We recommend opening both applications before you begin, and keeping both open until you are finished.
This procedure requires managing two XML files by the same name: FederationMetadata.xml. When downloading them, be careful to avoid overwriting the first one with the second one, and to upload them correctly.
The first file, mentioned immediately below, is downloaded from https://{FQDN}/FederationMetadata/2007-06/FederationMetadata.xml. It is then uploaded to the platform on the Add Provider page.
The second file, mentioned further down, is downloaded from the platform's Azure ADFS page and then uploaded to the Azure ADFS management console on the Select Data Source page.
Prerequisites
On the Delinea Platform, you need to be an Admin with federation privileges.
Setting Up AD FS with SAML
-
Connect to your AD FS server using the following URL:
https://{FQDN}/FederationMetadata/2007-06/FederationMetadata.xml -
Save the file, FederationMetadata.xml to a known location.
If your metadata file is not available at this URL, open your AD FS management console, and under AD FS > Service > Endpoints, ensure that the Federation Metadata endpoint is enabled.
Add the Provider to the platform
-
Log on to the platform.
-
Navigate to the Federation providers page.
-
On the Federation Providers page, click Add Provider and select SAML from the drop-down menu.
-
On the Add Provider page next to SAML provider configuration, click Select file.
-
Find and select the FederationMetadata.xml file you downloaded from
https://{FQDN}/FederationMetadata/2007-06/FederationMetadata.xml, then click Upload SAML configuration. -
On the SAML Provider Settings page, click Edit to update the data that was auto-generated from metadata.
-
Update the Name to Azure ADFS.
-
Optionally, select the Enabled box next to Status.
-
In the Advanced Settings section:
-
Select the box next to Customize Issuer Sent To IDP (you can leave the field as is, but the option must be enabled).
-
Select the box next to Sign Request.
-
Next to Request signing certificate, click Select file.
-
Browse to and select a valid pfx file.
-
Enter your pfx password in the Password field.
-
-
In the Domains section, add one or more domains that should be managed by this SAML provider.
-
Click Save.
-
Navigate back to the Federation providers page.
-
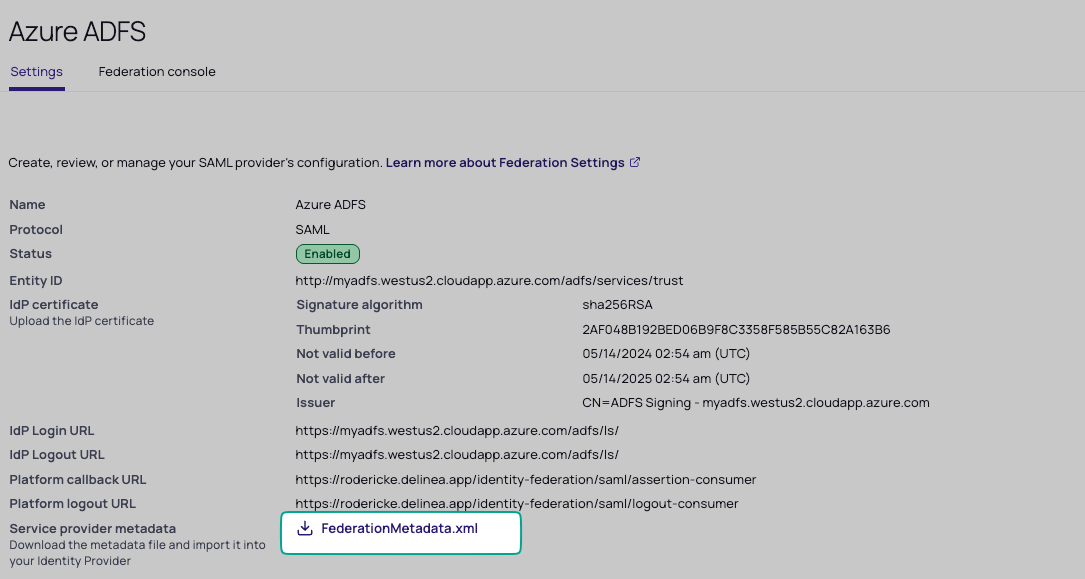
Select Azure ADFS.
-
On the Settings tab, next to Service provider metadata, click to download the second FederationMetadata.xml file.
Initial AD FS Setup
-
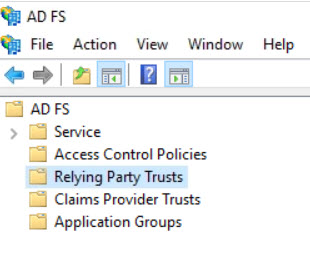
Open the AD FS Management console.
-
From the left tree view, select Relying Party Trusts.
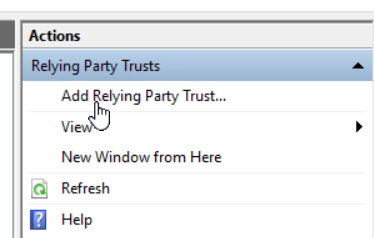
-
From the right panel, click Add Relying Party Trust...
-
Select Claims aware.
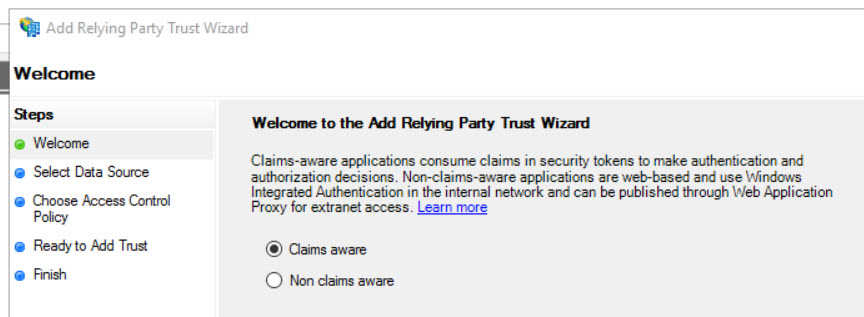
-
Click Start.
-
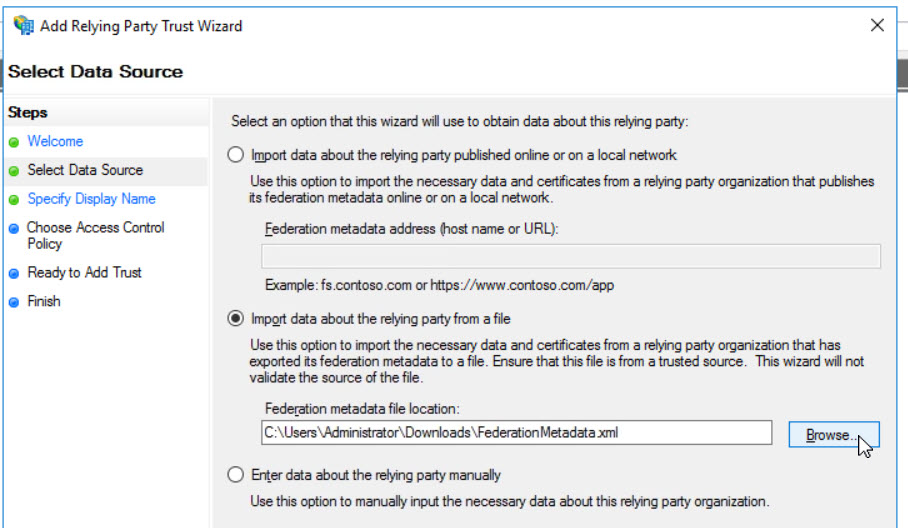
Select Import data about the relying party from a file.
-
Click Browse to select the xml file you downloaded from the platform.
-
Click Next.
-
Enter a meaningful Display name.
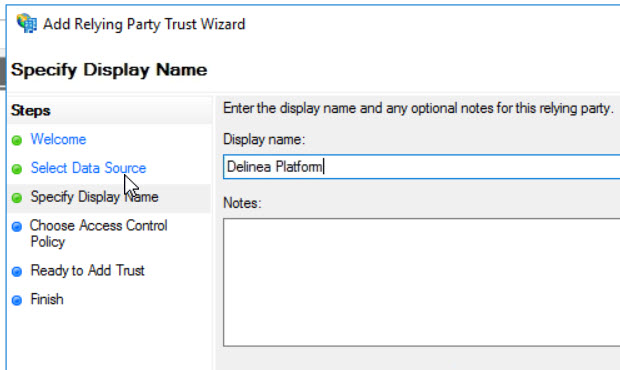
-
Click Next.
-
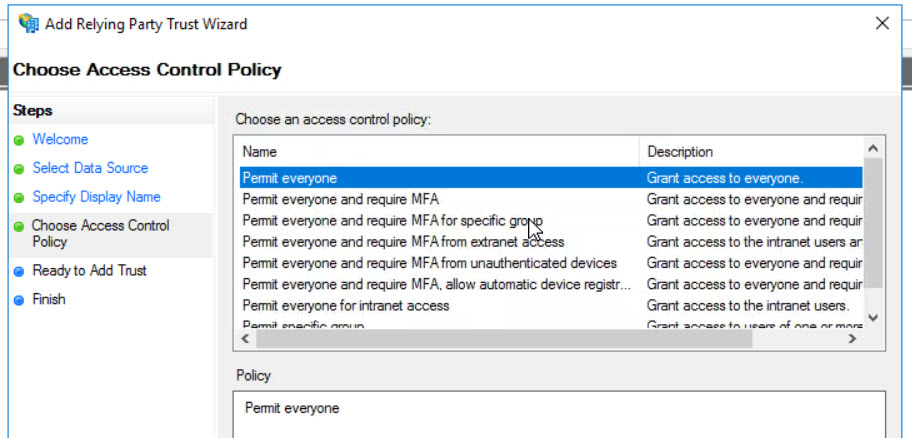
Choose an access control policy such as Permit Everyone, and click Next.
-
On the Ready to Add Trust screen, click Next.
-
Ensure that the box is selected next to Configure claims issuance policy for this application.
-
Click Finish.
Configure assertion attributes
-
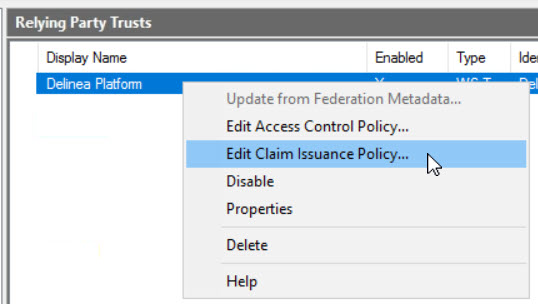
Right click the newly created Relying Party Trust, and click Edit Claim Issuance Policy.
-
From the Claim Issuance Policy editor, click Add Rule.
-
Select Send LDAP attributes as Claims.
-
Click Next.
-
Enter a meaningful rule name (e.g. Delinea Platform Claims).
-
For Attribute Store, select Active Directory (or any LDAP server you may use).
-
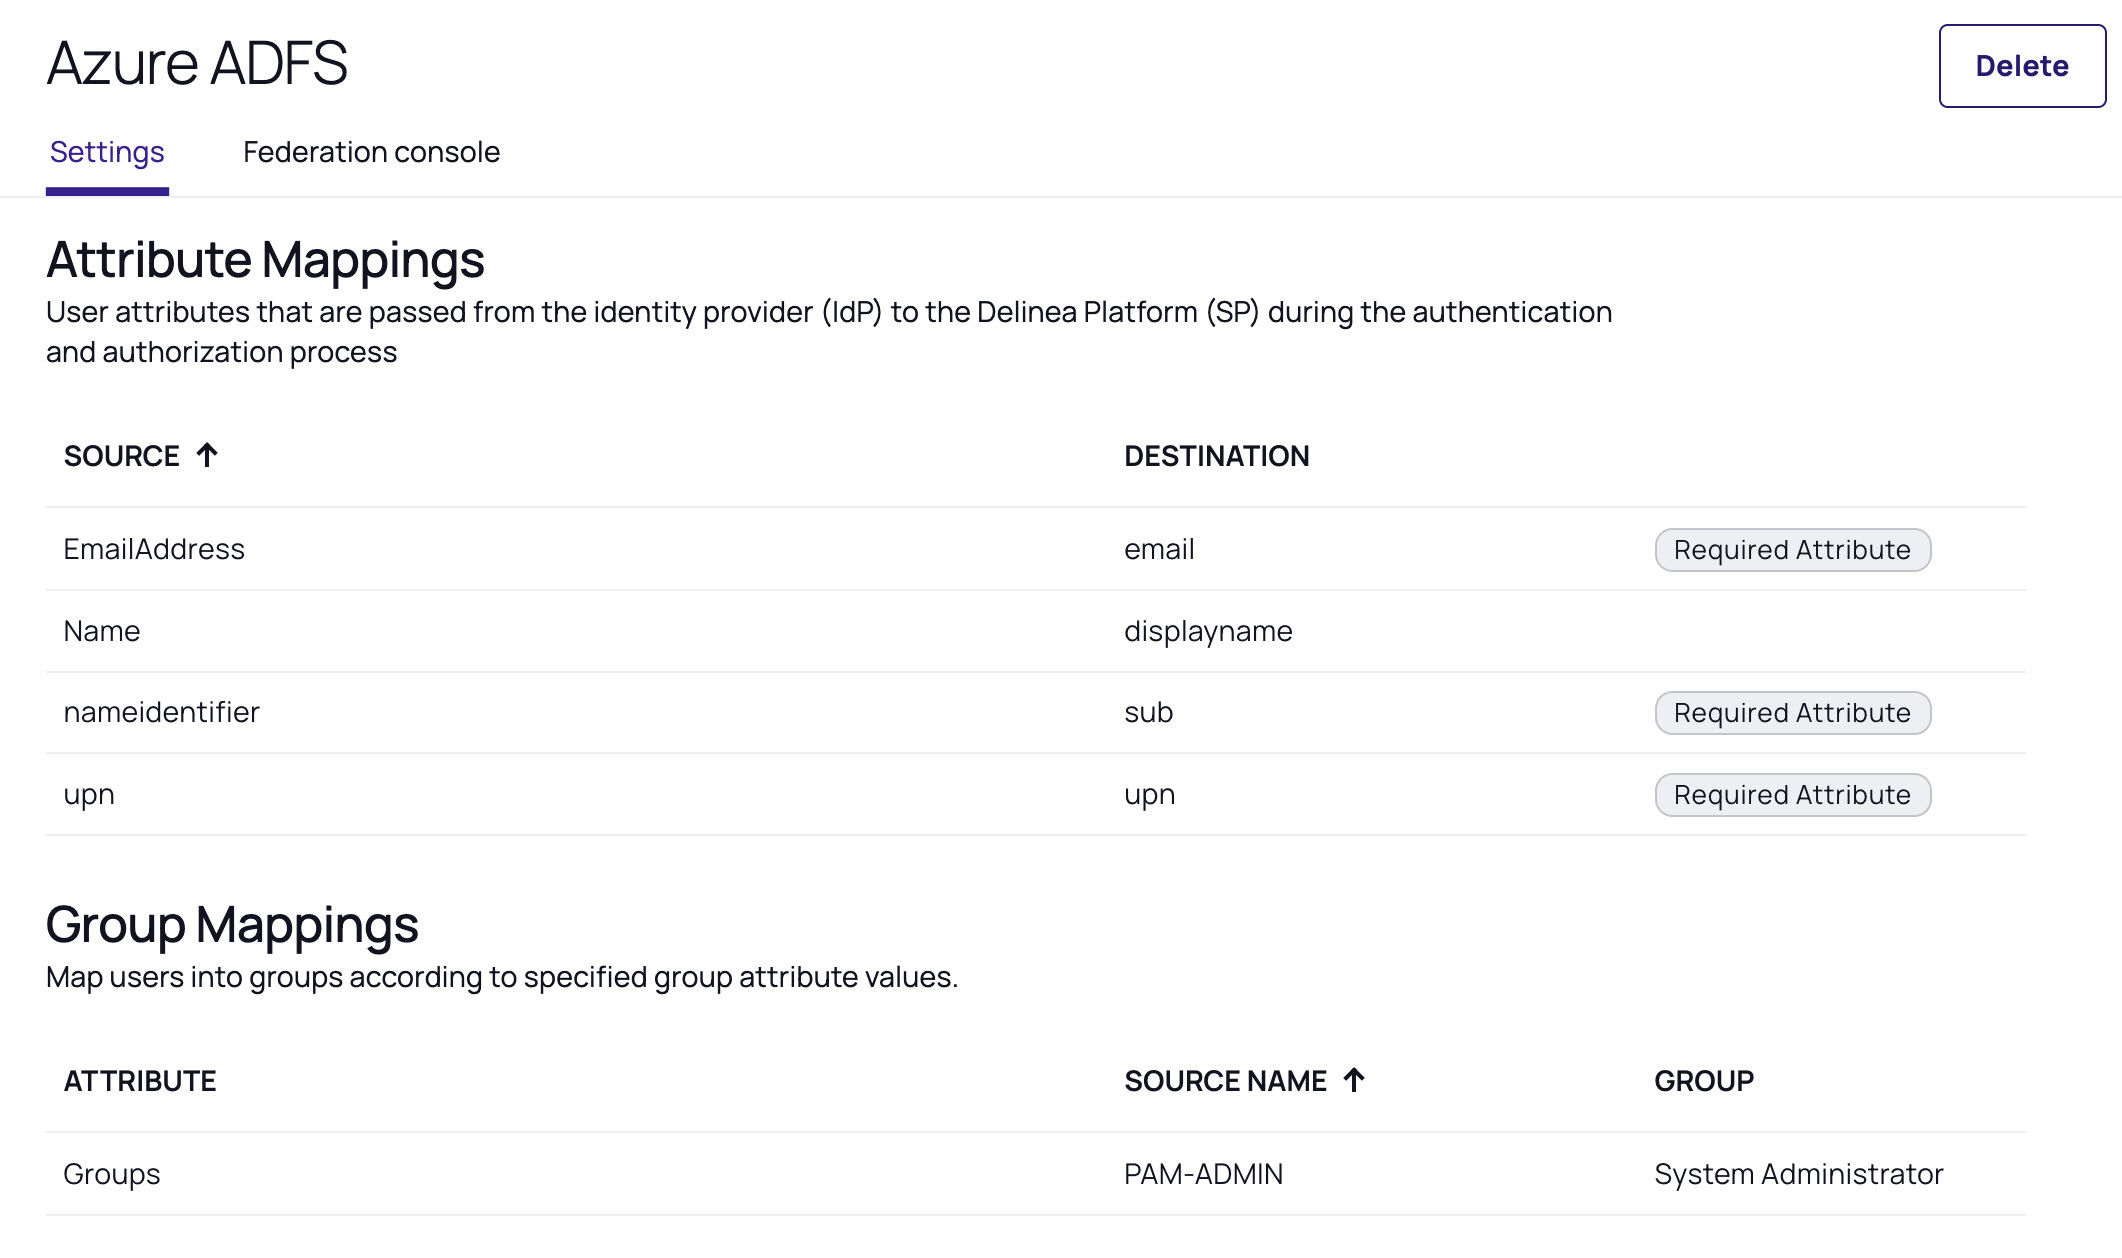
Map attributes from your directory to the claim names expected by the platform. By default, the platform expects the following claims:
-
EmailAddress: email. The user's email address.
-
Name: displayname. The user's name for display purposes (optional, but recommended).
-
nameidentifier: sub. The user's unique identifier.
-
upn: upn. User Principal Name. The user account logon name.
Attribute Mappings
You can add or modify expected claims from the platform federation settings, under Attribute Mappings.
If you want to leverage the group mapping feature and give different permissions to the authenticated user based on the user's groups, you can also add a groups claim or similar and map it to the Token Groups - Unqualified Names AD attribute. From the platform, go into your Federation settings and configure Group Mappings.
-
-
Below is an example that grants Delinea Platform admin rights to any user belonging to the PAM-ADMIN group:
-
Click OK, then click OK again.
Add the Provider to the Platform
-
Log on to the platform.
-
Navigate to the Federation providers page.
-
On the Federation Providers page, click Add Provider and select SAML from the drop-down menu. The Add Provider page opens.
Settings
In the Settings section, the first fields are automatically populated when you select the SAML provider configuration file and click Apply.
-
Next to SAML provider configuration, click Select file.
-
Find and select the AD FS metadata file you downloaded.
-
Click Upload SAML configuration. The word, Apply appears above the right end of the SAML provider configuration field.then
-
Click Apply. The words Uploaded successfully will appear next to SAML provider configuration, and the empty fields below will be auto-populated:
-
Name: Auto-generated from metadata
-
Protocol: SAML (auto-filled)
-
Status: Disabled
-
Entity ID [example: https://sts.windows.net/808444af-4011-40d5-9b0a-a9a5c95f88e9/]
-
IDP Certificate: Click Select File, then navigate to and select the Signing Certificate file you downloaded, to populate the following fields:
-
Signature
-
Algorithm
-
Thumbprint
-
Not valid before
-
Not valid after
-
Issuer
-
-
-
IDP Login URL: Paste in the Login URL from your new IdP SAML application.
-
IDP Logout URL: Paste in the Logout URL from new IdP SAML application.
-
Platform Callback URL: https://[HOST-NAME].delinea.app/identity-federation/saml/assertion-consumer Copy the Platform Callback URL to paste into the appropriate field in your new IdP SAML application.
-
Platform Logout URL: https://[HOST-NAME].delinea.app/identity-federation/saml/logout-consumer
-
Status: Select the box next to Enabled.
Advanced Settings
-
Select the box next to Customize Issuer Sent To IDP (you can leave the field as is, but the option must be enabled).
-
Select the box next to Sign Request.
-
Next to Request signing certificate, click Select file.
-
Browse to and select a valid pfx file.
-
Enter your pfx password in the Password field.
Also see Switching Federation Providers under Federation Management.
Attribute Mappings
See Attribute Mappings under Federation Management.
Group Mappings
See Mapping Federated Groups under Federation Management.
User Mappings
See Mapping Federated Users to Active Directory under Federation Management.
Domains
-
Click Add Domain and enter the domain from the email addresses of the users you are including in this federation.
-
Optionally enable the Status of the provider.
-
When all required fields are populated, click Add Provider.