Prerequisite for accessing Delinea PAS events
The first task that you must perform before accessing Delinea PAS events is to configure the OAuth tenant. For detailed steps, see Setting Up the SIEM User and the OAuth App on the Tenant. After you complete the configuration, you will have created the following:
-
SIEM user
-
OAuth app
-
SIEM scope for accessing Redrock and query
Setting up the SIEM user and the OAuth app on the tenant
To set up the SIEM user and OAuth app
-
In the Admin Portal, open the Apps tab and click Web Apps.
-
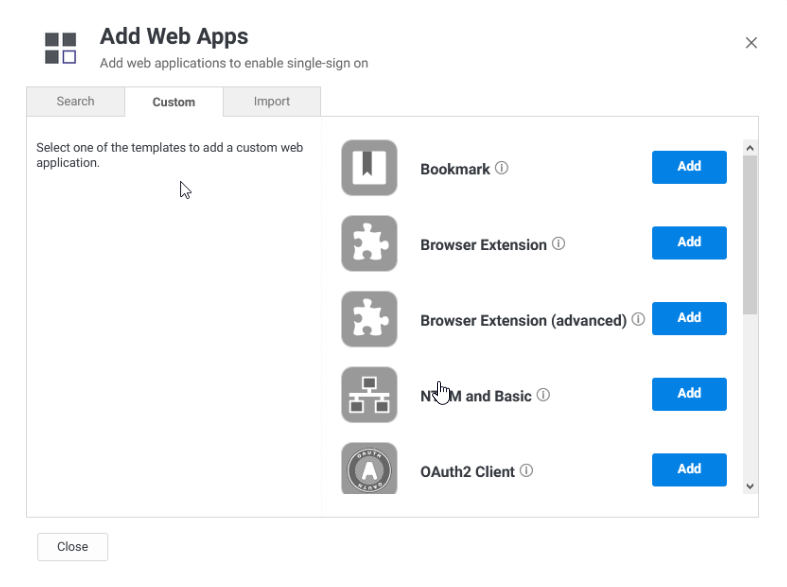
Click Add Web Apps.
- Select the Custom tab and click Add for OAuth2 Client.
Setting Up the SIEM User and the OAuth App on the Tenant
To set up the SIEM user and OAuth app:
- In the Admin Portal, open the Apps tab and click Web Apps.
- Click Add Web Apps.
- Select the Custom tab and click Add for OAuth2 Client.
- When prompted to add the OAuth2 Client web app, click Yes
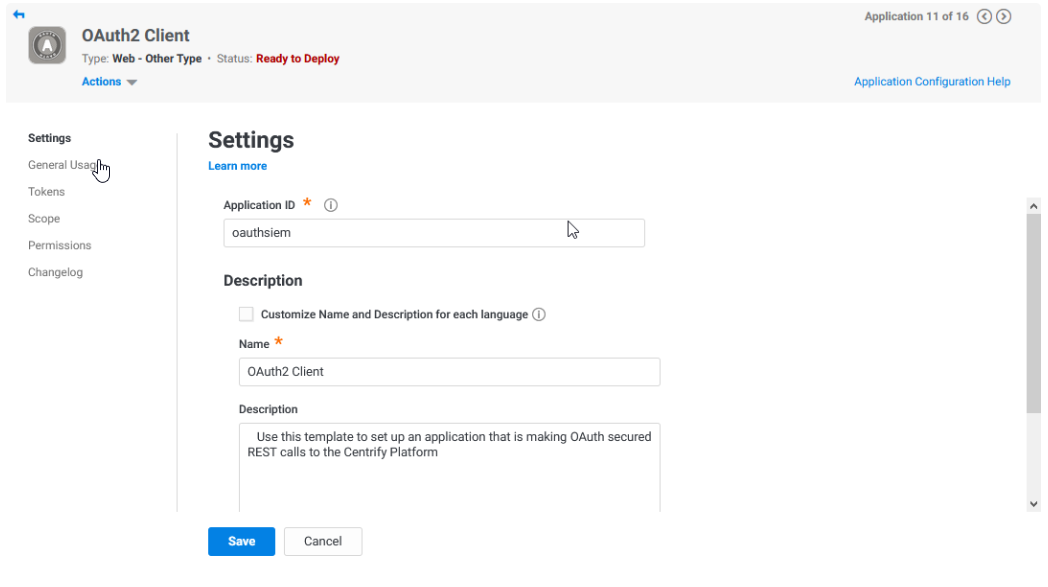
- Navigate back to the Web Apps screen and click OAuth2 Client to open the app.
- On the Settings tab, enter oauthsiem for the Application ID
- On the General Usage tab, leave the defaults as shown
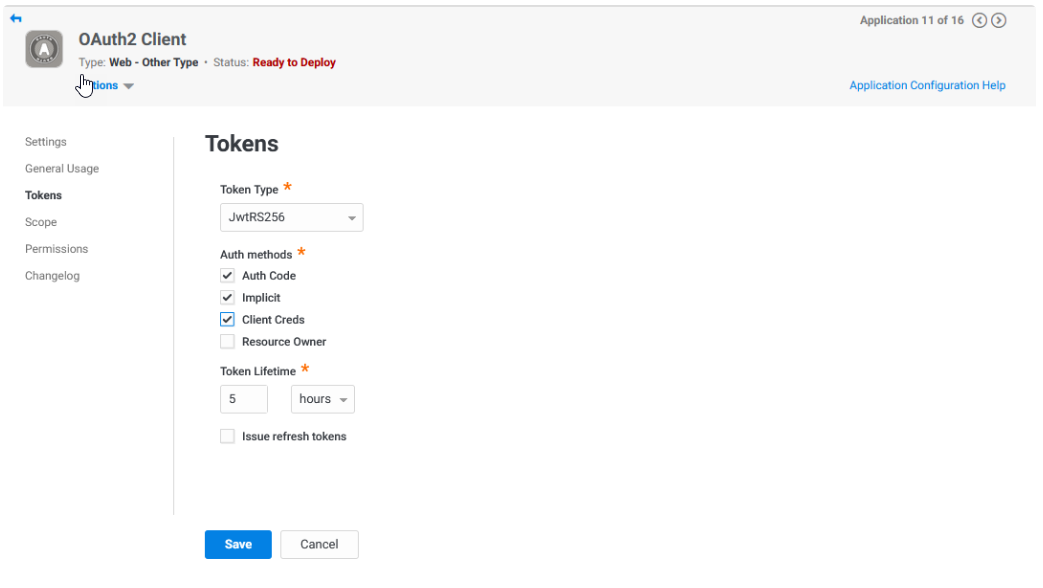
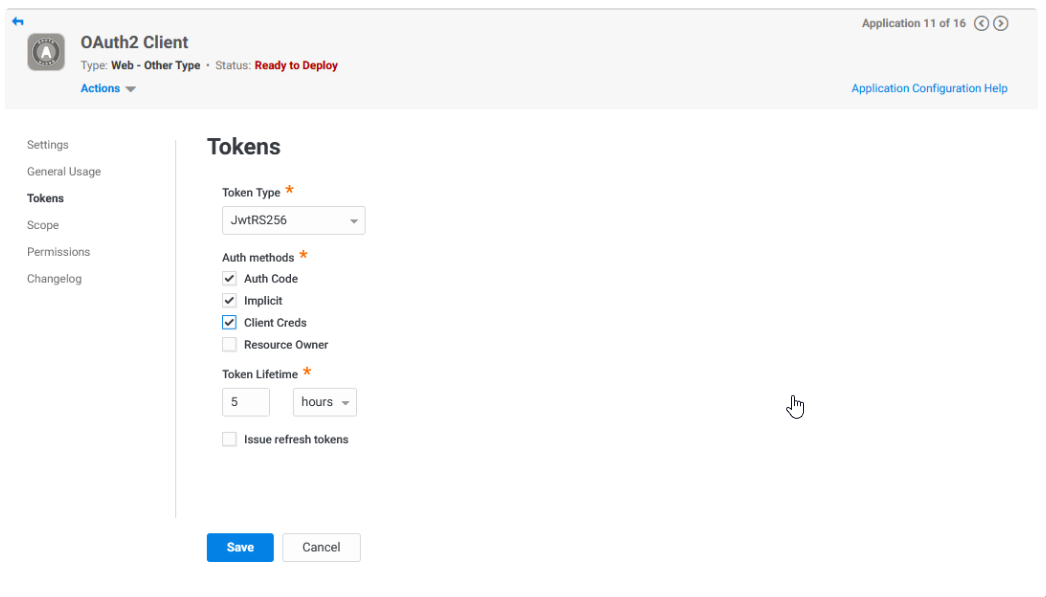
- On the Tokens tab, under Auth methods, check Client Creds
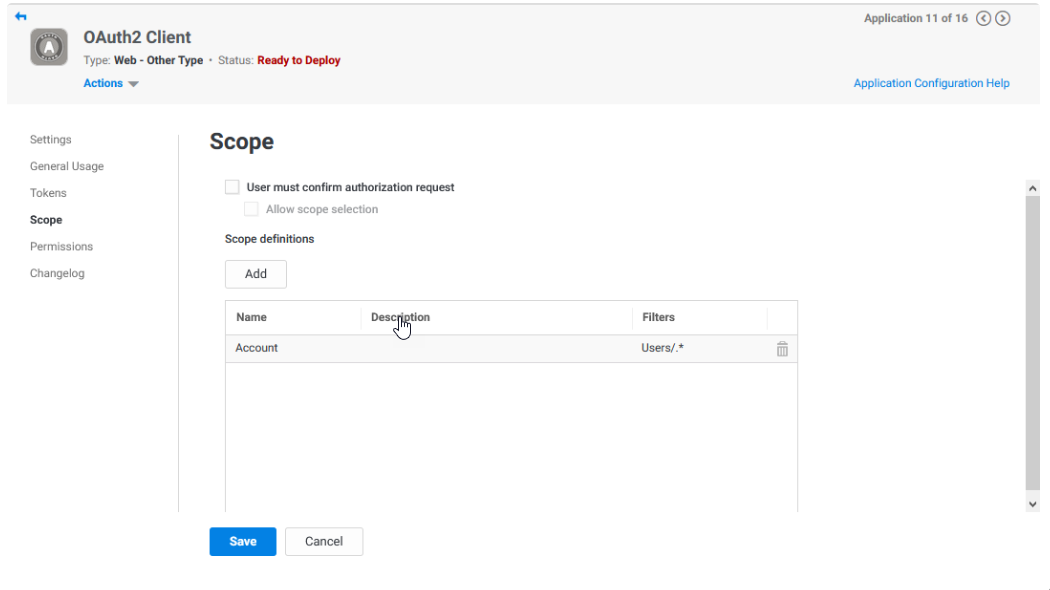
- On the Scope tab, under Scope definitions, click Add to add a new scope
-
On the Scope definitions dialog:
-
In the Name field, enter siem.
-
Under Allowed REST APIs, click Add, and enter Redrock/query.
-
Click Save.
-
-
Click Save to save the OAuth2 Client changes.
-
From the main menu, open Access and select the Users tab.
-
Click *Add User to add a new user.
-
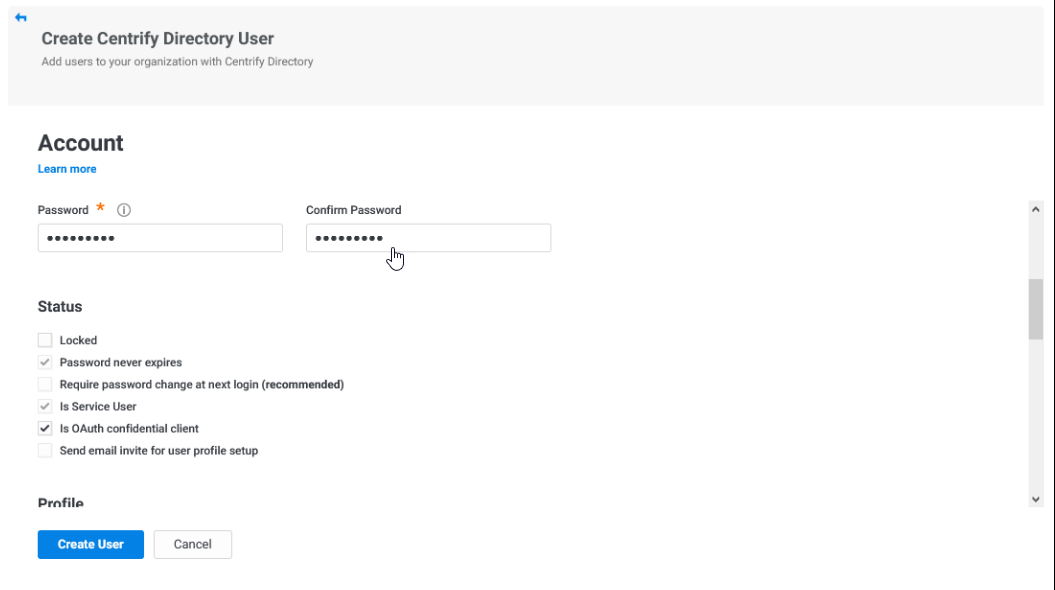
On the Create Delinea Directory User page, fill out the following fields:
-
For the Login Name, enter siemuser.
-
For the Suffix, select centrify.com (or leave as is).
-
For Email Address and Display name, enter the user's email address and full name.
-
Scroll down to the other account fields:
-
For the Password and Confirm Password, enter the password of your choice. The password must be between 4 to 64 characters long and contain at least one digit.
-
Under Status, check Is OAuth confidential client. This selection should automatically check Password never expires.
-
Click Create User to create the new user.
-
-
From the main menu, select the Roles tab and click Add Rule.
-
On the service account page:
-
On the Description tab enter: service account for the Name field. This entry serves as the role name.
-
On the Members tab, search for the siemuser that you created earlier and select its checkbox to add the new member.
-
Click Add.
-
-
On the Administrative Rights page, click Add to open the Add Rights list.
-
Check Read Only System Administration and click Add.
-
Check Read Only System Administration and click Save.
-
Perform final checks to ensure:
-
On the Users tab, the siemuser is shown.
You may need to check All Users to ensure you are shown the full list of users.
-
When you select siemuser and click on the Roles section, service account is listed.
-
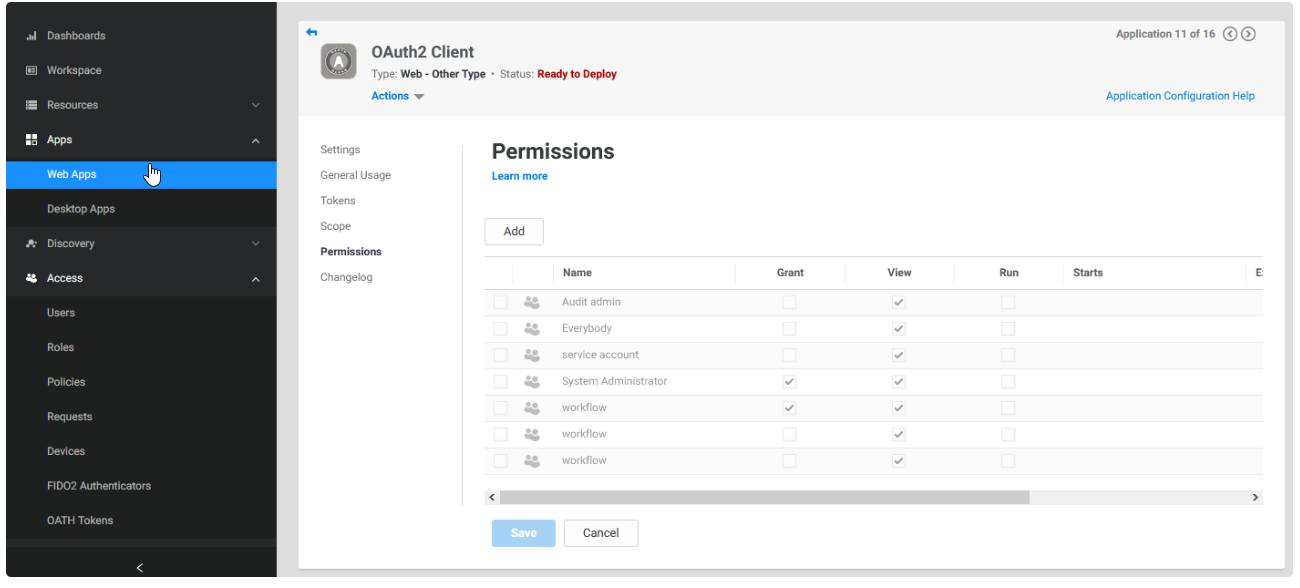
Select Web Apps > OAuth2 Client > Permissions . Ensure the permissions for the service account role is shown.
-
Select the Tokens tab and ensure Client Creds is checked under Auth methods.
-