Configuring Tenable.io for Privileged Access Service
To configure Tenable.io for Delinea PAS, perform the following steps:
Configuring Tenable.io With Delinea PAS (Windows)
Complete the following steps to configure Tenable.io with Privileged Access Service using Windows.
Requirements
-
Tenable.io account.
-
Delinea PAS account.
-
Required User Role: Standard, Scan Manager, or Administrator.
To integrate Tenable.io with Privileged Access Service using Windows credentials:
-
Log into Tenable.io. In the top navigation bar, click Scans. The MyScans page appears.
-
Click + New Scan. The Scan Templates page appears.
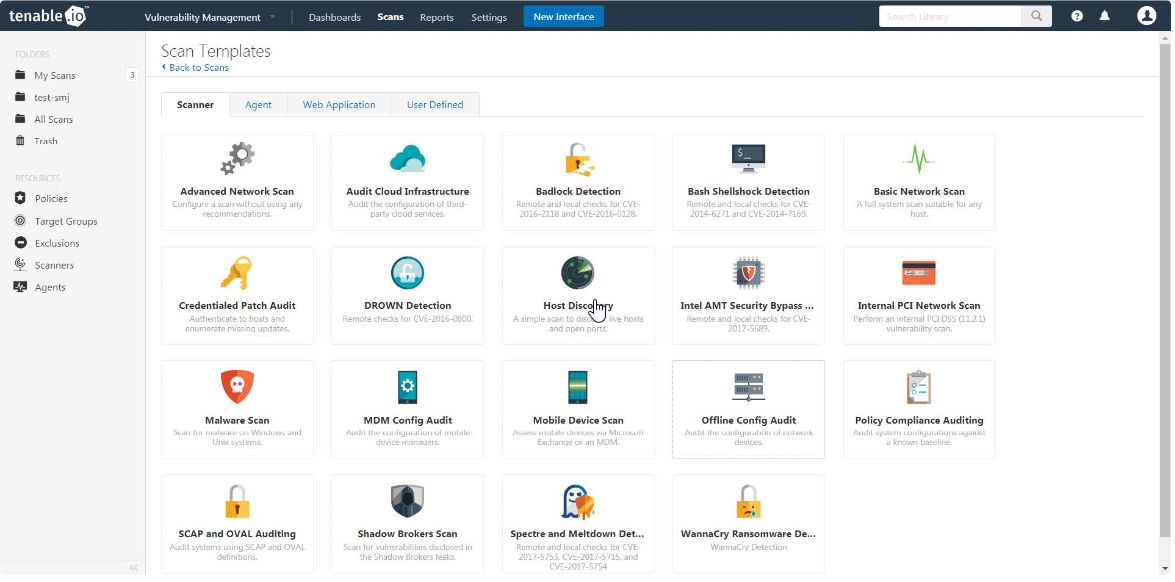
-
Select a scan template. The selected scan template Settings page appears.
-
In the Name field, enter a name for the scan.
-
In the Targets field, enter an IP address, hostname, or range of IP addresses.
-
(Optional) Add a Description, Folder location, Scanner location, and specify Target groups.
-
Click the Credentials tab. The Credentials options appear.
-
In the left-hand menu, click the Windows option. The Credentials options appear. By default, the Categories drop-down box displays Host.
-
In the Windows section, click the Authentication method drop-down box. The Authentication method drop-down box options appear.
-
Select Delinea. The Delinea options appear.
-
Configure the Windows credentials.
| Option | Default Value |
|---|---|
| Delinea Host | (Required) The Delinea IP address or DNS address. Note: If your Delinea installation is in a subdirectory, you must include the subdirectory path. For example, type IP address or hostname/sub- directory path. |
| Delinea Port | The port on which Delinea listens. |
| API User | (Required) The API user provided by Delinea |
| API Key | (Required) The API key provided by Delinea. |
| Tenant | The name of a specified team in a multi-team environment. |
| Authentication URL | The URL Tenable.io uses to access Delinea. |
| Password Engine URL | The name of a specified team in a multi-team environment. |
| Username | (Required) The username to log in to the hosts you want to scan. |
| Checkout Duration | The length of time, in minutes, that you want to keep credentials checked out in Delinea. Configure the Checkout Duration to exceed the typical duration of your Tenable.io scans. If a password from a previous scan is still checked out when a new scan begins, the new scan fails. Note: Configure the password change interval in Delinea so that password changes do not disrupt your Tenable.io scans. If Delinea changes a pass- word during a scan, the scan fails. |
| Use SSL | If enabled, Tenable.io uses SSL through IIS for secure communications. You must configure SSL through IIS in Delinea before enabling this option. |
| Verify SSL | If enabled, Tenable.io validates the SSL certificate. You must configure SSL through IIS in Delinea before enabling this option. |
- Click Save. The credential saves and the My Scans page appears.
Verify the integration is working.
-
On the My Scans page, click Launch to initiate an on-demand scan.
-
Once the scan completes, click the completed scan. The scan details appear. Look for a message similar to the following- Microsoft Windows SMB Log In Possible: 10394. This validates that authentication was successful.
Configuring Tenable.io for Privileged Access Service (SSH)
Complete the following steps to configure Tenable.io with Delinea PAS using SSH.
Requirements
-
Tenable.io account.
-
Delinea PAS account.
-
Required User Role: Standard, Scan Manager, or Administrator.
To configure Tenable.io for Delinea SSH:
-
Log in to Tenable.io. In the top navigation bar, click Scans. The My Scans page appears.
-
Click + New Scan. The Scan Templates page appears.
-
Select a scan template. The selected scan template Settings page appears.
-
In the Name field, type a name for the scan.
-
In the Targets field, type an IP address, hostname, or range of IP addresses.
-
(Optional) Add a description, folder location, scanner location, and specify target groups.
-
Click the Credentials tab. The Credentials options appear.
-
In the left-hand menu, click the SSH option. The SSH section appears.
-
In the Windows section, click the Authentication method drop-down box. The Authentication method drop-down box options appear.
-
Select Delinea. The Delinea options appear.
-
Configure the SSH credentials.
| Option | Default Value |
|---|---|
| Delinea Host | (Required) The Delinea IP address or DNS address. Note: If your Delinea installation is in a subdirectory, you must include the subdirectory path. For example, type IP address or hostname/sub- directory path. |
| Delinea Port | The port on which Delinea listens. |
| API User | (Required) The API user provided by Delinea |
| API Key | (Required) The API key provided by Delinea. |
| Tenant | The name of a specified team in a multi-team environment. |
| Authentication URL | The URL Tenable.io uses to access Delinea. |
| Password Engine URL | The name of a specified team in a multi-team environment. |
| Username | (Required) The username to log in to the hosts you want to scan. |
| Checkout Duration | The length of time, in minutes, that you want to keep credentials checked out in Delinea. Configure the Checkout Duration to exceed the typical duration of your Tenable.io scans. If a password from a previous scan is still checked out when a new scan begins, the new scan fails. Note: Configure the password change interval in Delinea so that password changes do not disrupt your Tenable.io scans. If Delinea changes a pass- word during a scan, the scan fails. |
| Use SSL | If enabled, Tenable.io uses SSL through IIS for secure communications. You must configure SSL through IIS in Delinea before enabling this option. |
| Verify SSL | If enabled, Tenable.io validates the SSL certificate. You must configure SSL through IIS in Delinea before enabling this option. |
- Click Save.
To verify the integration is working:
-
On the My Scans page, click Launch to initiate an on-demand scan.
-
Once the scan has completed, select the completed scan and look for Plugin ID 97993 and the corresponding message - It was possible to log into theremote host via SSH using 'password' authentication. This result validates that authentication was successful.