Managing Application Sets
A set is a logical grouping of objects. An application set is a grouping of application objects. Organizing application objects into sets simplifies management and deployment of applications while offering more granular control. For example, you can use sets to deploy applications to not just roles, but individual users.
Applications have predefined sets that you can use as filters. For example, there are predefined sets for SAML Web applications, User Password Web applications, and more. You cannot modify the predefined sets.
In addition to the predefined sets, you can also create custom sets by manually adding and removing members or by defining queries. If you add a set, you can view and modify the set details and grant permissions to other users. You can manually add member objects to a set, or use a SQL query.
To add a manual application set
-
In the Admin Portal, click Apps to display the list of available applications.
-
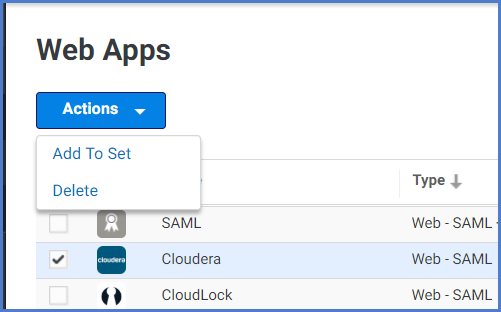
Select the apps that you want to add to your new set, then click Actions > Add to Set.
-
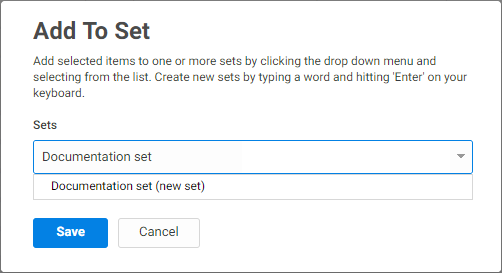
Type a name for the new set and an optional description, then click Save.
If the set already exists, you will see autocomplete suggestions for the set. If it does not already exist, you will see (new set) in the field.
To add a dynamic application set
-
In the Admin Portal, click Apps to display the list of available applications.
-
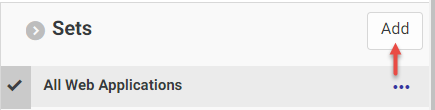
In the Sets section, click Add to create a new set.
-
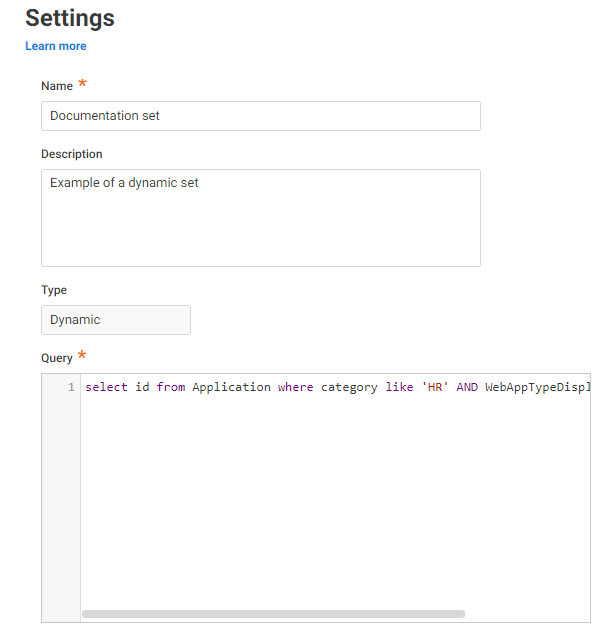
Type a name for the new set, an optional description, select Dynamic from the Type menu.
-
Type the SQL statement to execute to identify set members in the Query field.
For example, if you want to add a set for SAML-enabled HR applications, you could type a SQL statement like this:
select id from Application where category like 'HR' AND WebAppTypeDisplayName like 'SAML'
-
Click Save.
To add applications to an existing manual set
-
In the Admin Portal, click Apps to display the list of available applications.
-
Select the apps that you want to add to your existing set, then click Actions > Add to Set.
-
Type the name for the set and an optional description, then click Save.
If the set already exists, you will see autocomplete suggestions for the set. You can add an application to one or more sets.
To modify a set
-
In the Admin Portal, click Apps to display the list of available applications.
-
In the Sets section, right-click a set name, then click Modify.
-
Change the set name, set description, or both, as needed.
-
If the membership definition is dynamic, you can modify the set membership by editing the Query field.
-
Click Save.
To delete an application set
-
In the Admin Portal, click Apps to display the list of available applications.
-
In the Sets section, right-click a set name, then click Delete.
-
Click Yes at the confirmation prompt to delete the set.
Deleting a set only deletes the grouping of applications; it does not delete the applications.
For more information on desktop app sets, see Adding Desktop App Sets