 Amazon Web Services (SAML)
If you’re trying to configure the Amazon Web Services: SAML app, you’re in the right place.
Amazon Web Services (SAML) Requirements for SSO
Before you configure the Amazon Web Services (AWS) web application for SSO, you need the following:
-
An active Amazon Web Services account with administrator rights for your organization.
-
A signed certificate. You can either download one from Admin Portal or use your organization’s trusted certificate.
Adding Amazon Web Services (SAML) in Admin Portal
Creating an Amazon Web Services (SAML) user in the Delinea Admin Portal
-
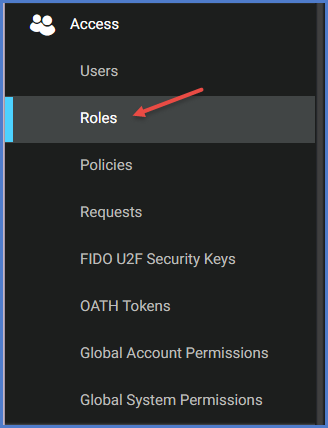
In the Delinea Admin Portal browser window, click Access > Roles.
-
Click Add Role, name the new role DelineaAmazonSSO, and enter a description of the role.
The role you create in the Delinea Admin Portal will need to match the role you will create in AWS IAM.
-
Click Members, add the members who will be using this SAML application, and click Save.
-
Navigate to Apps > Web Apps.
-
Click Add Web Apps to create a new Web App and click Add next to Amazon Web Services SAML.
-
Click Add to confirm you want to add Amazon Web Services SAML.
-
Click Close to close the Add Web Apps window.
-
Click on the web app you just added and navigate to Settings.
-
Add Your AWS Account ID.
-
Click Trust and click Download Python and PowerShell CLI utilities to access Amazon Web Services here. and save the file on your computer.
-
Click Permissions, and add the members with role permissions to use this SAML application. These are the same members added to the role from the previous steps.
-
Click Account Mapping for configuration details. Directory Service field name should be mail. See Map User Accounts for more information.
-
Click Save.
Creating a provider in Amazon Web Services
-
In your web browser, go to the following URL and sign in:
https://aws.amazon.com.
It is helpful to open the Amazon Web Services web application and the Delinea Admin Portal Trust window simultaneously to copy and paste settings between the two browser windows.
-
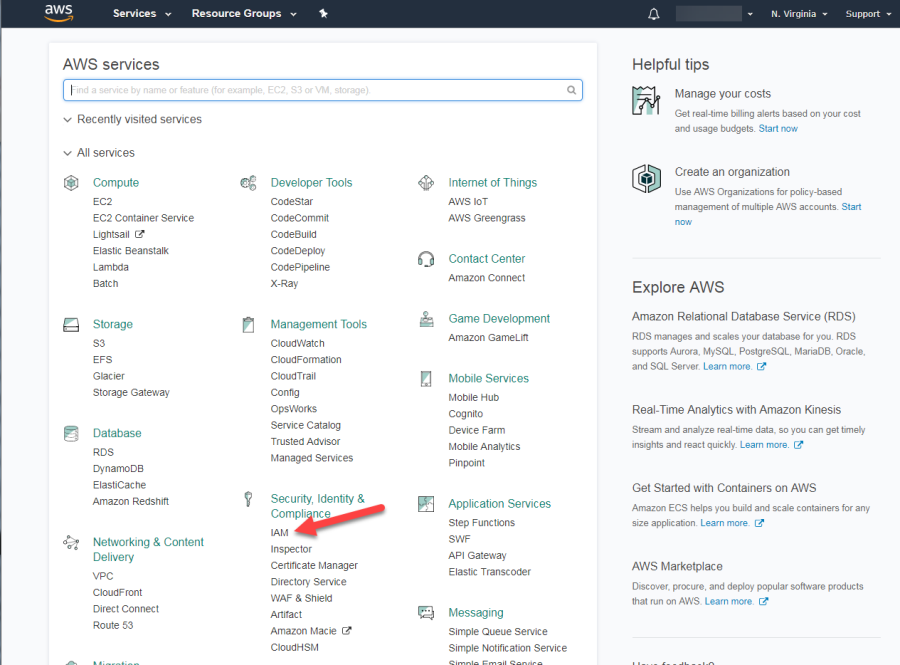
Under Security, Identity, & Compliance, click IAM.
-
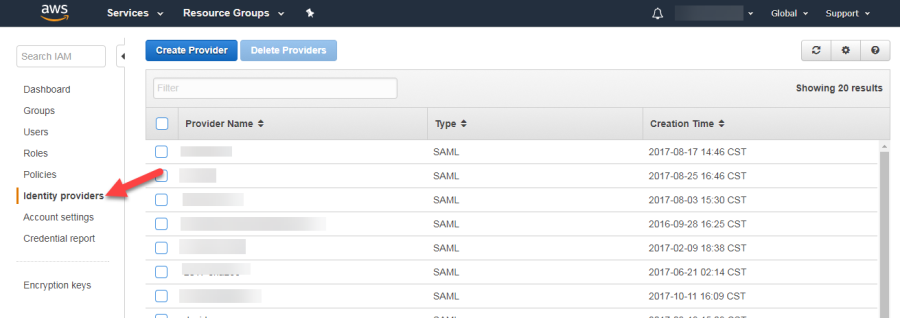
Click Identity providers.
-
Click the Create Provider , and choose SAML as the provider type from the drop-down list.
-
Enter Delinea as the Provider Name.
-
Upload the Metadata Document downloaded during the Web App creation. On the AWS web page, click Choose File and select the XML file you just downloaded.
-
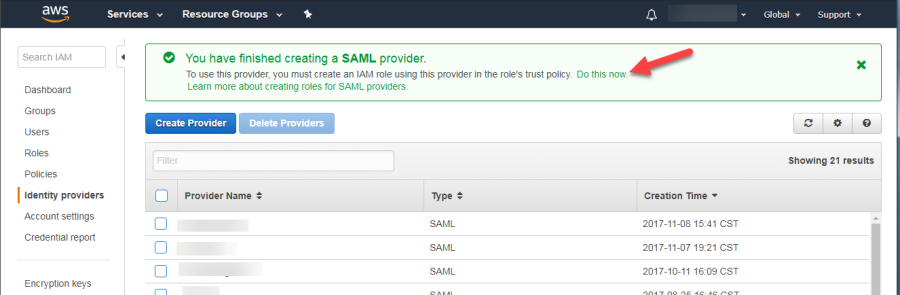
Click Next Step, and if the provider information looks right, click Create.
-
Configure the following settings (in the Amazon Web Services web application and in the Delinea Admin Portal ).
The red arrows in the table below indicate the direction of the copy and paste operation between the two windows. For instance, the first arrow in the table below indicates that you copy the content from the indicated field on the Amazon Web Services website and paste it into the corresponding field in the Privileged Access Service Admin Portal.
Admin Portal Copy/Paste Direction Amazon Web Services web application What you do Download Metadata File 
Choose File 1. On the Trust page in Admin Portal, click Download Metadata File and save the file on your computer. 2. On the AWS web page, click Choose File and select the XML file you just downloaded. 3. Click Next Step. AWS Account ID N/A N/A Enter this value on the Settings page. To find this value log in to AWS Management Console with a Root (Admin) Account. Click on your name at top right corner and then click My Account. Your AWS Account ID is the Account Number below the Sign Out link. Download Signing Certificate N/A N/A If you use your own certificate, upload it in the Trust page in Delinea Admin Portal first. This can be done in Identity Provider Configuration > Metadata > Signing Certificate Also note that you must upload the certificate from your local storage prior to downloading the IdP metadata or the Signing Certificate from the Applications Settings page. If the IdP metadata is available from a URL, be sure to upload the certificate prior to providing the URL to your service provider. -
Click Do this now in the information box at the top of the page to create an Identity and Access Management (IAM) role using this provider in the role’s trust policy.
-
Select the provider you just created from the SAML provider drop-down list.
-
Select Allow programmatic and AWS Management Console access.
-
Click Next: Permissions.
-
Select the check box for the policy you want to assign to this role.
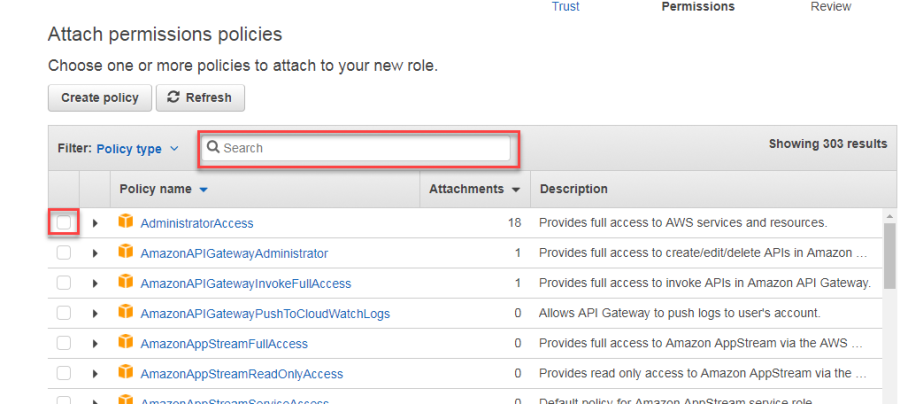
If you are not sure, select the most appropriate role from these three options:
-
Administrator Access
-
Power User Access
-
Read Only Access
You may need to use the search box to locate your policy name.
-
-
Click Next: Review.
-
Enter a Role name and optionally, a Role description.
-
Click Create Role.
-
In the web app in the Delinea Admin Portal, under SAML Response, modify the custom logic to include the name of the role created in AWS IAM if you have more than one SAML provider. If there is only one, the default entry will suffice.
var v = 'arn:aws:iam::' + accountNumber + ':role/' + roleNames[i] + ',arn:aws:iam::' + accountNumber + ':saml-provider/' + DefaultAwsSsoProviderName;

var v = 'arn:aws:iam::' + accountNumber + ':role/' + roleNames[i] + ',arn:aws:iam::' + accountNumber + ':saml-provider/CentrifySSO’;
Delinea Amazon Web Services CLI Utilities
Delinea offers Python and PowerShell CLI utilities to access Amazon Web Services by leveraging Privileged Access Service. The AWS CLI utilities are available from the Downloads area of the Admin Portal.
Refer to The Delinea Developer Program for more information about how to install and use the AWS CLI utilities, such as AWS Powershell Utility V10.
AWS (SAML) Specifications
Each SAML application is different. The following table lists features and functionality specific to Amazon Web Services.
| Capability | Supported? | Support details |
|---|---|---|
| Web browser client | Yes | |
| Mobile client | Yes | iOS and Android |
| SAML 2.0 | Yes | |
| SP-initiated SSO | No | |
| IdP-initiated SSO | Yes | |
| Force user login via SSO only | No | After SSO is enabled, users can continue to log in to Amazon Web Services with their local user name and password. |
| Separate administrator login after SSO is enabled | Yes | After SSO is enabled, administrators can continue to log in to Amazon Web Services with their local user name and password. |
| User lockout | No | |
| Administrator lockout | No | |
| Multiple User Types | Yes | Refer to Amazon Web Services documentation for details. |
| Self-service password | Yes | Users can reset their own passwords. Note that administrators cannot reset a user’s password. |
| Access restriction using a corporate IP range | Yes | You can specify an IP Range in the Admin Portal Policy page to restrict access to the application. |