Groups
Groups define privileges for categories of Users. Using Groups, you can assign the same Roles and permissions to multiple Users.
ALM Groups do not correspond to Active Directory Groups.
Creating Groups
-
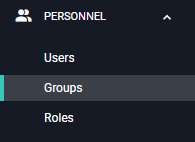
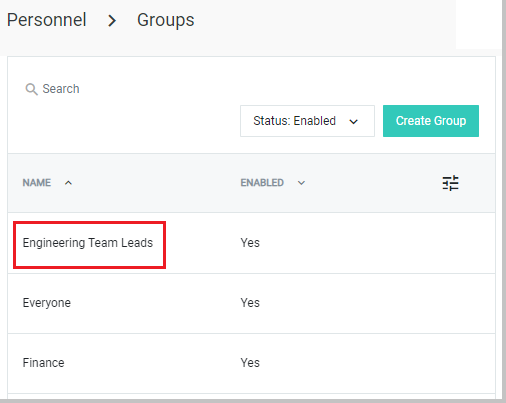
Using the left-hand navigation menu, click PERSONNEL and then click Groups to open the Groups page.
-
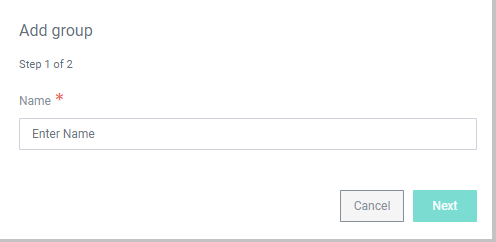
In the upper right-hand corner, click Create Group. The Add group window appears.
-
Enter a Name for the new Group and click Next.
-
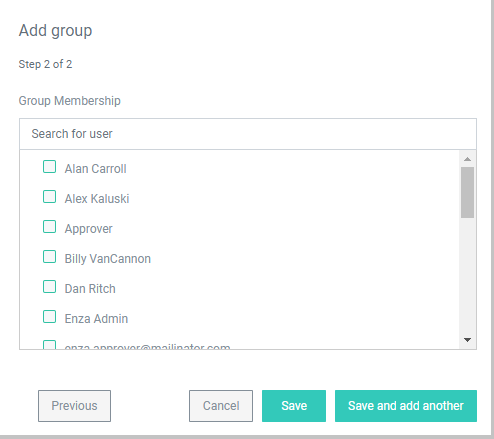
On the Group Membership window, choose the Users to add to the group by checking the box next to each name.
-
Click Save to create the Group. Click Save and add another to create the group and restart the process for another new Group.
Managing Groups
To manage a group, click the Group name on the Groups page.
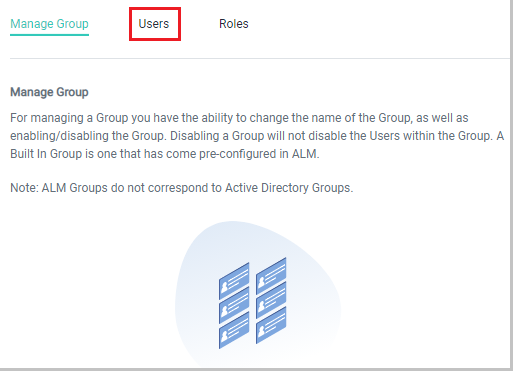
From the Manage Groups page, you can enable/disable the Group, add/remove Users, and add/remove Roles.
Enable/Disable Group
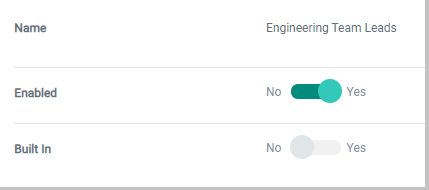
Enabling a group will give the Group's permissions to Users in the Group. Groups are enabled by default.
Disabling a group will remove the permissions Users are given from membership in the Group. Disabling will not disable the Users, only their permissions from the Group.
-
To enable a Group, click the green switch so the dot points to Yes.
-
To disable a group
- Click the green switch so the dot points to No.
- If the Group is attached to a Workflow Template, you will be given the option to replace the Group in the Workflow. Check the box next to the Group that will replace the Group you are disabling.
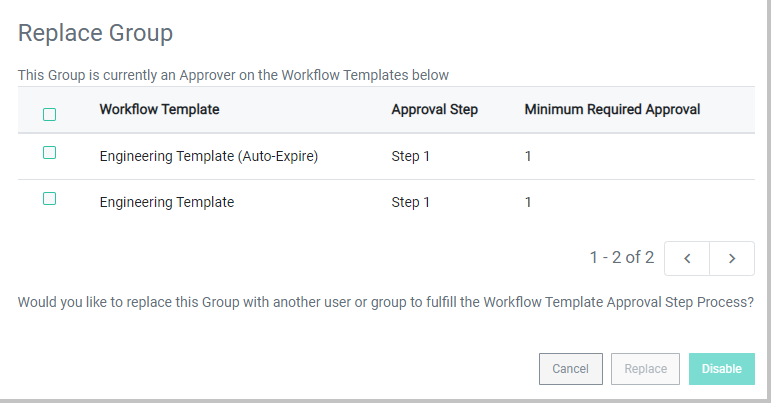
- Click disable.
Add/Remove Users
To manage Users within the Group, click the Users tab next to Manage Group.
To add Users to the Group
-
Click Add User in the top-right corner.
-
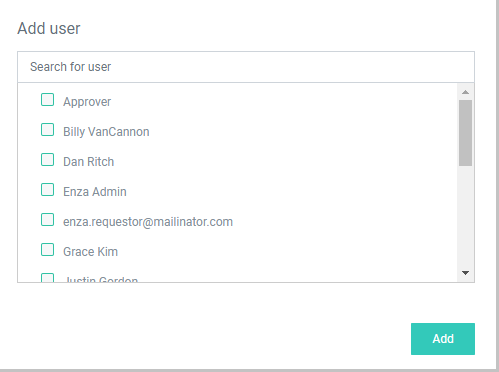
On the Add user window, check the boxes next to the name(s) of Users to add to the group.
-
Click Add
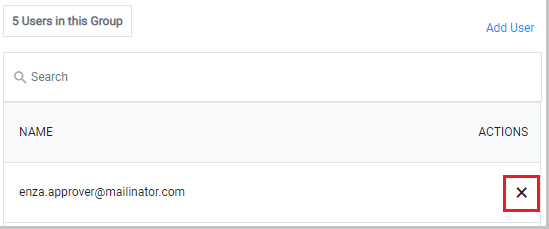
To remove Users from the Group
-
Click the X to the right of the User's name.
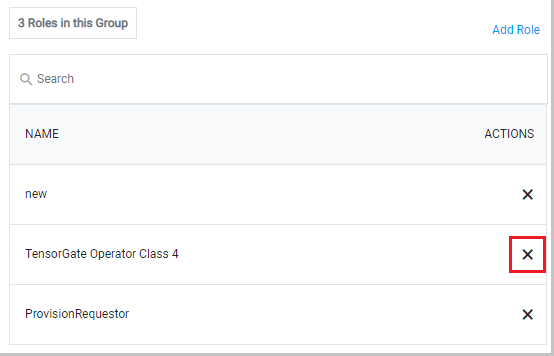
Add/Remove Roles
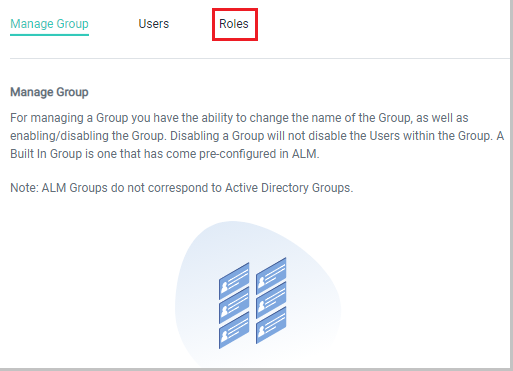
To manage Roles within the Group, click the Roles tab next to Manage Group.
To Add Roles to the Group
-
Click Add Role in the top-right corner.
-
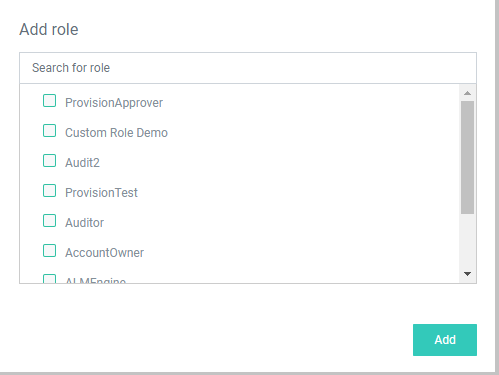
On the Add role window, check the boxes next to the Role(s) to give to the Users in the Group.
-
Click Add.
To Remove Roles from the Group
-
Click the X to the right of the Role.