Thycotic One Open ID Connect (OIDC) Configuration
To configure Thycotic One OIDC authentication for use with ALM:
Select a Team
-
Navigate to portal.thycotic.com
-
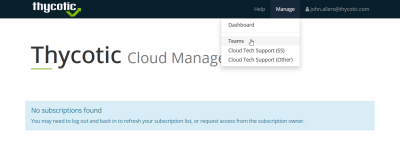
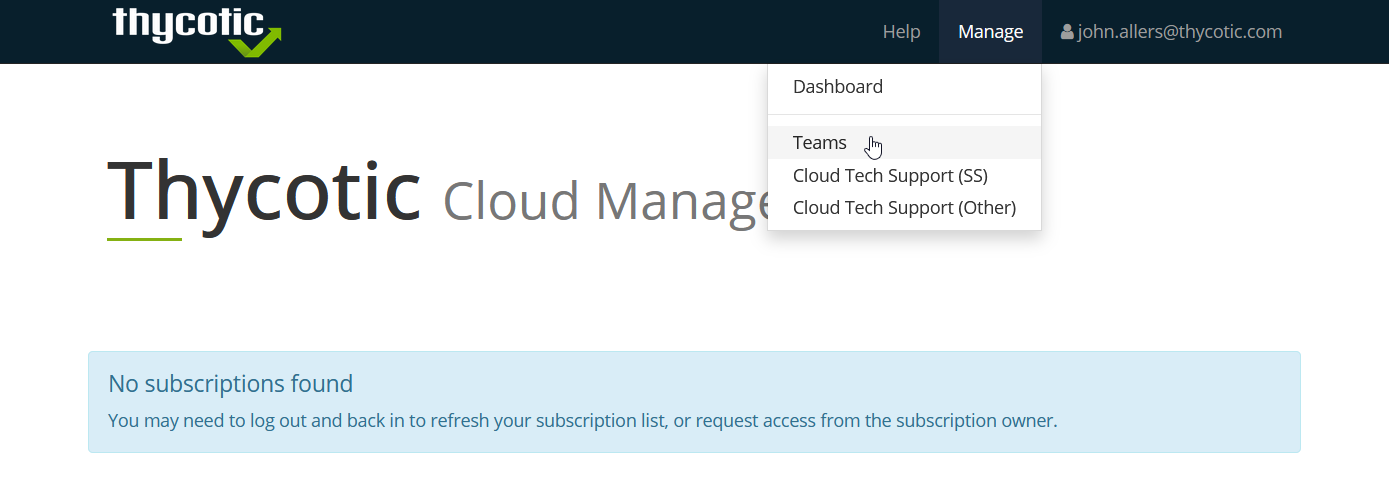
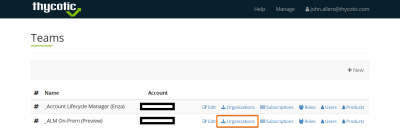
On the top menu, click Manage and then Teams.
-
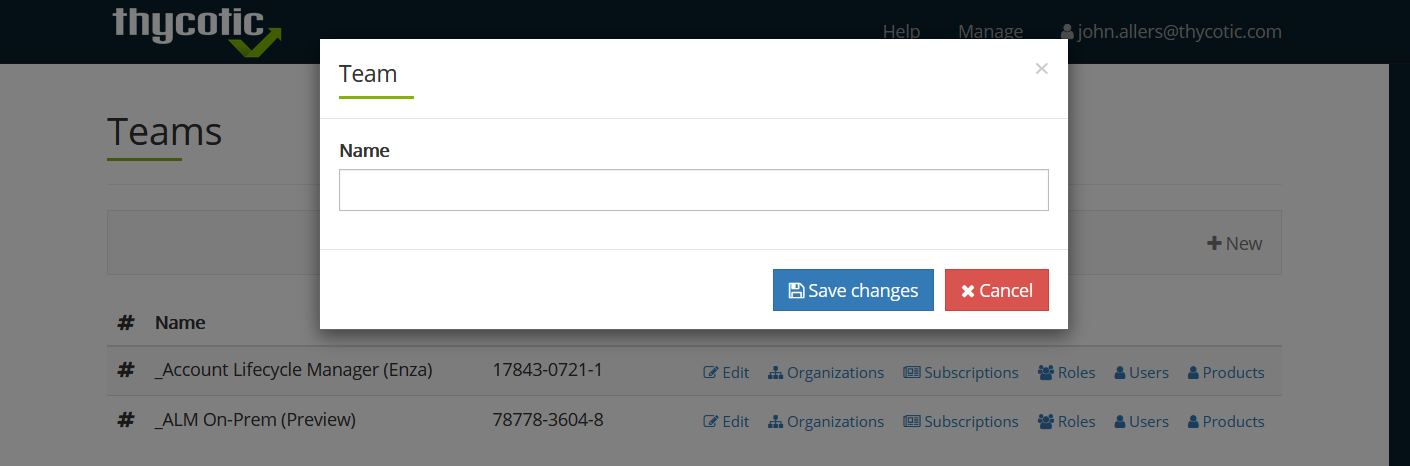
If there are no existing teams, create one by clicking +New. Give the Team a name and click Save Changes.

Create a New Organization
-
To the right of the team name, click Organizations.
-
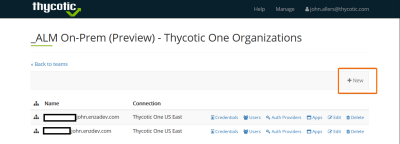
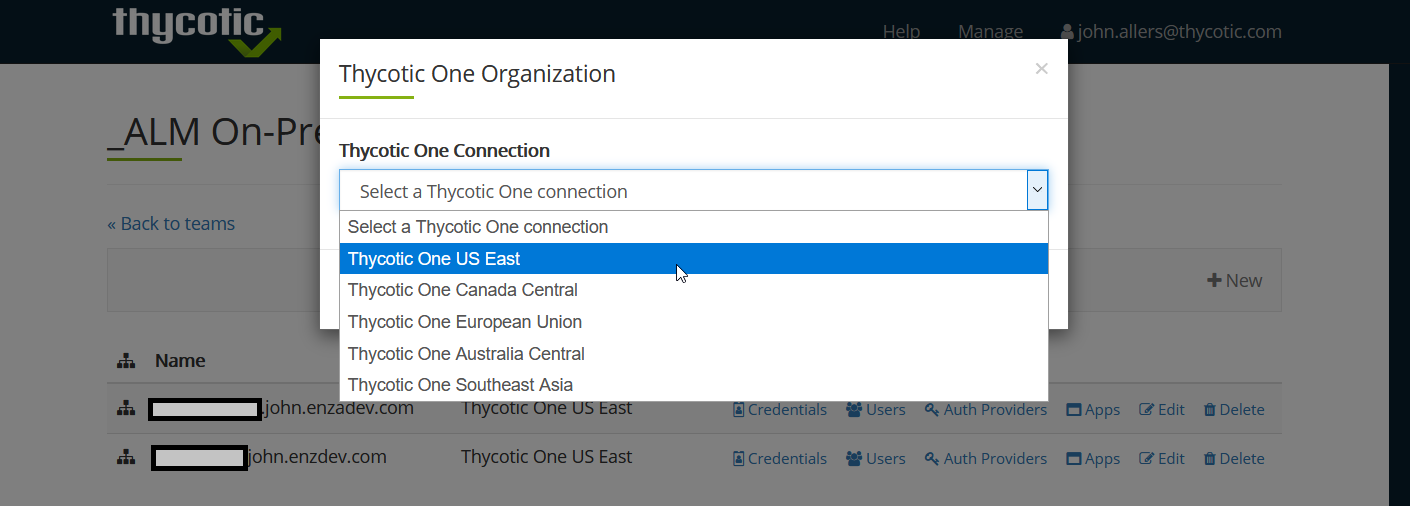
On the organizations page click +New.
-
From the drop-down, select the Thycotic One region that you would like to use.

-
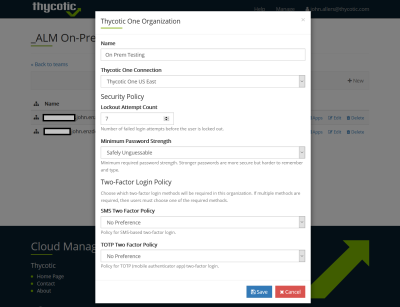
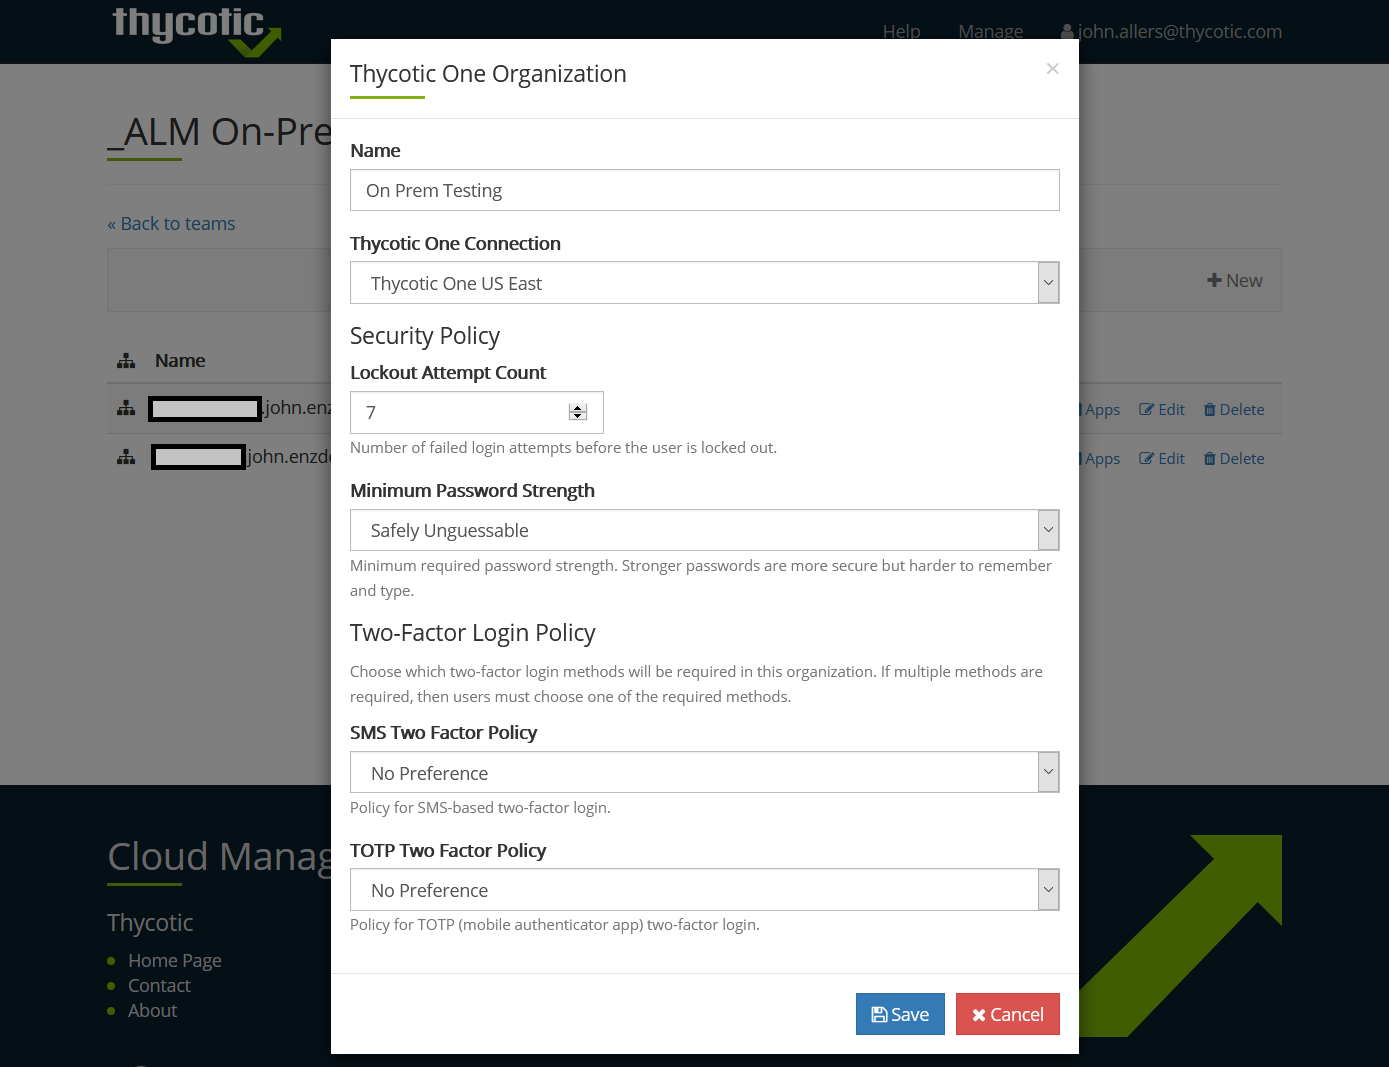
On the organization preferences page, you can configure the following options:
- The Name of the organization.
- The Thycotic One Connection Region.
- The lockout attempt count. This will determine the number of failed logins before a user is locked out.
- The minimum password strength. This will determine the complexity of passwords that users must use for logging in.
- The Two-Factor Login Policies. Leaving the drop-downs at No Preference will allow users to choose their two-factor method.
-
Once your configuration is complete, click Save.


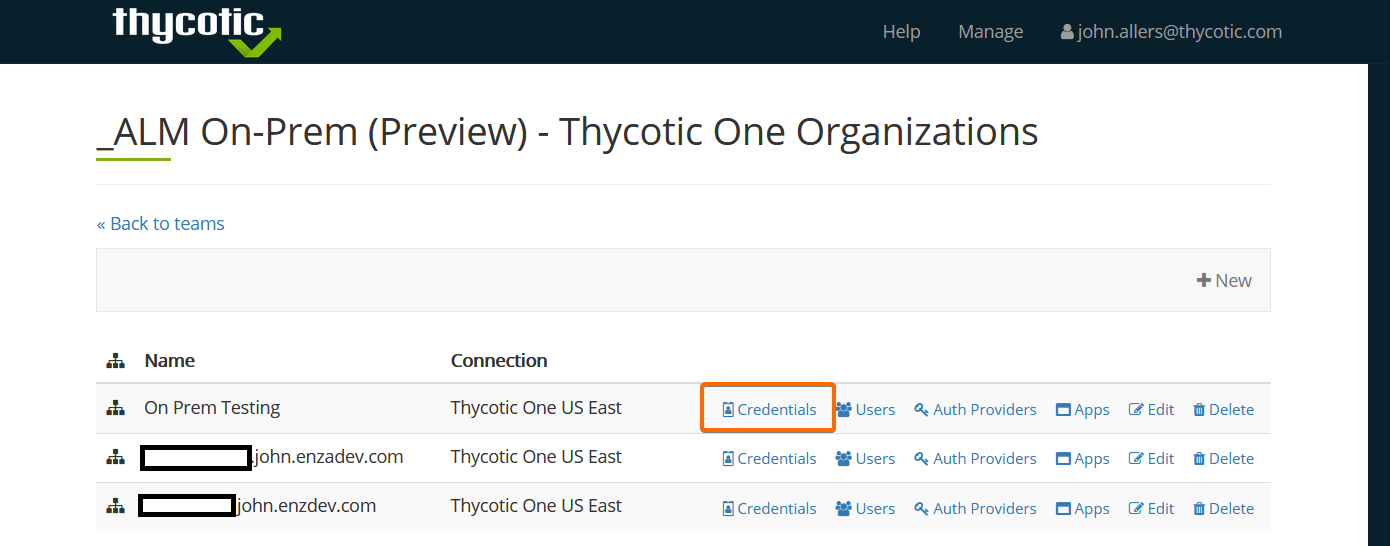
Configure OIDC Credentials
-
On the organizations page, click Credentials next to the organization you created.

-
Click +New.
-
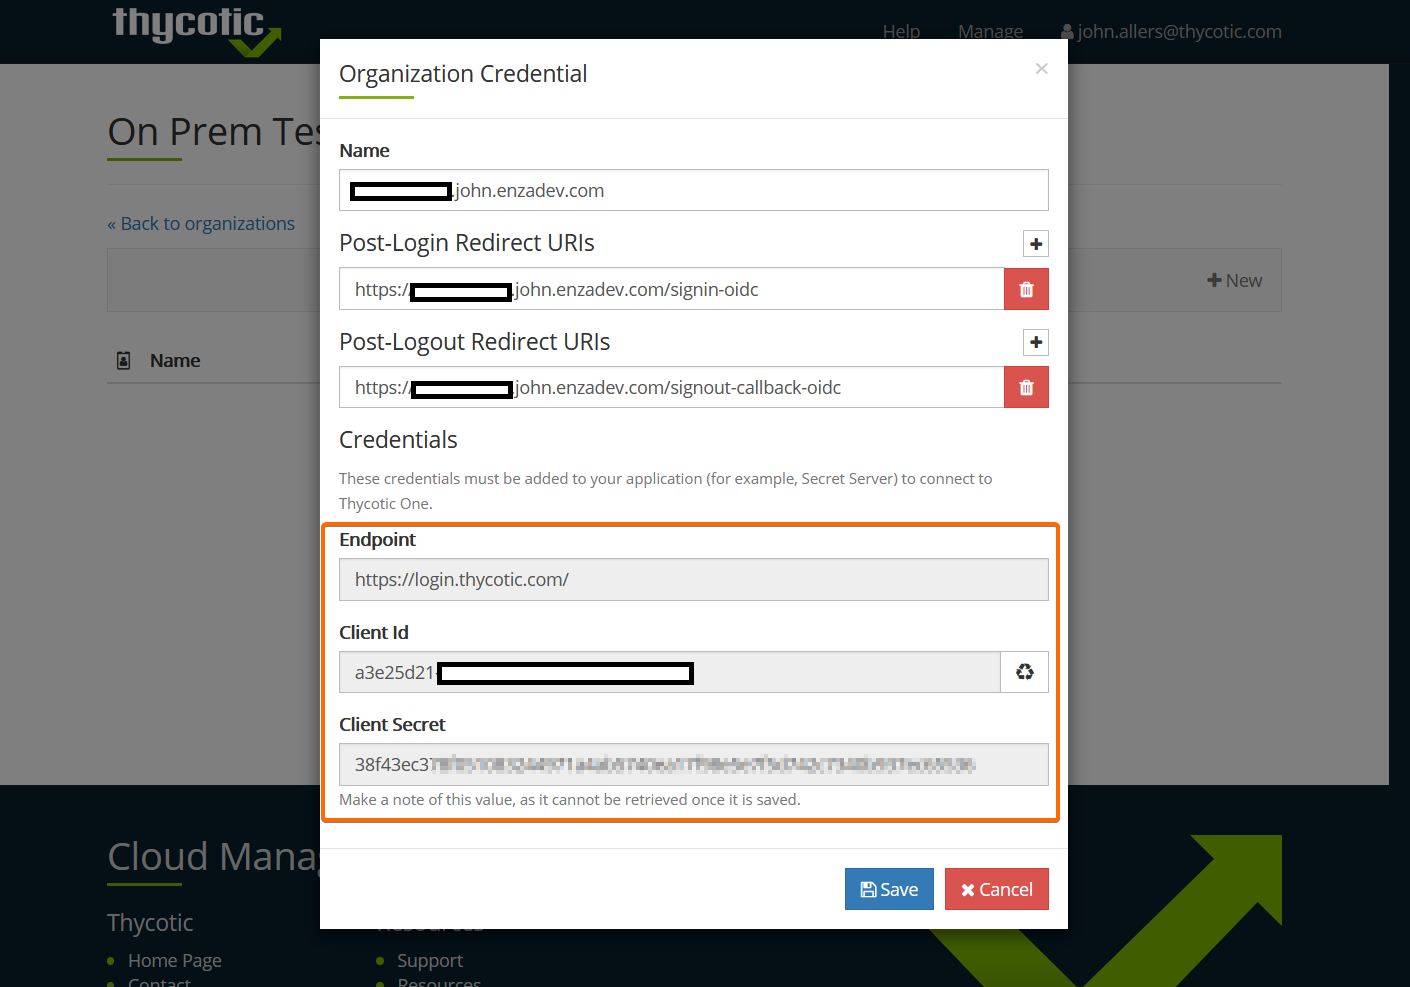
Complete the Organization Credential form:
- Give the credential a name.
- The Post-Login redirect URIs should be: https://YOUR_ALM_DOMAIN/signin-oidc
- The Post-Logout Redirect URIs should be: https://YOUR_ALM_DOMAIN/signout-callback-oidc
Be sure to save the Endpoint, Client Id, and Client Secret. You will need these values when performing ALM Self-Hosted setup.

- Click Save.
-
OpenID Connect configuration for Thycotic One is now complete and ready for use with ALM.