Alerts for Webhooks
ALM allows Administrators and Users with Webhook Permissions to set up custom integrations using webhooks.
Creating a Webhook
To create a webhook:
-
Navigate to Alert Settings and click Webhooks.
-
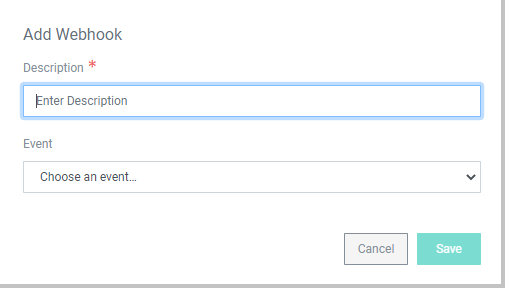
In the upper right-hand corner, click Create Webhook to bring up the Add Webhook window.
-
Enter a description of the webhook.
-
Choose the Event within ALM that will trigger the webhook.
-
Click Save to bring up the Manage Webhook page.
-
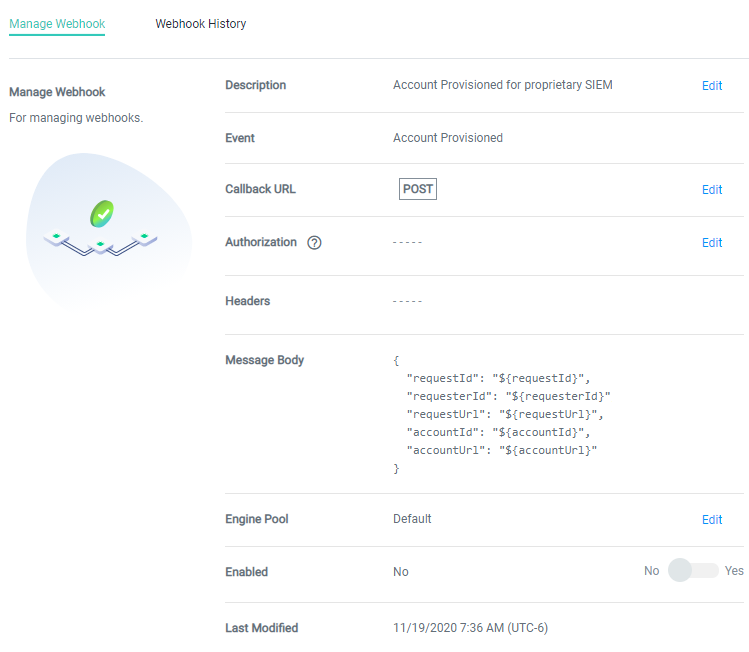
On the Manage Webhook page, enter the complete Callback URL. The Message Body shows the data that will be sent to the URL.
-
Set the Enabled toggle to Yes to activate the webhook. Leave the toggle on No to keep the webhook inactive. It can be enabled later from this page.
-
(Optional) Once you have enabled the webhook, the Test Webhook button will appear in the upper right-hand corner. Click Test Webhook to send a test call to the callback URL.

-
(Optional) Add Authorization to the webhook by clicking Edit and selecting the corresponding authorization from the drop-down. You can also adjust the authorization header for the callback URL of the webhook. If you have not previously configured Webhook Authorization, see the section below. If needed, you can save the webhook and return later to add authorization.
-
Click Save to create the webhook.
-
Once the webhook is created and enabled, you can view its usage details from the Webhook History tab at the top of the page.